Inspired by the work of others and my own desire to increase the presentation of my own games I decided to make a custom wargame mat using he caulk on canvas method. I also wanted to make a mat big enough to use in large games and also to put hills underneath to make natural appearing rises.
Or, if I ever get around to it, I can make hills out of foam with the same material and then it will all blend in oh so much better. I think the results came out pretty good.
First off, things I wish I did a little different that other rank armatures like myself might find useful:
-I got most of my stuff from woodland scenic, which turns out doesn't have a bright green that matches the army painter stuff, for that you need stuff from Scenic express or something.
-flock, as in course turf and fine turf, covers better than scenic grass. But the two mixed together work pretty well and do a good job.
-I wish I added some bare earth patches
-I should of added the rough / rocky patches BEFORE the flock or in one of those bare spots
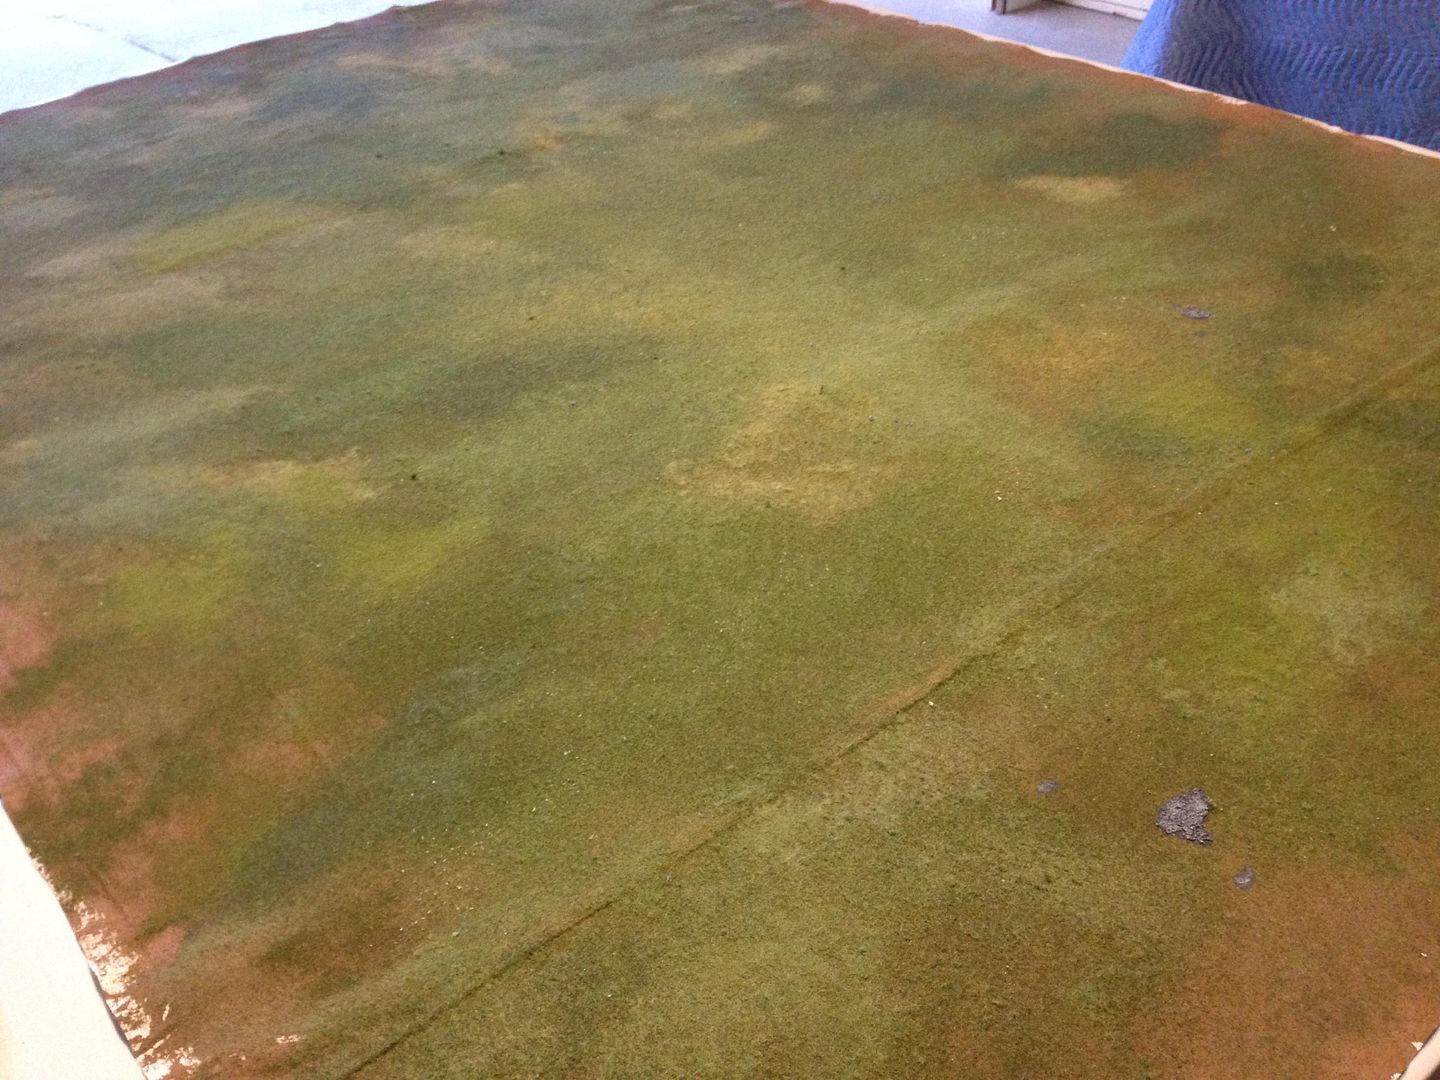
-you need to lay down a TON of flock to get it to stick, and I wish I covered it more completely bc it initially came out very patchy. To fix this I sprayed down Scenic Cement and layered on more which worked. It also might have been better to make one mix of flock to cover the whole thing in a base layer and added graduations of color. What I did was put on several different patches of color that also ended up looking very patchy and had to be blended.
The next one will go better. This one turned out to be 5.5 ft x 7.5 feet. it's also not a flexible as I thought it would be. I'm sure there will be no problems rolling it up around a tube, but getting hills underneath it will take some practice and maybe the use of small pins. But as I don't have any foam to put under it anyway, that will have to wait till next time.
Here's a little picture montage of the process.
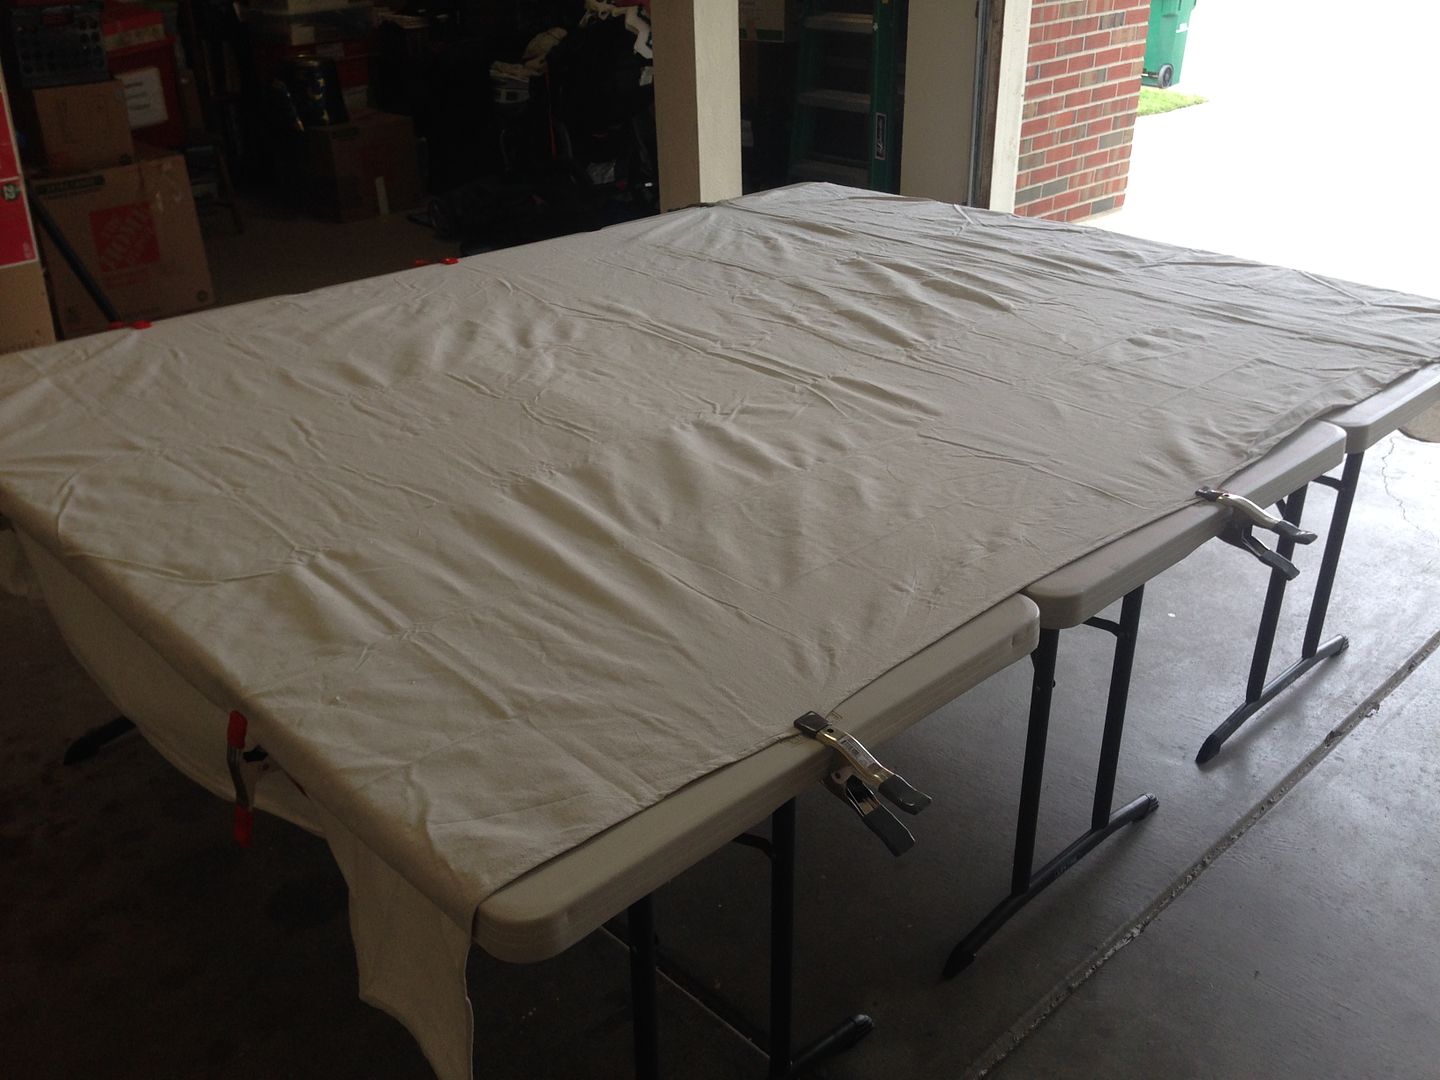
Clamped down the drop cloth
[URL=http://s194.photobucket.com/user/stewwart_2007/media/wargame%20mat/IMG_1303.jpg.html]
[/URL]
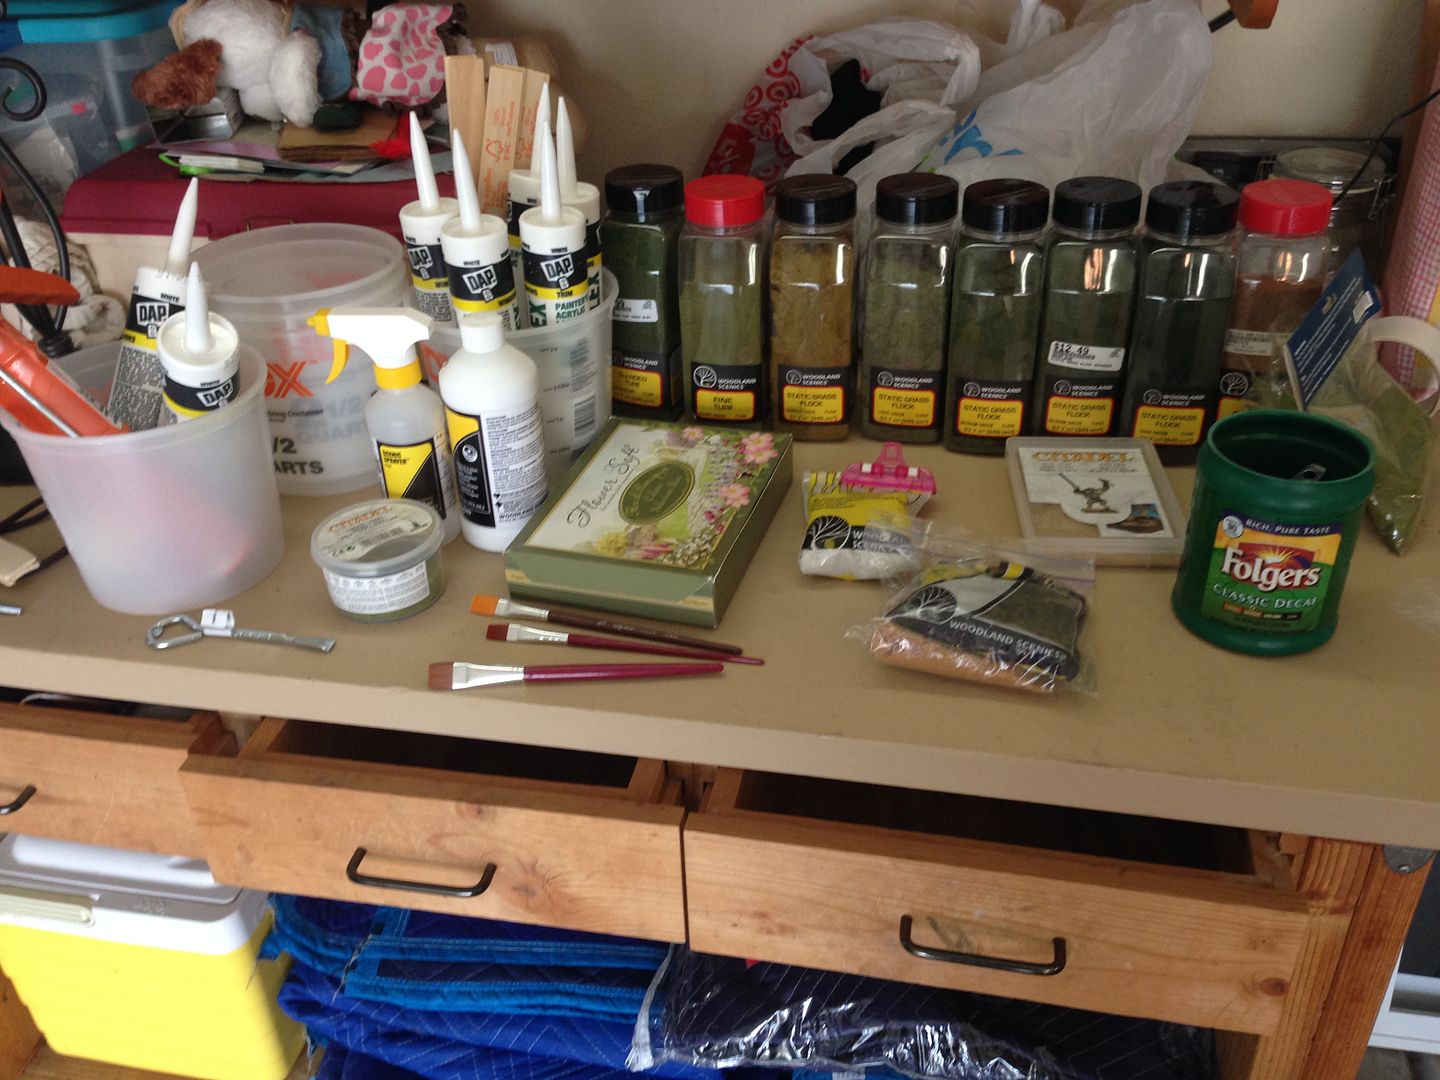
All the materials.
[URL=http://s194.photobucket.com/user/stewwart_2007/media/wargame%20mat/IMG_1306.jpg.html]
[/URL]
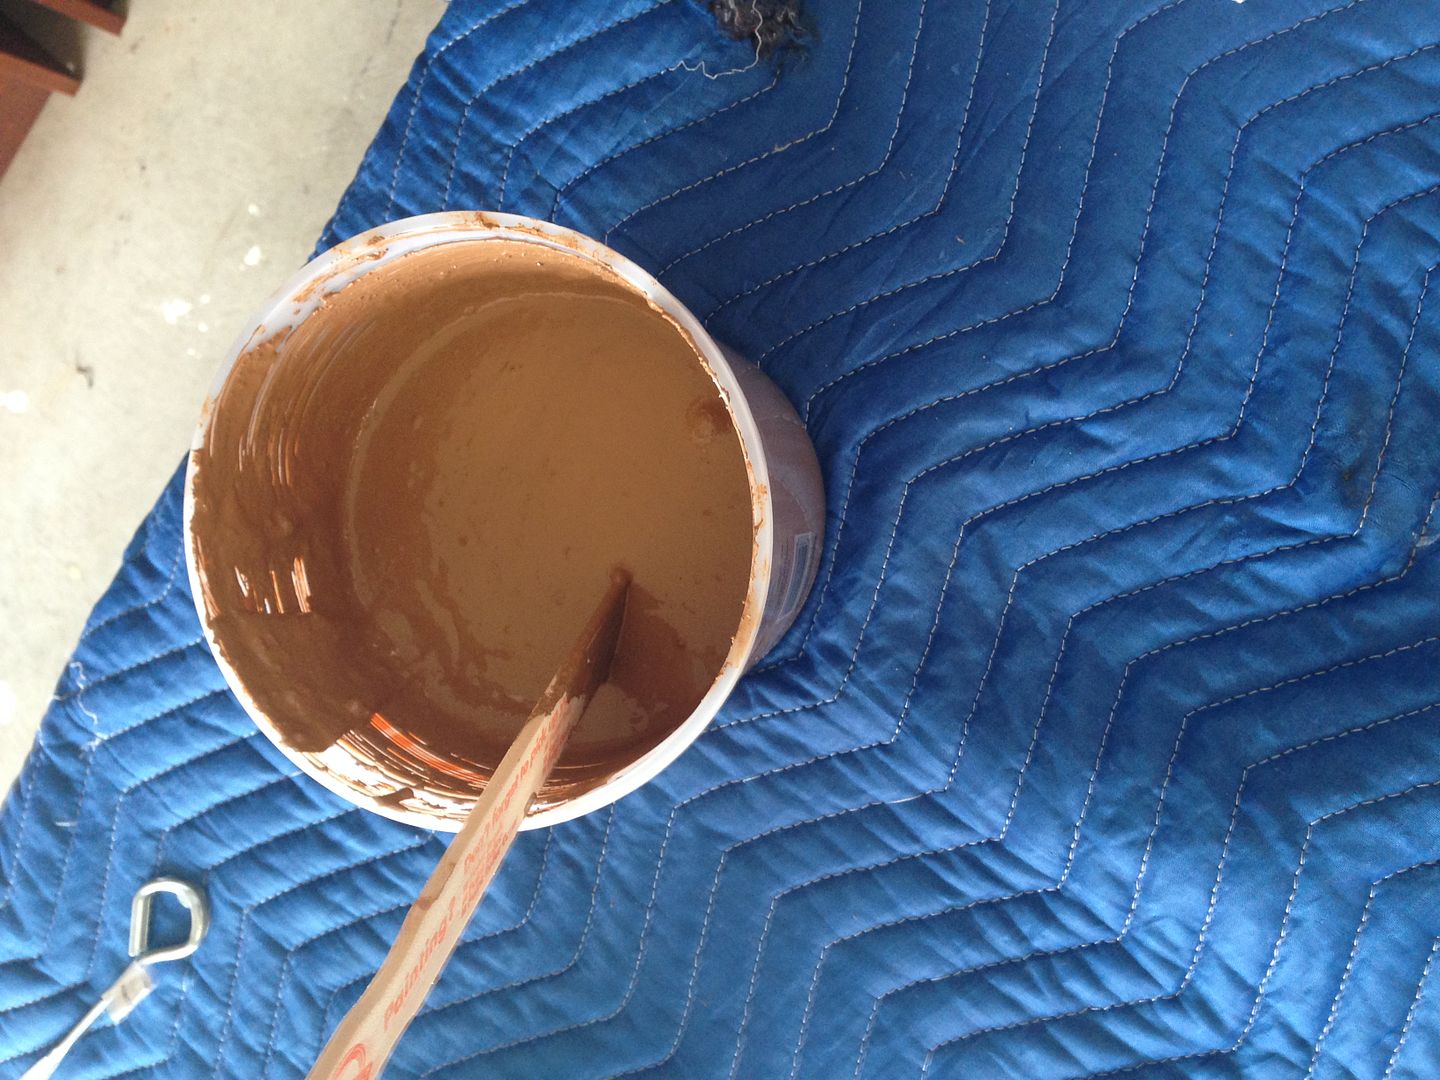
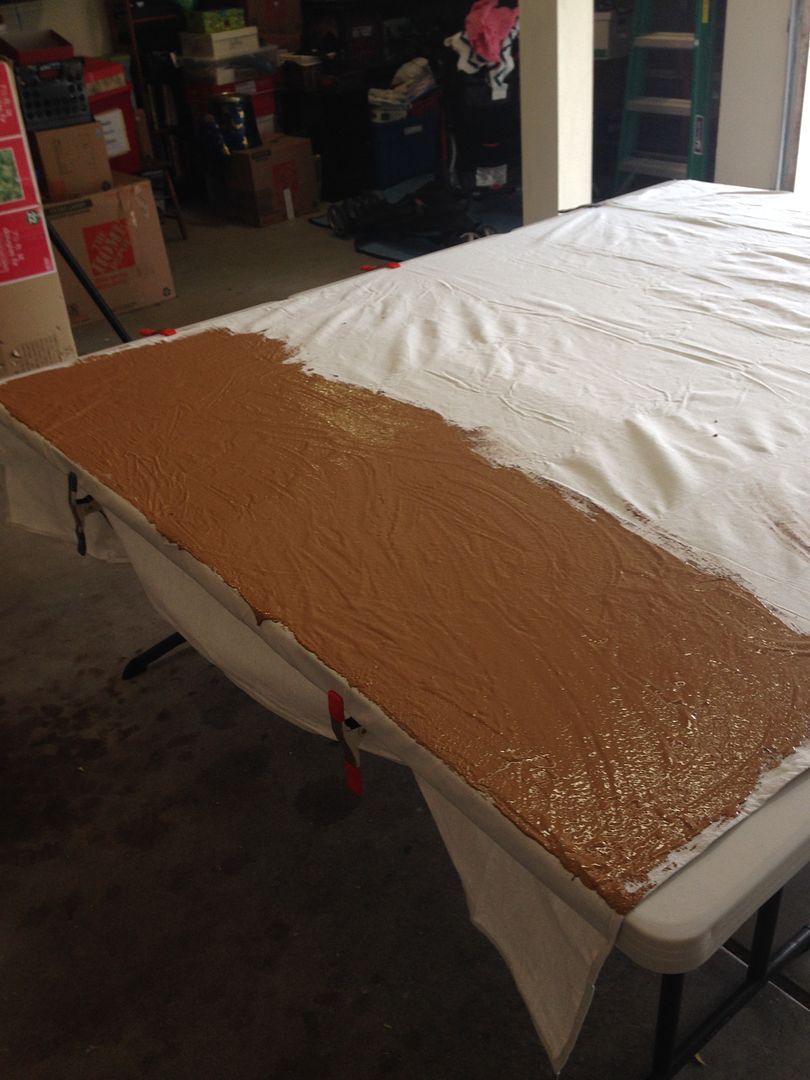
Caulk, paint, and stuff mixed in for texture. I used coffee and fine ballast.
[URL=http://s194.photobucket.com/user/stewwart_2007/media/wargame%20mat/IMG_1307.jpg.html]
[/URL]
Using my hands, I spread it on in patches.
[URL=http://s194.photobucket.com/user/stewwart_2007/media/wargame%20mat/IMG_1308.jpg.html]
[/URL]
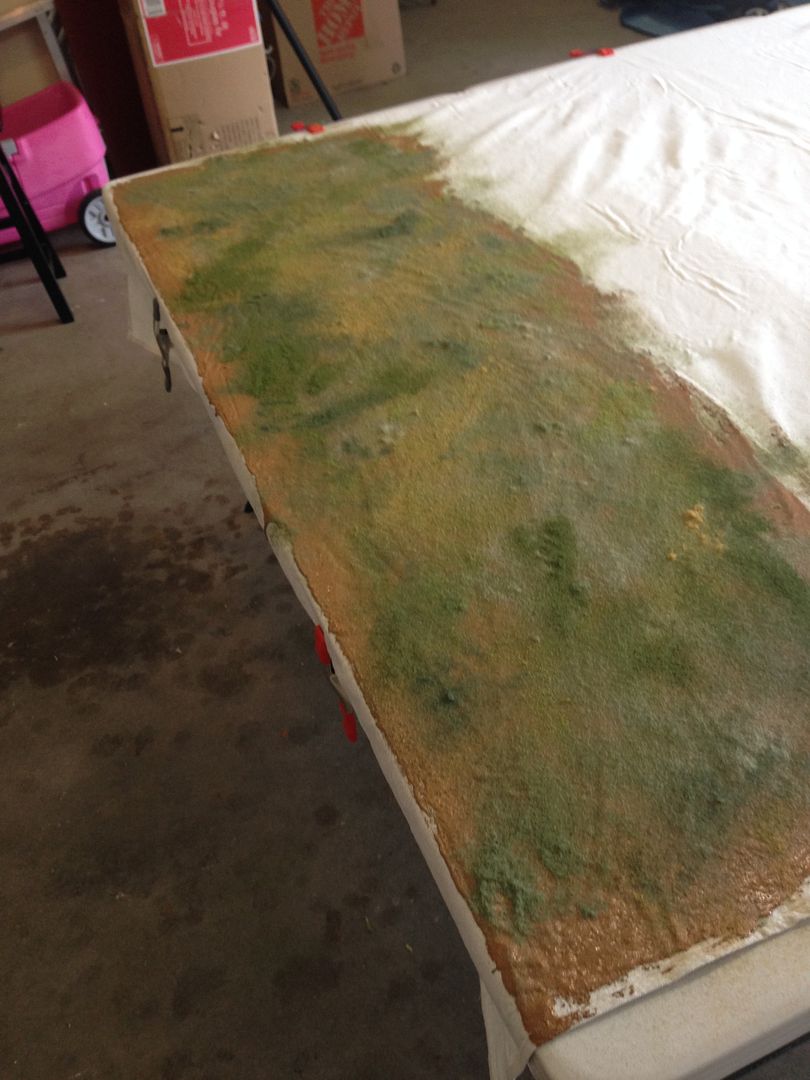
Throwing on the flock and static grass
[URL=http://s194.photobucket.com/user/stewwart_2007/media/wargame%20mat/IMG_1309.jpg.html]
[/URL]
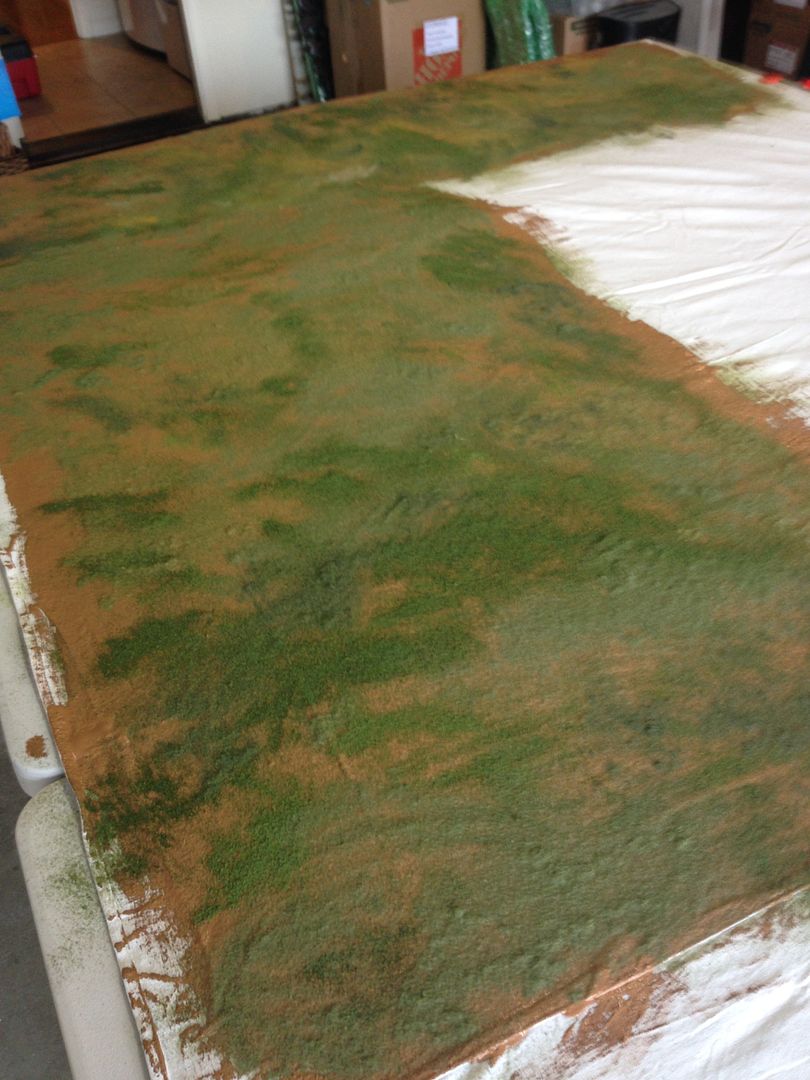
Moving on and more layers…
[URL=http://s194.photobucket.com/user/stewwart_2007/media/wargame%20mat/IMG_1310.jpg.html]
[/URL]
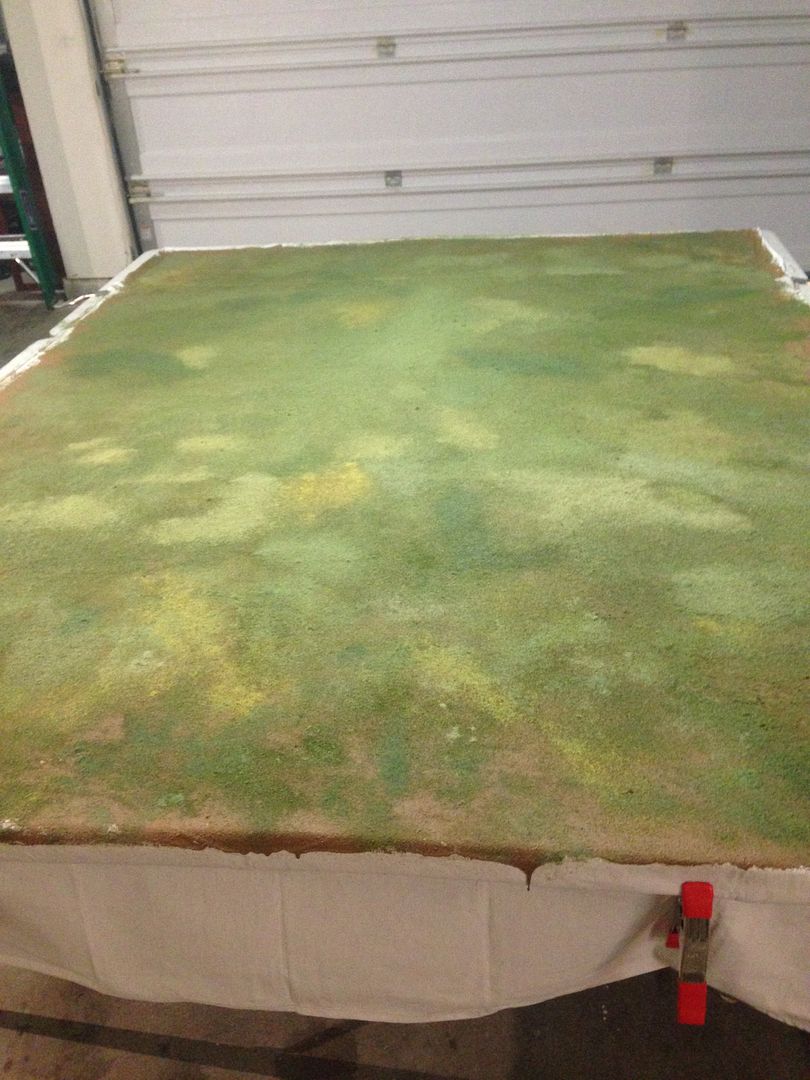
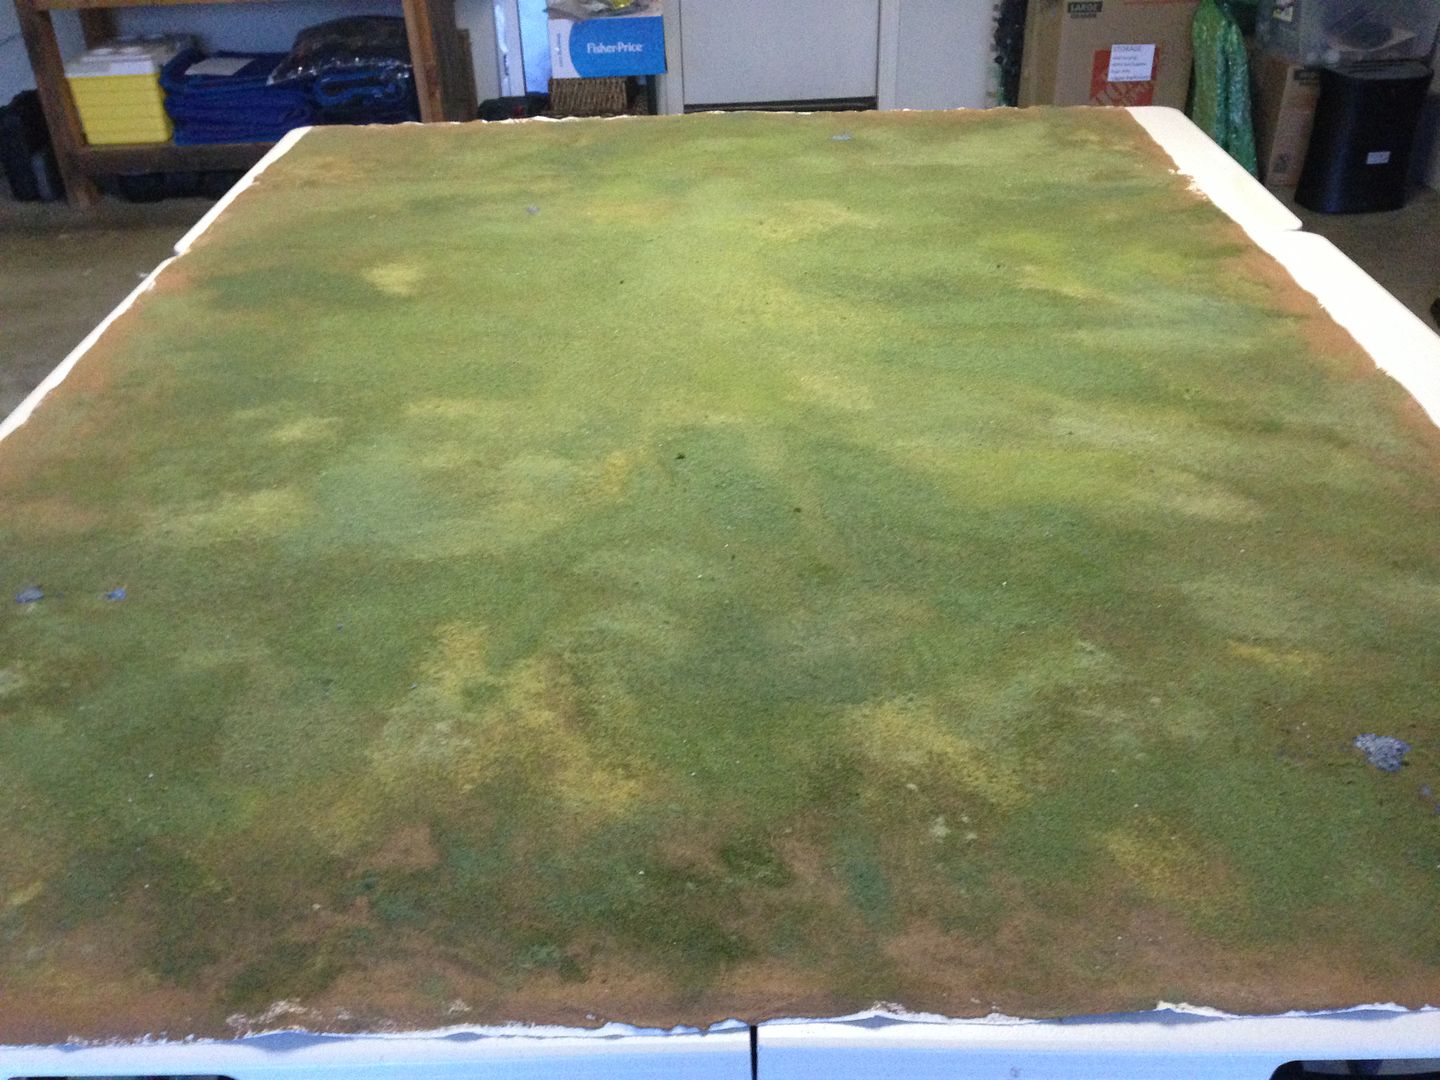
Final version.
[URL=http://s194.photobucket.com/user/stewwart_2007/media/wargame%20mat/IMG_1313.jpg.html]
[/URL]
[URL=http://s194.photobucket.com/user/stewwart_2007/media/wargame%20mat/IMG_1314.jpg.html]
[/URL]
[URL=http://s194.photobucket.com/user/stewwart_2007/media/wargame%20mat/IMG_1316.jpg.html]
[/URL]
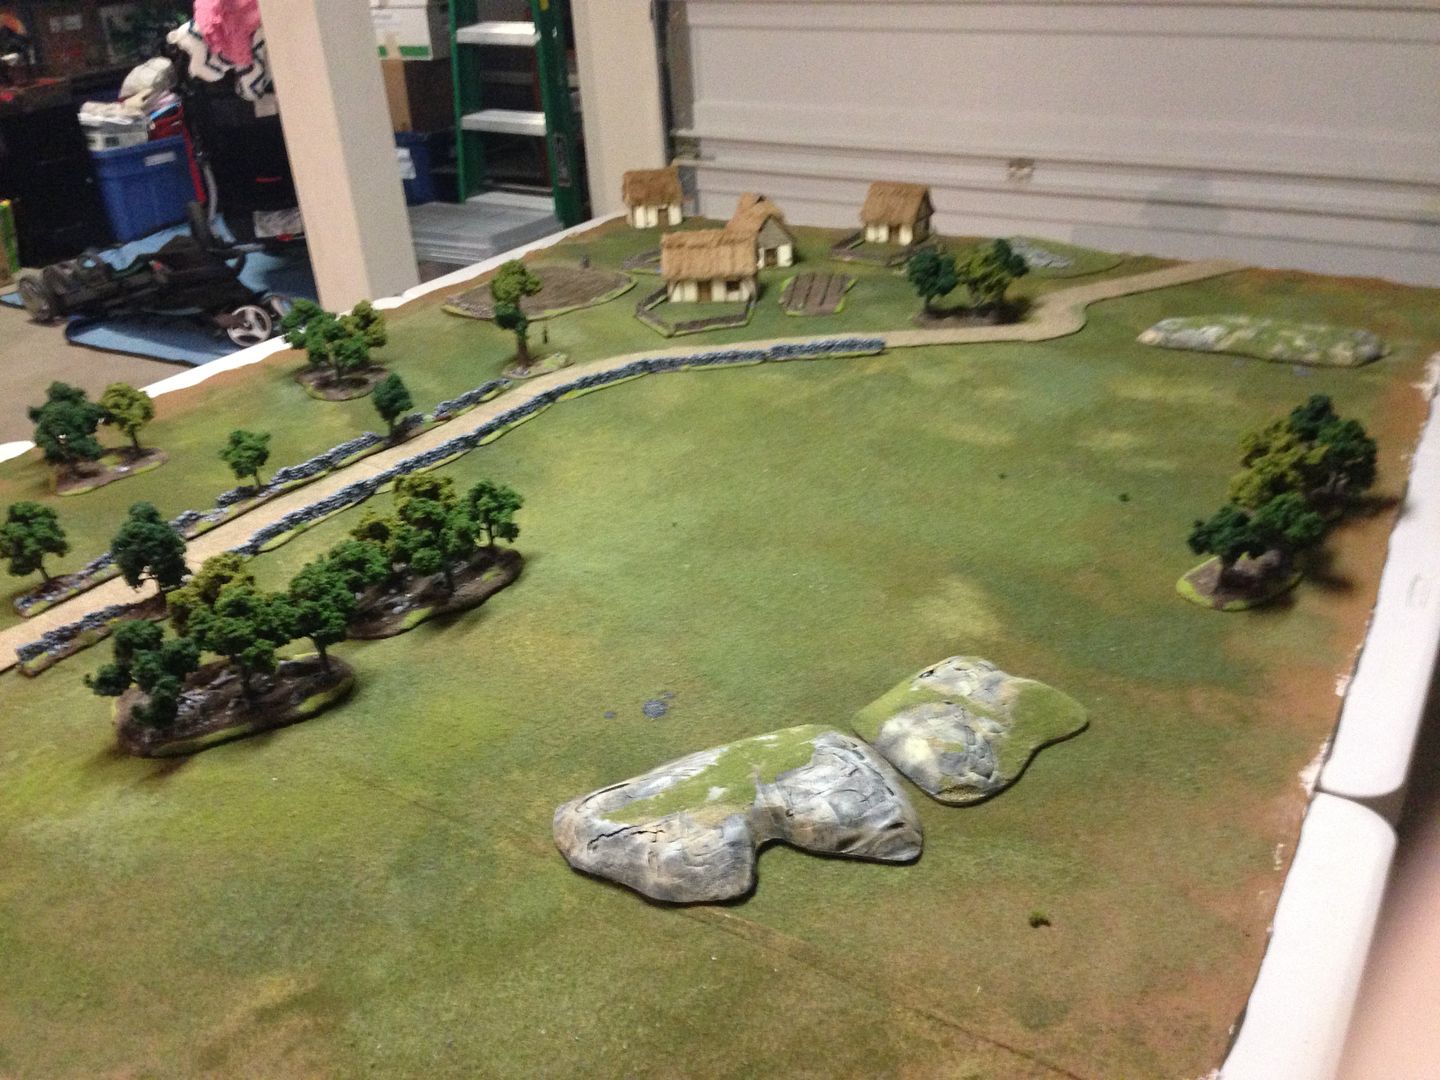
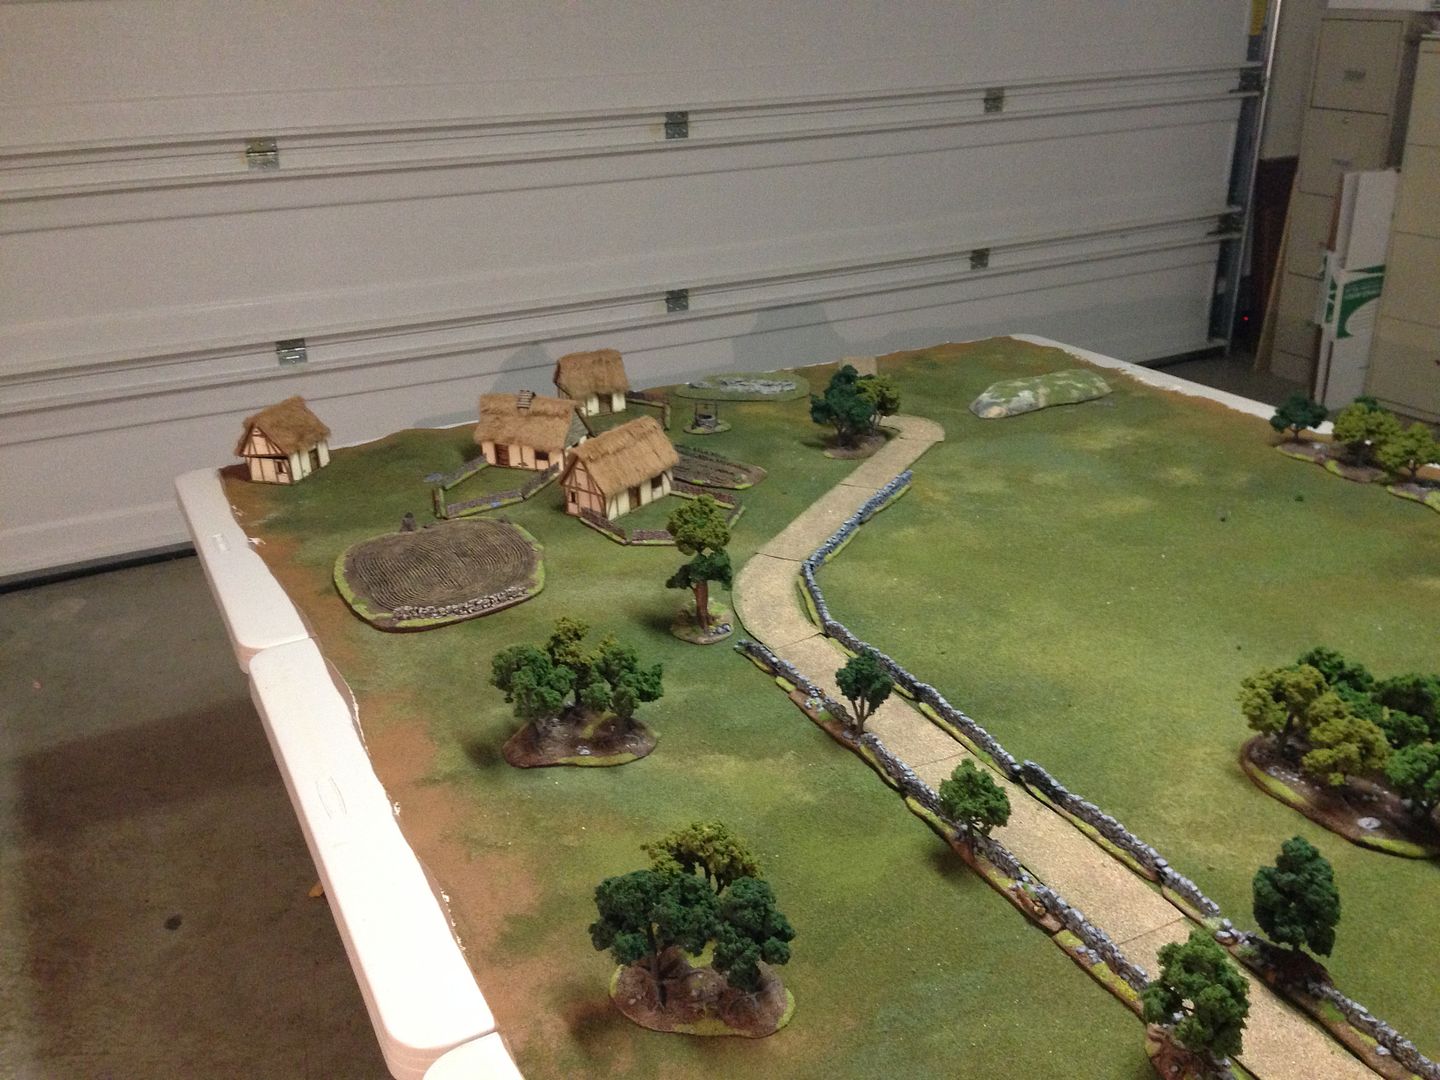
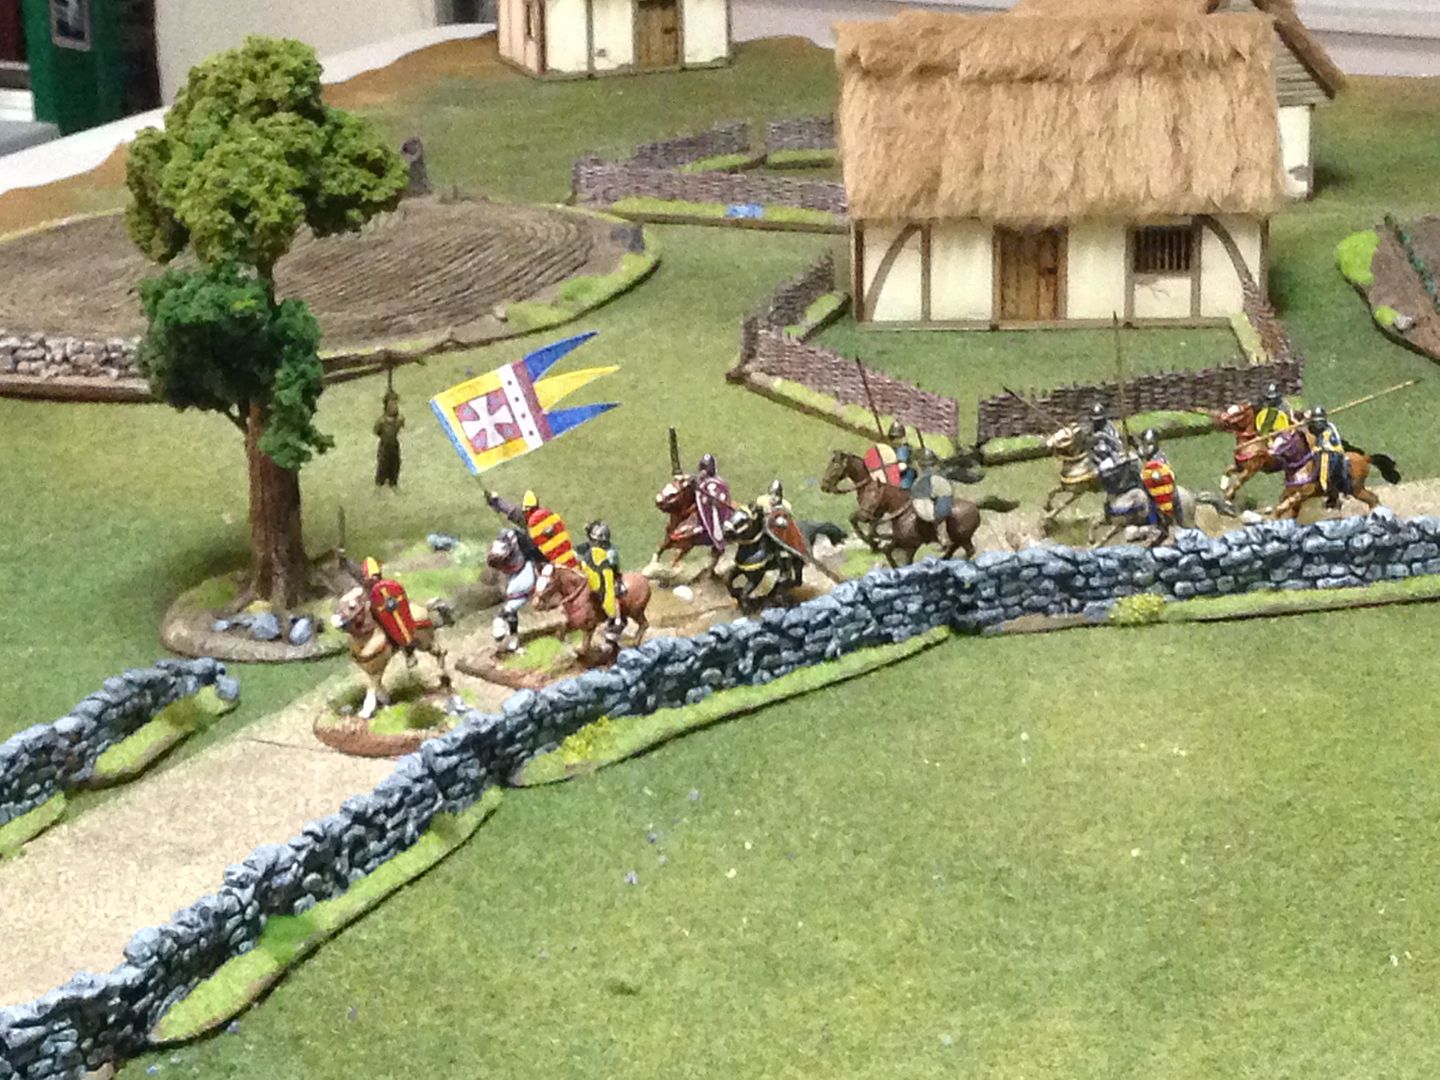
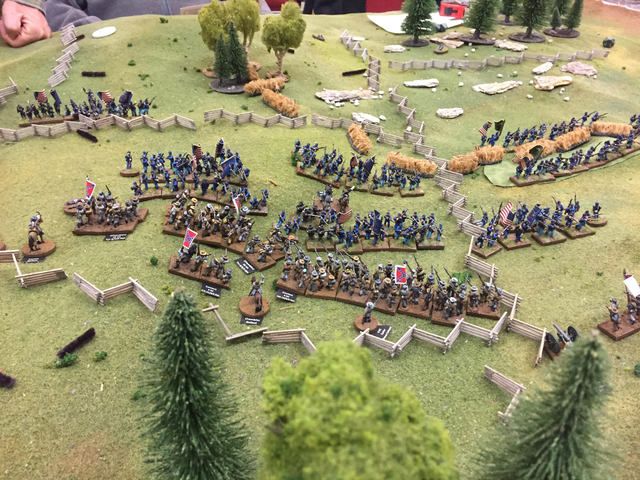
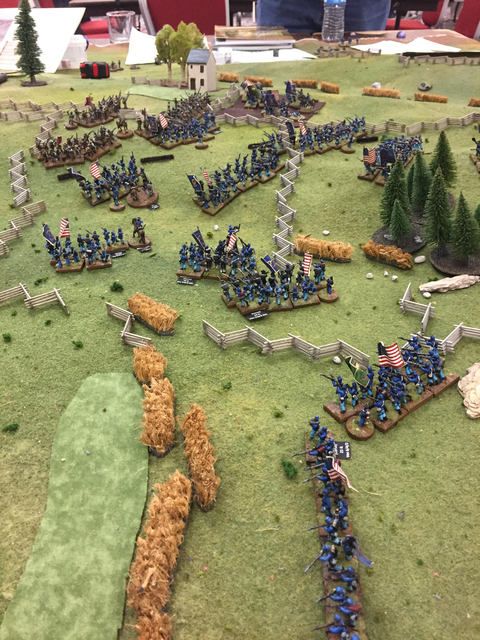
And of course, I couldn't help putting down some terrain. : )
[URL=http://s194.photobucket.com/user/stewwart_2007/media/wargame%20mat/IMG_1317.jpg.html]
[/URL]
[URL=http://s194.photobucket.com/user/stewwart_2007/media/wargame%20mat/IMG_1318.jpg.html]
[/URL]
[URL=http://s194.photobucket.com/user/stewwart_2007/media/wargame%20mat/IMG_1320.jpg.html]
[/URL]
[URL=http://s194.photobucket.com/user/stewwart_2007/media/wargame%20mat/IMG_1321.jpg.html]
[/URL]