awhile ago, i posted a thread about making a flexible game mat using the caulk on cloth method. i made one that measured 5 x 7.5 ft. can find the thread here:
TMP link
Now for Kublacon ( a big game convention in CA) i volunteered to run a game that used a 6 x 10 play area, so i had to get cracking and make another one, as i didn't have a 6 x 10 mat… : )
Nothing like a deadline to spark production.
i also wanted a 6 x 10 mat to play large multiplayer games like Hail Caesar, where the 5 x 7.5 was juuuust a little small.
trying some stuff different from last time; i used a thinner drop cloth than last time. the idea that it will drape better over hills placed under it.
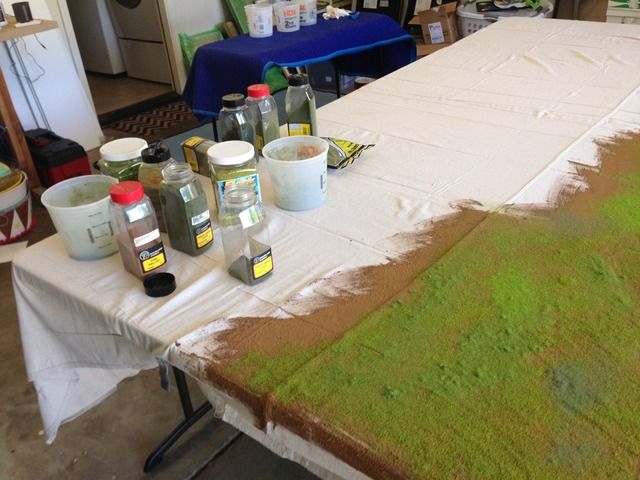
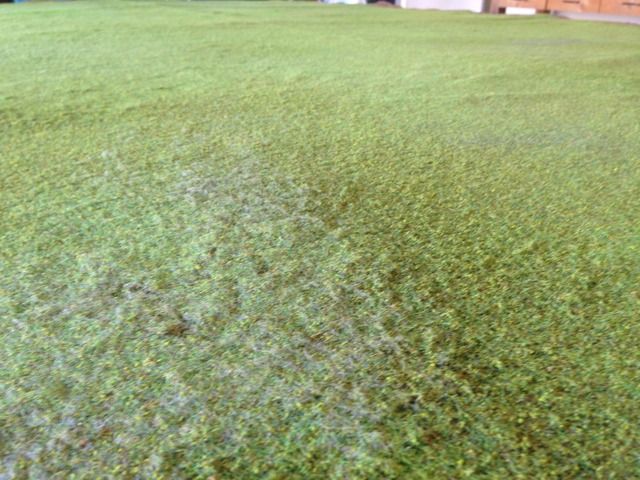
i learned last time that flock / turf works better than static grass, so i got more of those materials to use. basically i laid down the flock mix first and then went over it with static grass. i also got brighter colors from Scenic Express. I got some BIG tubs of the stuff, and laid it on pretty thick in the first application, and it provided much more coverage. if you compare pictures with the previous thread you can tell the difference. I also made sure i spread the flock to the very end of the mat.
last time i often applied materials in their 'pure' form, which resulted in some patches of color that were very stark and needed to be fixed. this time i prepared a lot more mixes ahead of time and barely used anything just by itself.
For a surface, I put 4 folding tables together which makes a 6 x 10 area. When I host at home I use the same folding tables to play on.
I forgot to leave some bare patches, oh well.
once again i clamped the drop cloth to the surface and had at it. there are some very good tutorials online but the process is very simple; mix together paint, ballast (i used fine ballast from woodland scenics and.. ground coffee), and caulk to get a mixture the consistency of toothpaste. slap it on to the drop cloth, drop flock and grass on it in large amounts while it is still wet, go in patches….
work your way around..
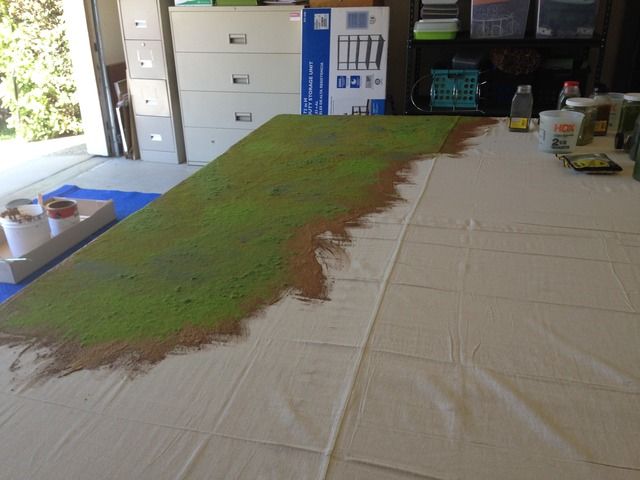
by the way, 6 ft across is indeed the MAX width of a game table. the center was not out of reach but not within easy reach…
you let it dry for a few hours or over night and then brush off all the excess and taadaa! you're done! you can, as i did, use watered down glue to add more flock/grass. let dry again…
now the drop cloth i used had a seam going down the middle which IS noticable, but i think this picture makes it appear worse than it actually is.. least I'll know where the middle of the table is.
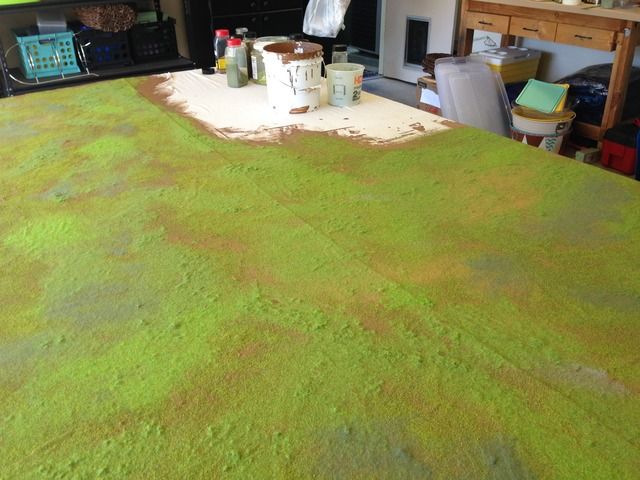
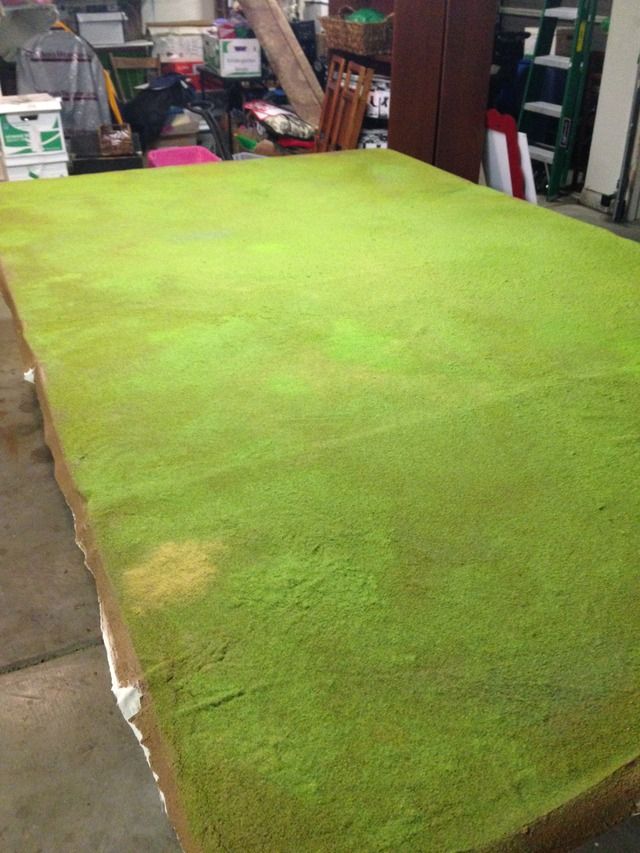
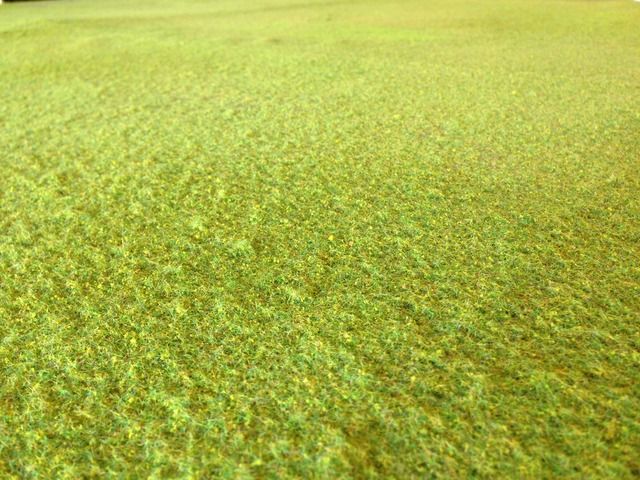
some close ups:
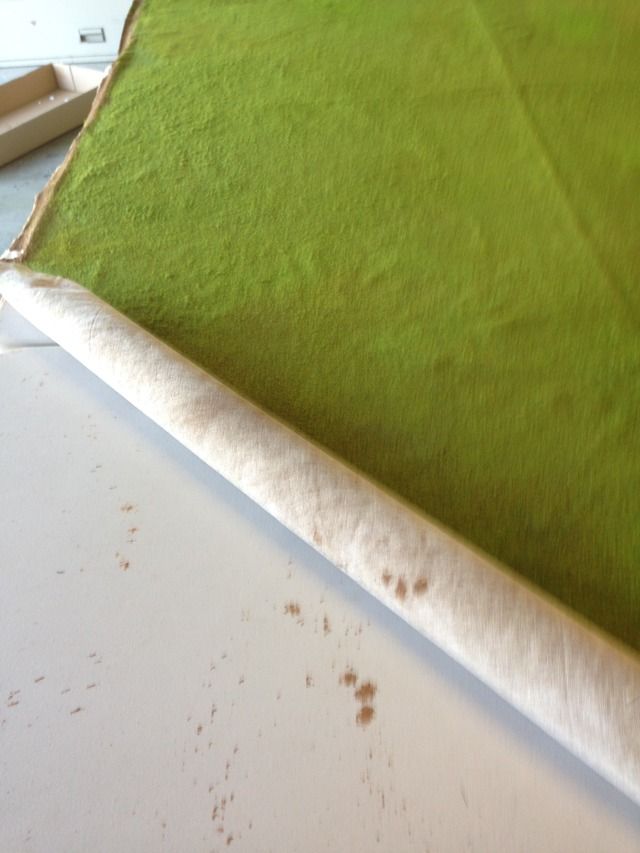
and of course, it rolls up
At the end I went around with more paint/caulk mixture and smeared it on the part of the drop cloth that went down the side of the folding tables, which made a border of about 2" around the actual game surface. This was messy as it dripped to the garage floor a lot. I did it with the idea that the extra border might look a little better and provide more material to clamp down the mat later. you can see it in the pictures.
This used about a gallon and a half of paint, and about 6 tubes of caulk. I think it came out well. My father in law, who is NOT a gamer, happened to stop by and saw it while it was drying and said "Wow, that looks like real grass." The second mat was also MUCH cheaper because I had so much materials left over from last time that I didn't need to buy as much.
Is it worth it? I think so. Over all the price of the 2 mats I have now is cheaper than if I went and bought commercial mats that cover the same area (say 3, each 6 x 4).
I also like the fact that these are original and won't look like anyone else's surface.
Hope this was helpful, and thanks for looking. Comments appreciated.