We played today an AZW skirmish with a collection and kit I've been working on for years, but finally got onto the tabletop here for the 1st time. The scenario had mounted contingents of Imperial and colonial troops supported by a few units of Wood's Irregulars venturing into northern Zululand and an area populated by the renegade Swazi Prince Mbilini, and his allies the abaQulusi Zulu.
Their mission was to perform reconnaissance, burn kraals, crops, seize cattle, and kill any Zulu encountered.
Hidden in the grasslands around Mbilini's settlements the prince had placed his warriors in hopes of ambushing this enemy patrol, and destroy it if it pressed too deeply towards his main village. Coming from the south were abaQulusi regiments hoping to hit the enemy in the flank, if the warriors could arrive in time!
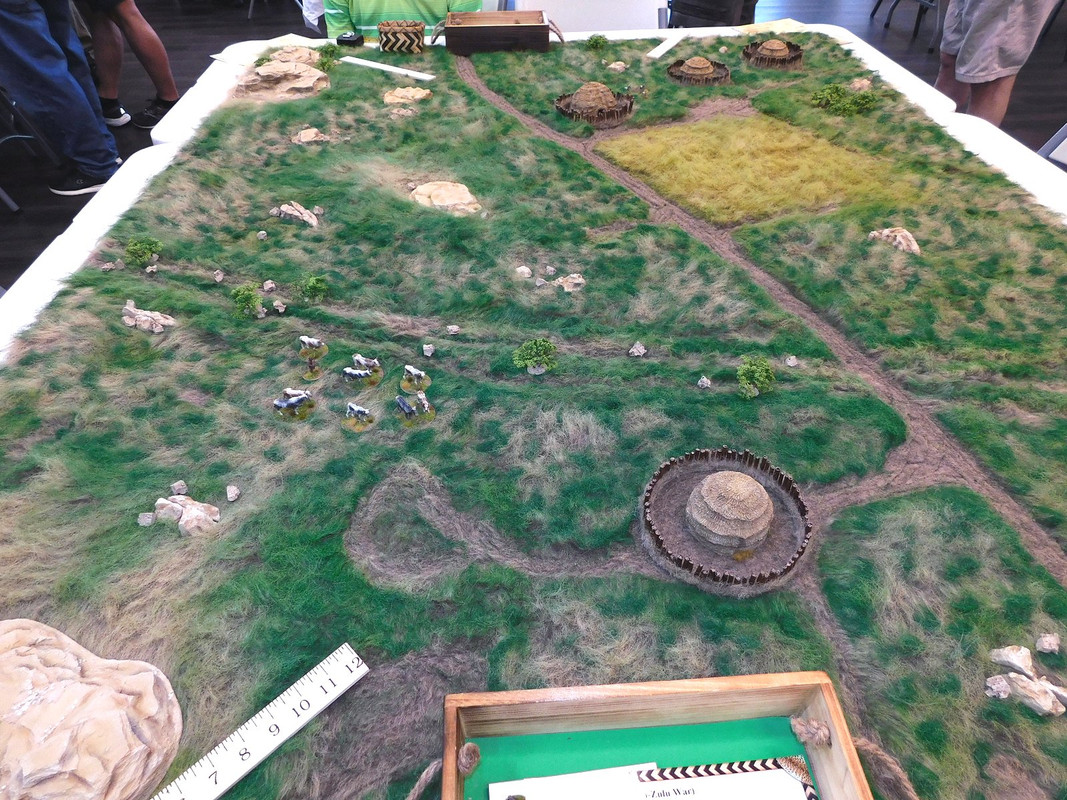
The battle area, with part of Mbilini's settlement at the far eastern end of the board -
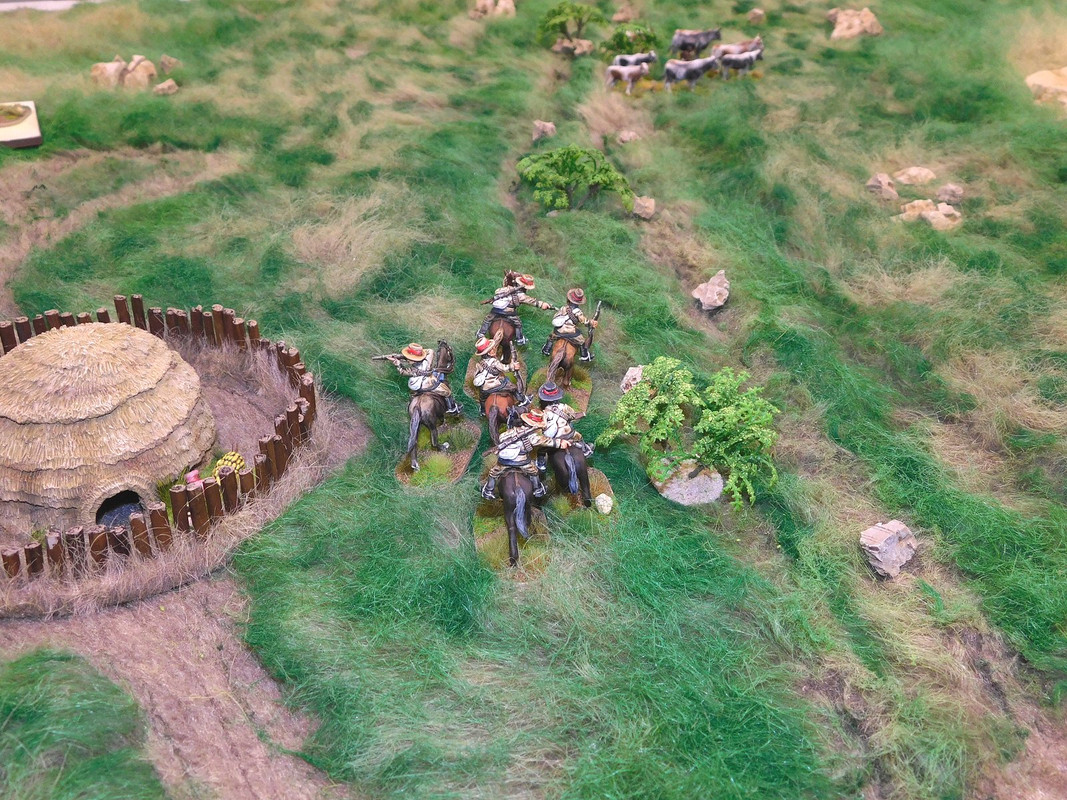
On the approach, the Colonial horsemen went about their business, here riding to overtake a retreating herd -
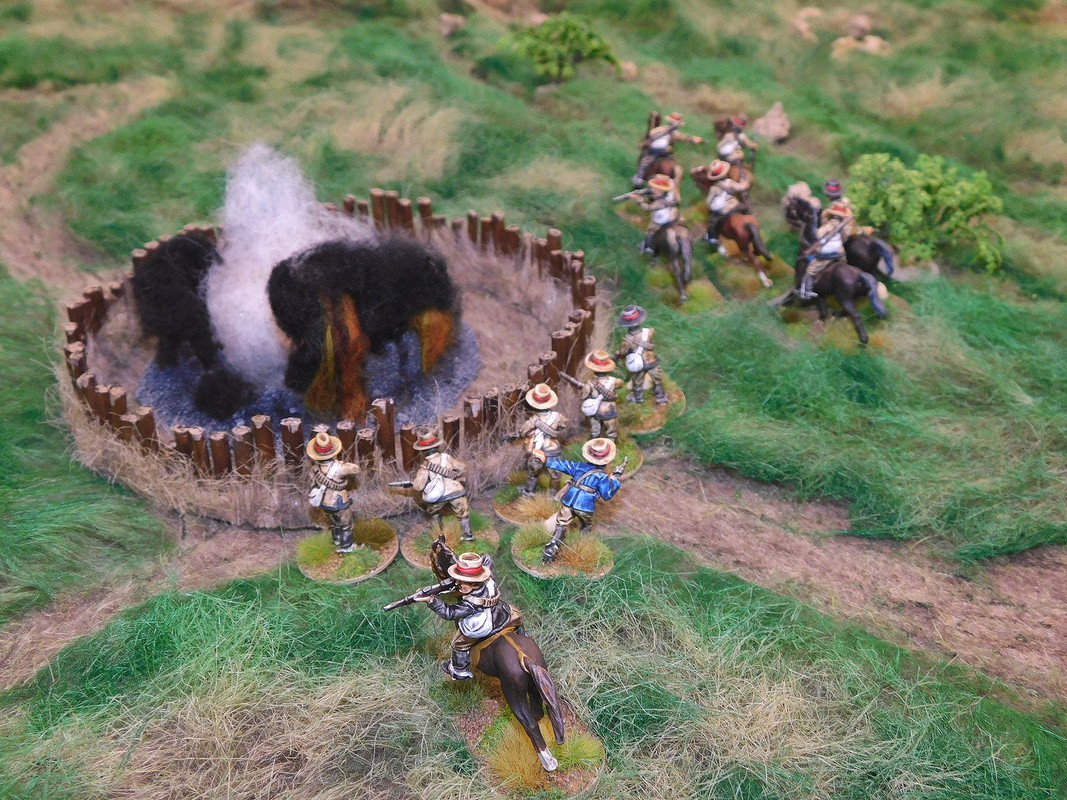
The following horsemen then setting fire to the abandoned kraal -
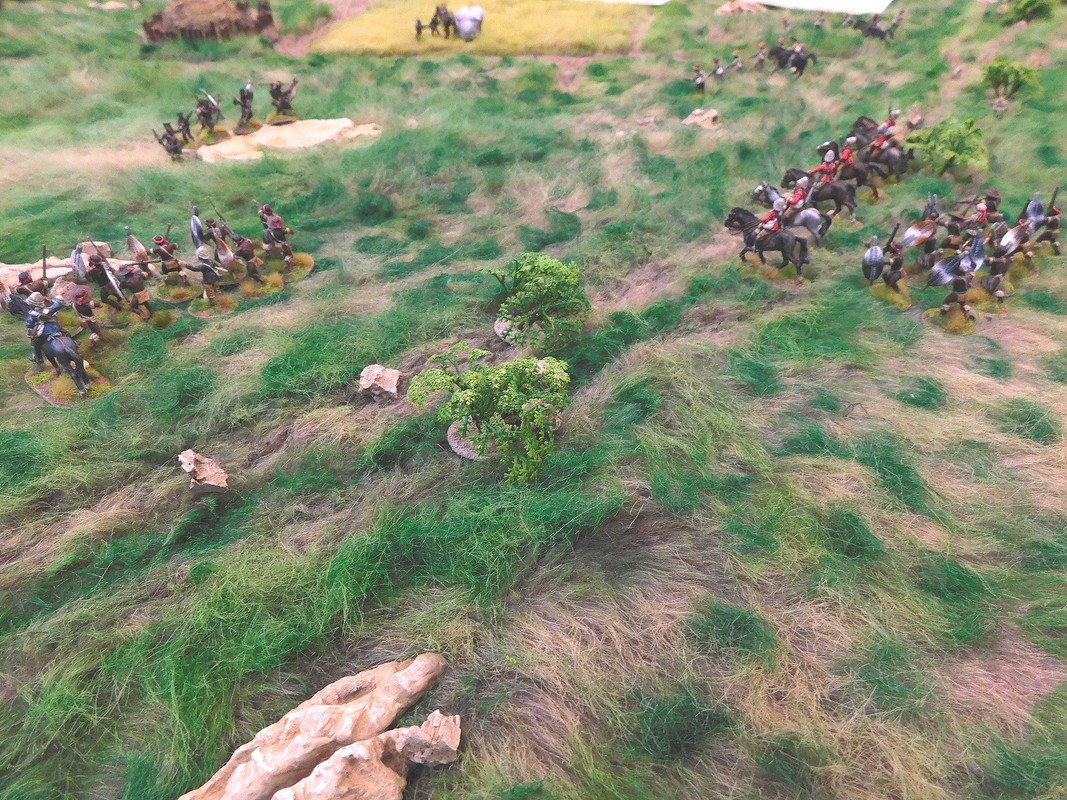
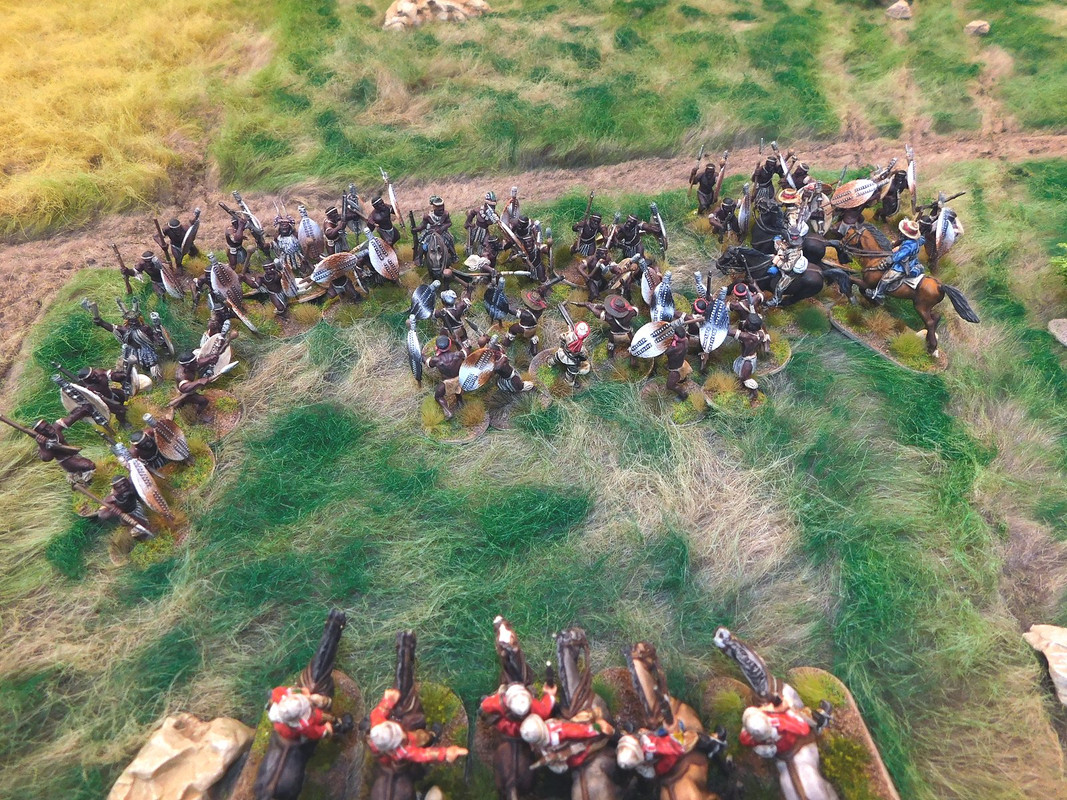
The two encroaching columns now joined up in a general advance towards the east, and began to flush out Mbilini's hidden positions -
At this point in time, the abaQulusi arrived from the south, and from their trot broke into a rapid charge, hitting the dismounted horsemen closest to their advance first. The light horse were overwhelmed, and the British Mounted infantry and Irregulars came on in an attempt to save their comrades, but also becaming pinned downed as the Zulu relentlessly closed in -
Commanders Buller and Russell were able to break from the field on their fast steeds, being the only survivors.
(postscript currently [and much needed] now on my painting table, a couple of reinforcing units of Imperial Line Infantry the British will no doubt be back in greater force next time!)