The whole ship seemed to be pulsating. Whether it was excitement, or the twin Belluzzo turbines pushing her along at 35 knots, Captain Carlo Margottini did not know. The gun flashes to the north had stopped but the glow of fires was still visible through the clear night as an Italian torpedo boat burned: three had gone up against the British cruiser only one got away. Messages from the sole survivor, the Alcione, gave Margottini the position.
Now it was the turn of his four destroyers, but there was a problem.
The rest of the 11th Destroyer Flotilla had misread his signal and had raced off to the north west, rather than follow him north. They were regrouping, but when he saw the gun flashes of the British 6" guns, and the shell splashes erupting all around him, Margottini suddenly felt very alone…
* * *
It is a truth, universally acknowledged, that a wargamer in possession of hindsight, is highly unlikely to repeat the mistake that his historical counterpart made…
Well, Jane Austin knew sod all about naval warfare!
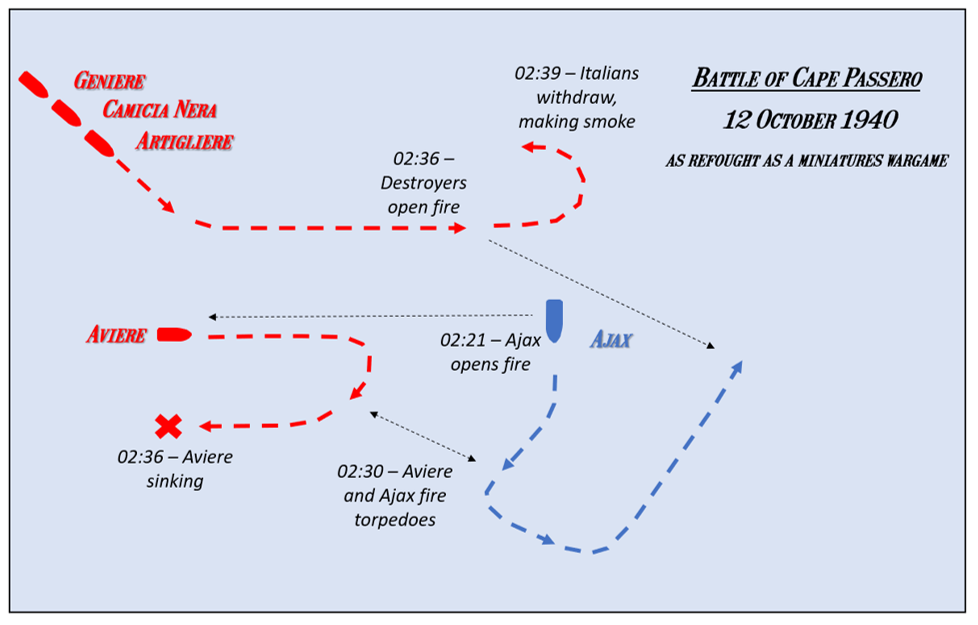
Henry and I had a cracking little action last night and I made exactly the same mistake as Captain Margottini in this encounter between the Royal Navy cruiser HMS Ajax and four Italian destroyers. Ajax was off the south eastern tip of Sicily, protecting the flanks of convoy MB6, when she was jumped by three torpedo boats. In a short, sharp action, she sank two. Only minutes later four destroyers, Artigliere, Camicia Nera, Aviere, and Geniere, arrived. In the historical engagement two would be badly damaged, one to be found and sunk the next day.
We would be wargaming just the destroyer action and this would be an interesting game. On paper the Italians look strong; four modern destroyers with professional and courageous crews, able to close the range under cover of darkness. Unfortunately, the Italians proved to be utterly unprepared for night actions, whereas the Royal Navy trained for it. To reflect this there were restrictions on spotting for the Italians and they also only had four Command Dice for each ship, to the British cruiser's five.
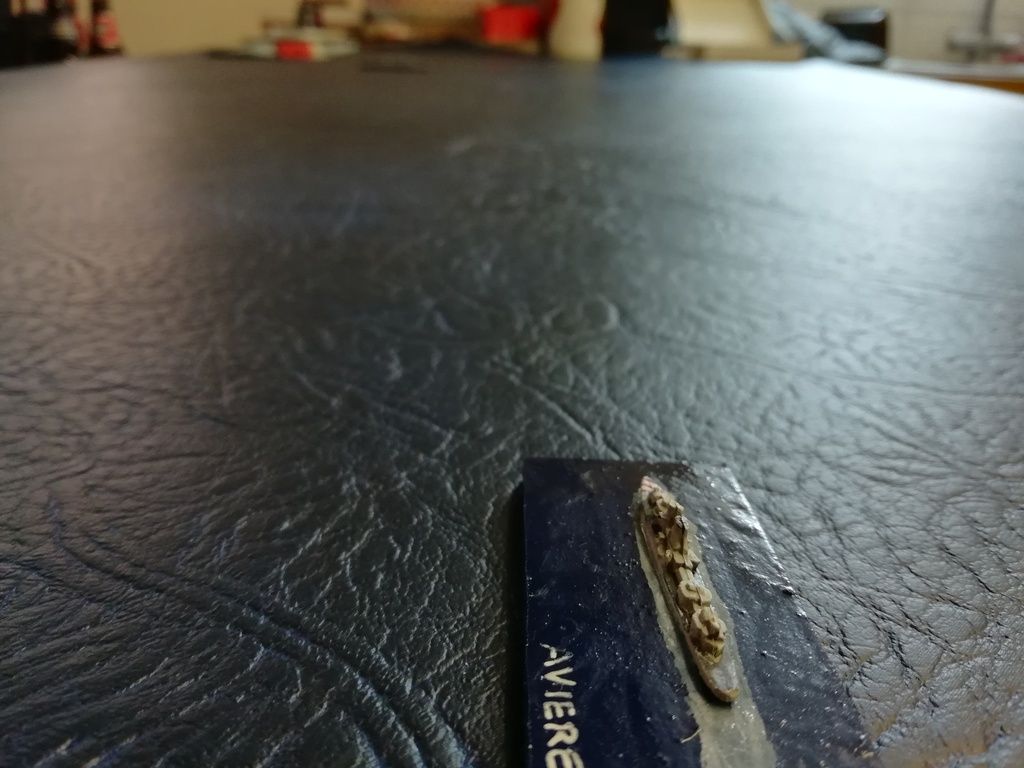
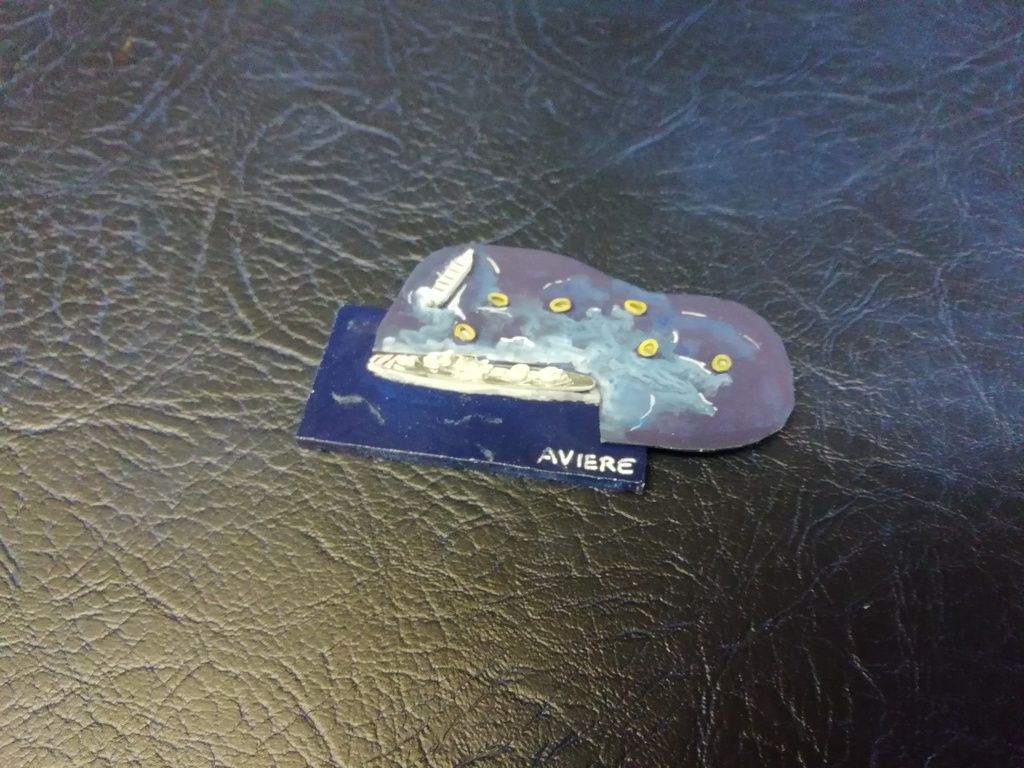
AVIERE, CLOSING AT 35 KNOTS
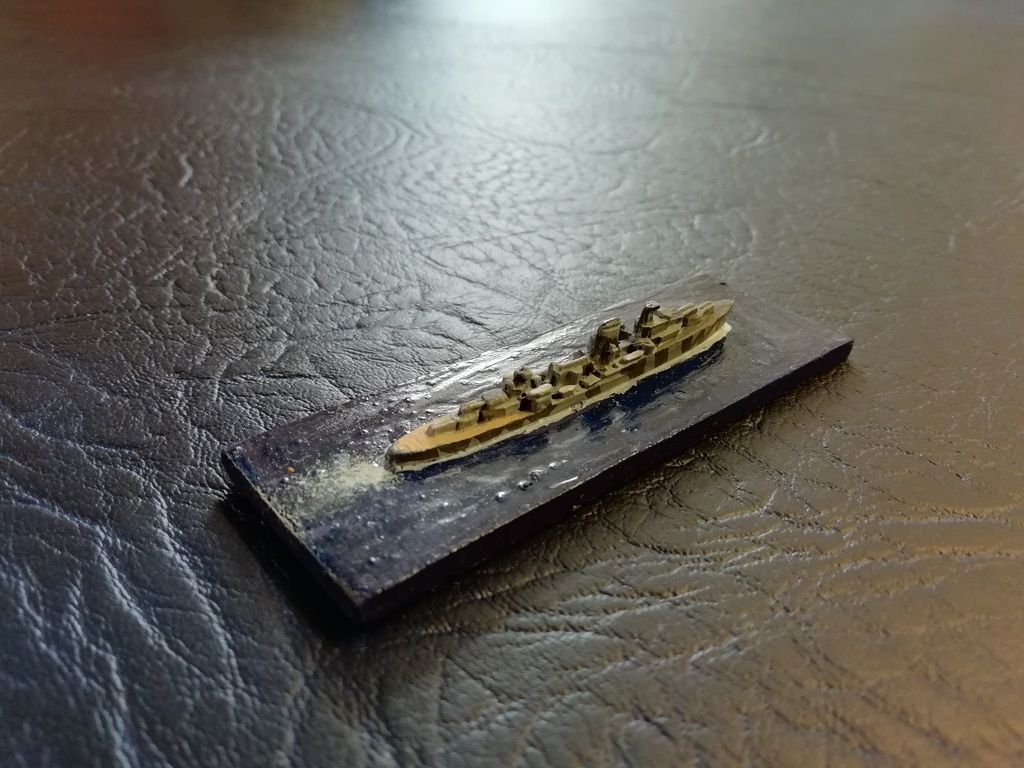
AJAX, SHORTLY AFTER HER ACTION WITH THE ITALIAN TORPEDO BOATS
At 02:18 Ajax spotted the Aviere approaching at high speed and Captain Edward Desmond Bewley McCarthy, RN (played by Henry) ordered his guns to action. Three minutes later the eight 6" guns fired, shells landing uncomfortably close to my ship. The other destroyers of my flotilla would arrive shortly, so I should have gathered my forces together for a coordinated torpedo attack, but the temptation of a quick run in was too much and I headed straight for the Ajax.
Then Henry made his mistake; my only hope with 4.7" guns against a cruiser was to get in close and Henry, at 02:24 obligingly ordered a turn to starboard, closing the range even further. It was a decision he made in the heat of battle and it was instantly regretted, though the first hits striking home on my gallant little ship were consolation. I took a hit on the waterline forward and, worse, a hit that damaged one of my screw-shafts, slowing me down when I needed speed.
HENRY'S RASH TURN TO ENGAGE THE ENEMY MORE CLOSELY!'
Undaunted, I continued to close until, at 02:27, I was able to draw onto a parallel course and launch three torpedoes. Ajax, too, fired her starboard torpedoes, though one had been used previously leaving just two.
At a range of just 5,000 yards the British cruiser commenced rapid firing. I managed to score a hit on X' turret, temporarily putting it out of action. In return, hits shredded my command; both turrets were destroyed, a fire was started and my electrical generator was knocked out, plunging the ship into darkness.
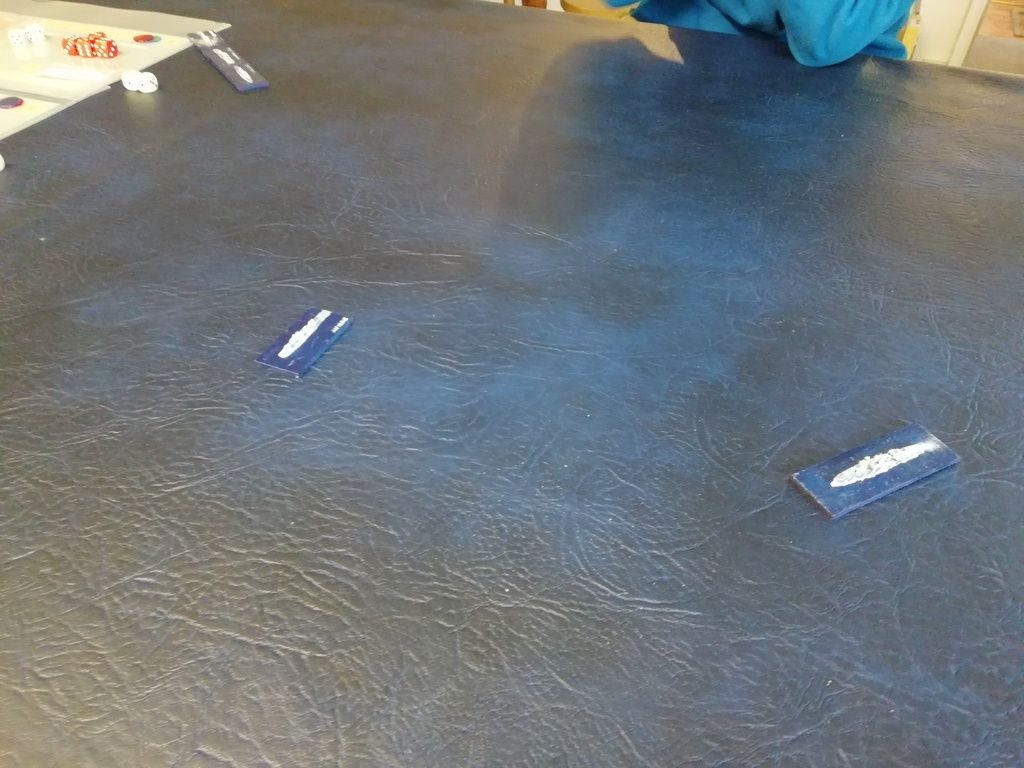
ACTION AT CLOSE QUARTERS THE REST OF THE 11TH FLOTILLA CAN BE SEEN IN THE BACKGROUND
Due to the torpedoes running, both ships put their helms over and combed the tracks, one torpedo passing within feet of Ajax's stern. On board the Aviere the situation was critical; I was slowing to just 10 knots due to hits in the aft machine room and a severed steam pipe. I did, however, manage to get the generator working again, but the fire was spreading and the flooding was getting worse.
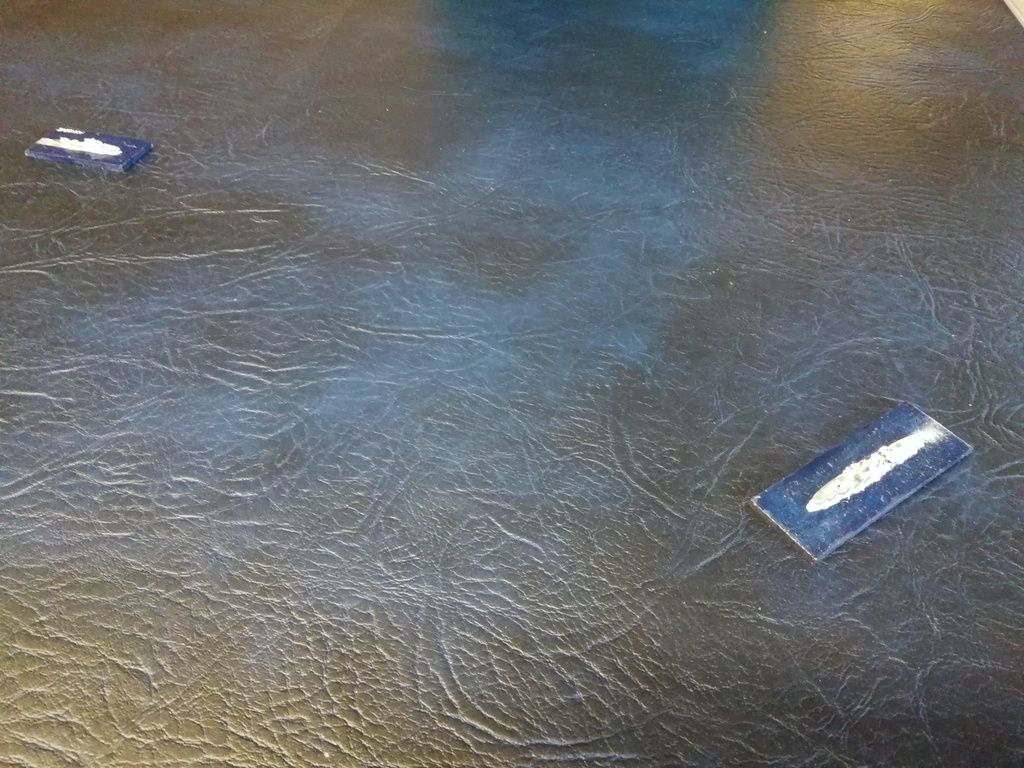
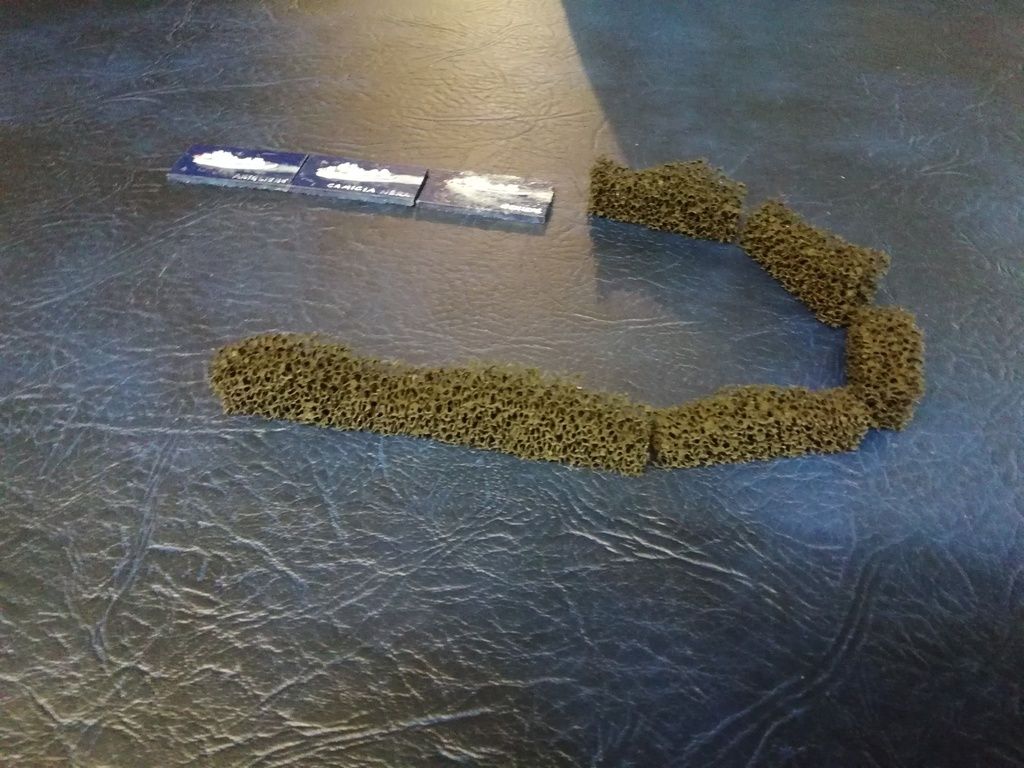
BOTH SHIPS TURN AWAY FROM THE TORPEDOES (THE DICE MARK THE POINTS AT WHICH THEY WERE LAUNCHED)
By 02:33 the list to port was so bad I couldn't fire my remaining torpedoes, even if I got the chance. On Ajax, the coolness and resolve of Lt. Robert Clark (Royal Marines) sorted out the mess in X' turret and got it firing again, earning him a DSO. With a full broadside, Aviere didn't stand a chance: further hits caused her to settle by the stern, capsizing shortly later.
ABANDON SHIP!
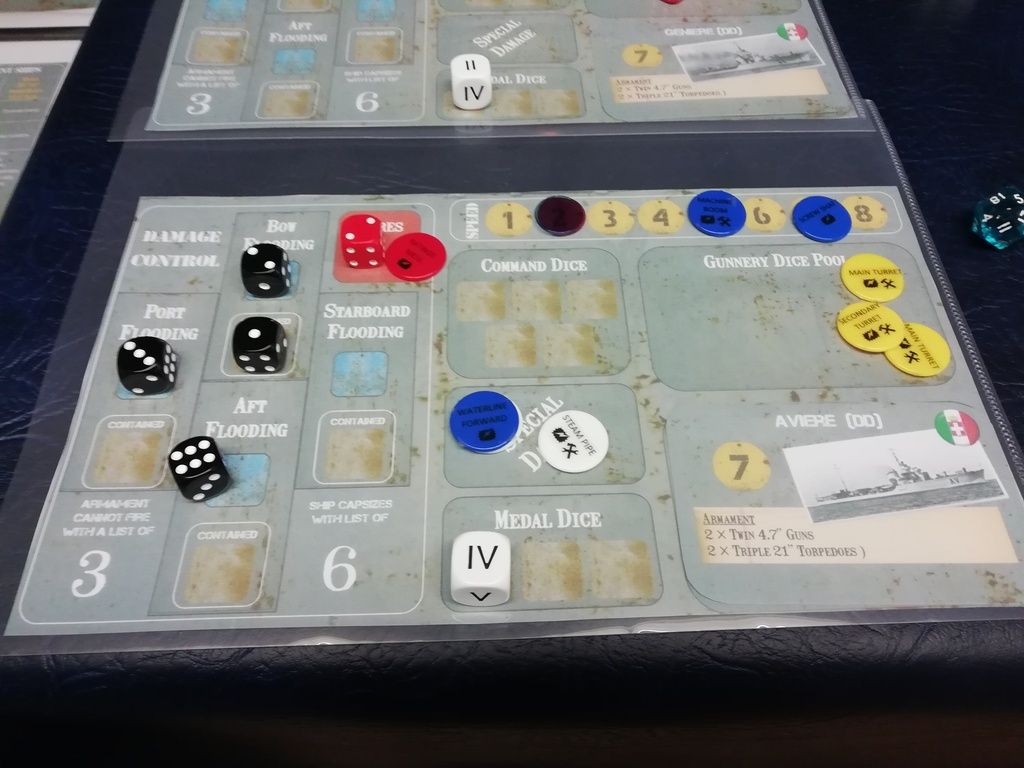
THE BRIDGE BOARD' TELLS A SORRY TALE
It was at this point that my other destroyers finally entered the fray, Artigliere scoring a glancing hit on B' turret. It was too late; with the loss of my flagship I failed my resolve check and, no sooner had they arrived, they retired again making smoke.
THE ITALIANS RETIRE
Ajax did consider giving chase, but a 4.7" shell from the Camicia Nera through her funnel was reminder enough that there was still danger in engaging destroyers at close range and, at 02:42, Ajax disengaged.
So, with all the benefit of hindsight and knowing the Italians failed because they attacked piecemeal, I did exactly the same thing. Henry was lucky to get away with closing the range at such little cost; the hit of X' turret was only able to cause damage because of the short range, but he fought his ship well and thoroughly deserved his victory.
Nick