Howdy,
On Friday morning (7/13), I ran a Dark Age skirmish game at Historicon '18. The playtest for the game was previously posted:
theminiaturespage.com/boards/msg.mv?id=482561
The game was played with 15mm Essex figures using the draft rules, So Convenient for Hewing. I refer you to the prior post for a description of the game. … without further adieu, photos of the game:
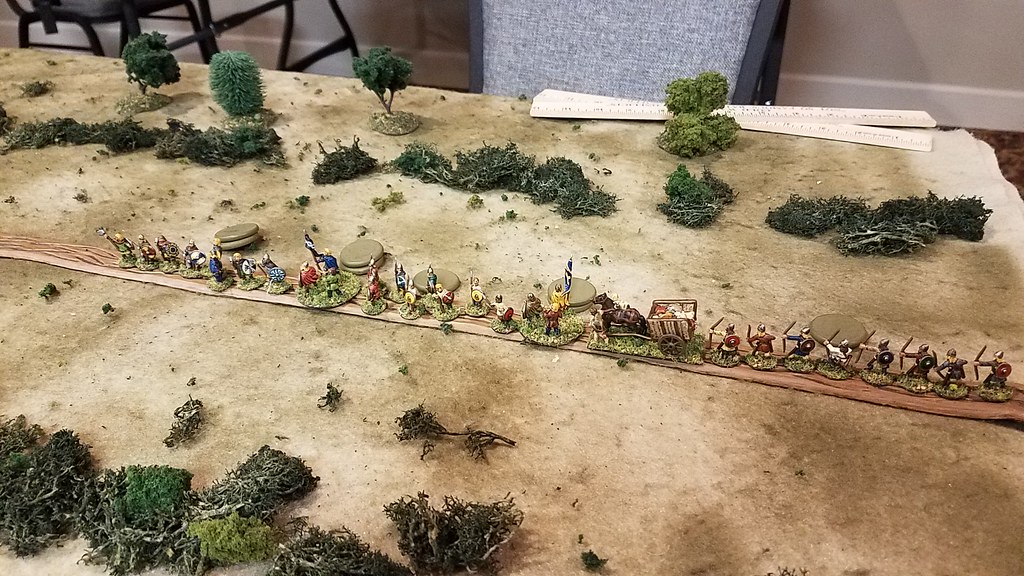
Photo 1 Viking march column at start
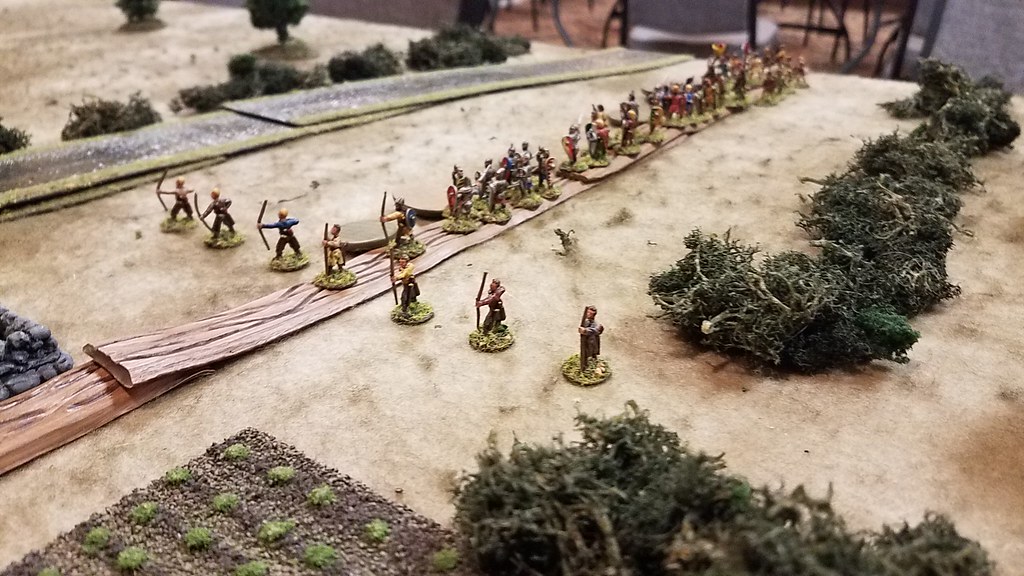
Photo 2 Fyrd march column at start
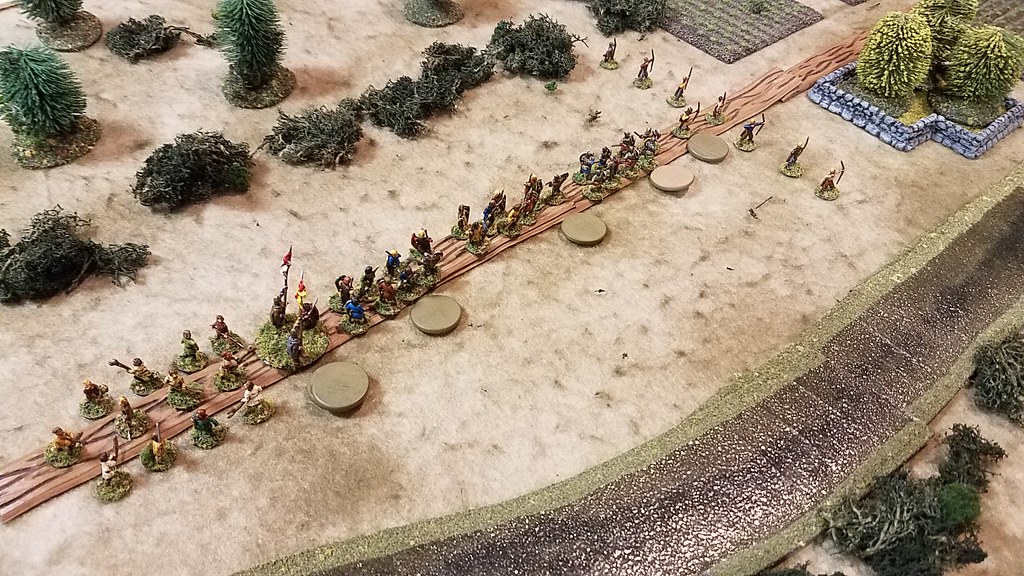
Photo 3 Another Fyrd view at start
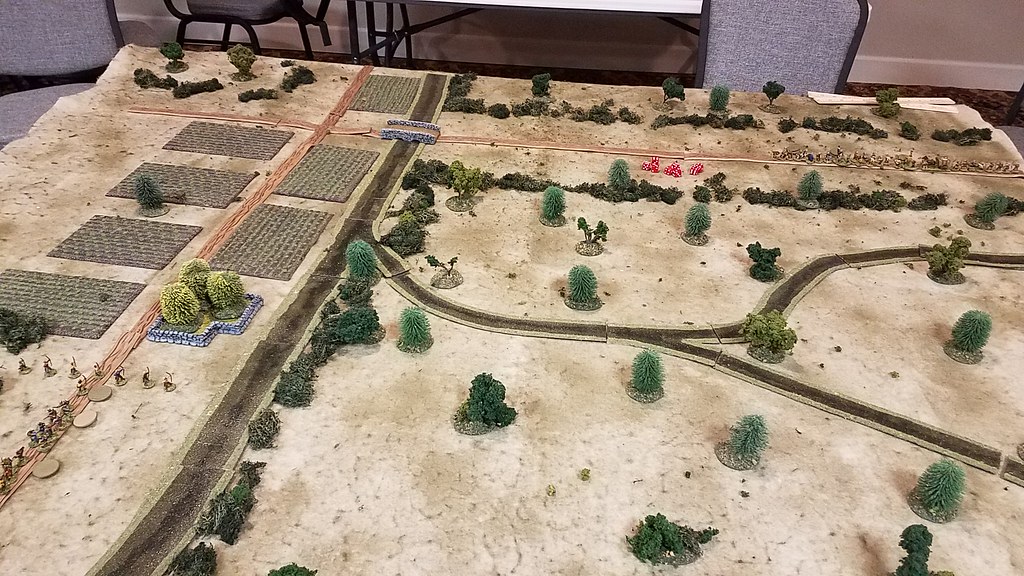
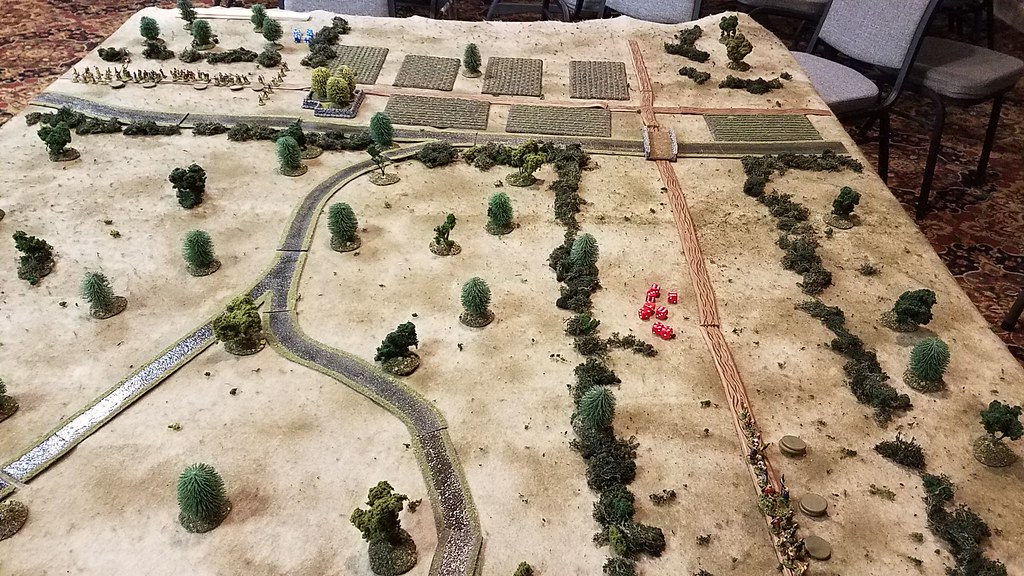
Photo 4 Terrain overview No. 1
Photo 5 Terrain overview No. 2 (orthogonal to No. 1)
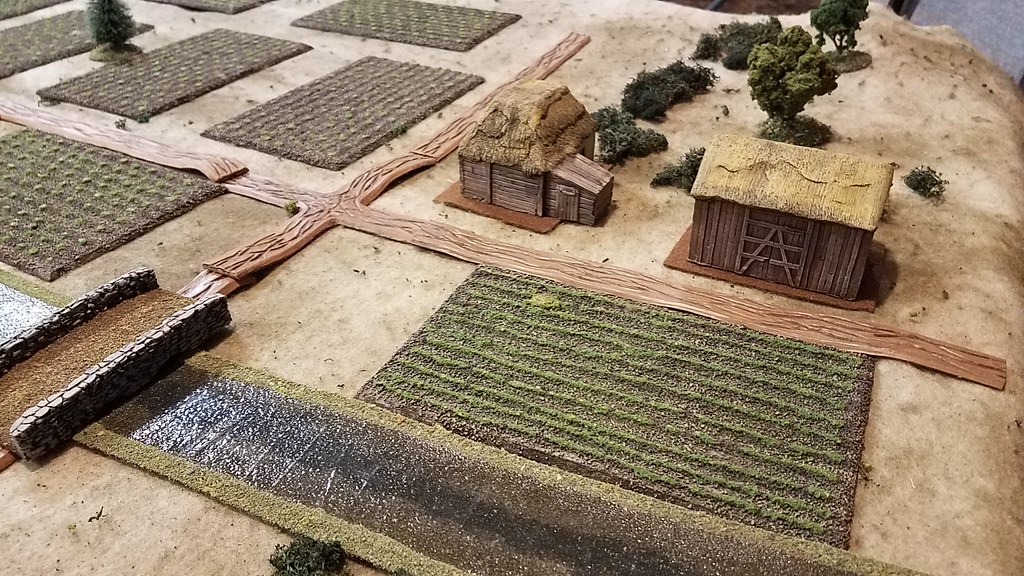
Photo 6 Warwick Bridge and Bertwick's Cross (and Bertwick's Farm)
Photo 7 Vikings cross the bridge and deploy
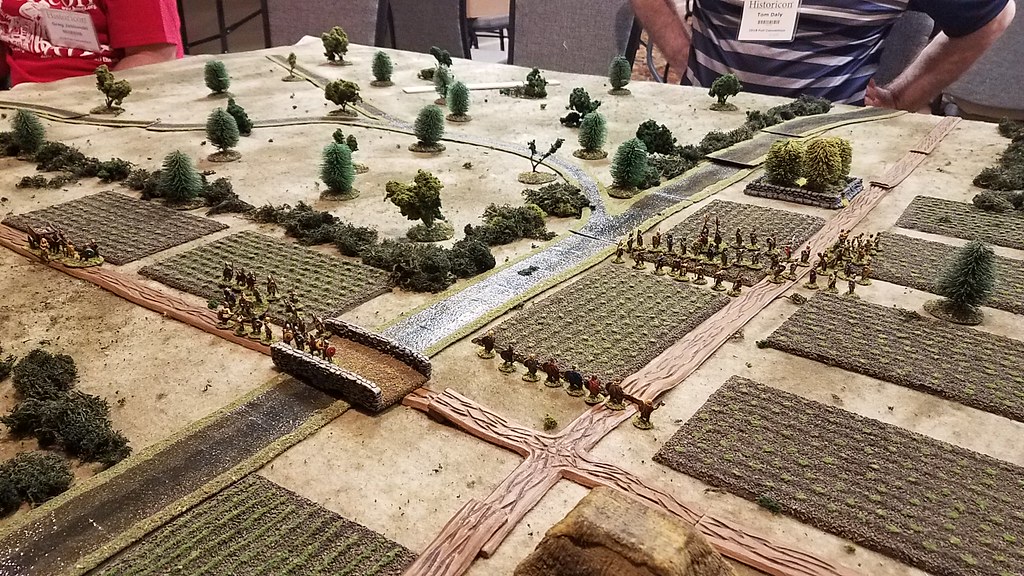
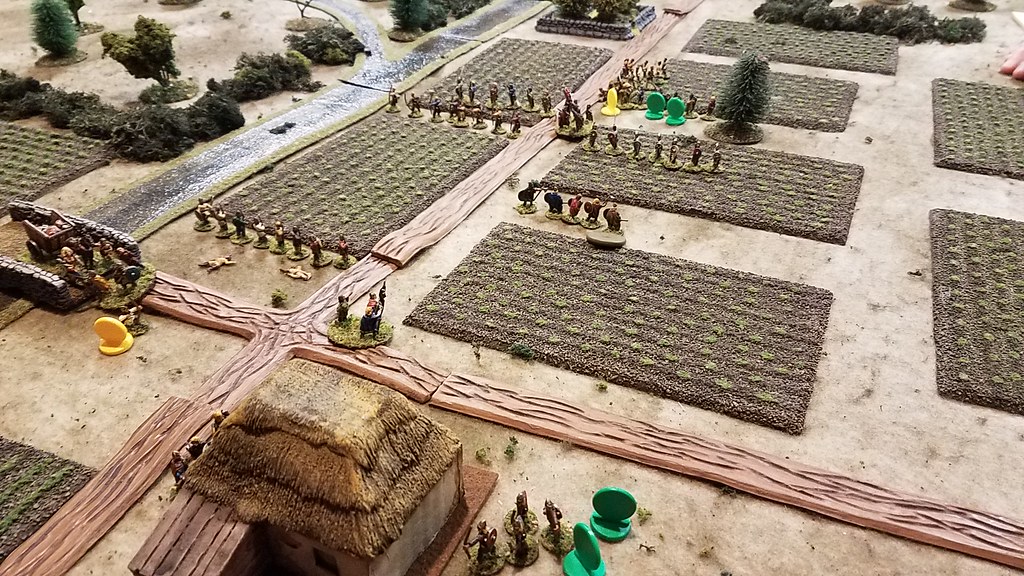
Photo 8 Just prior to the first clash of arms arrow fly!
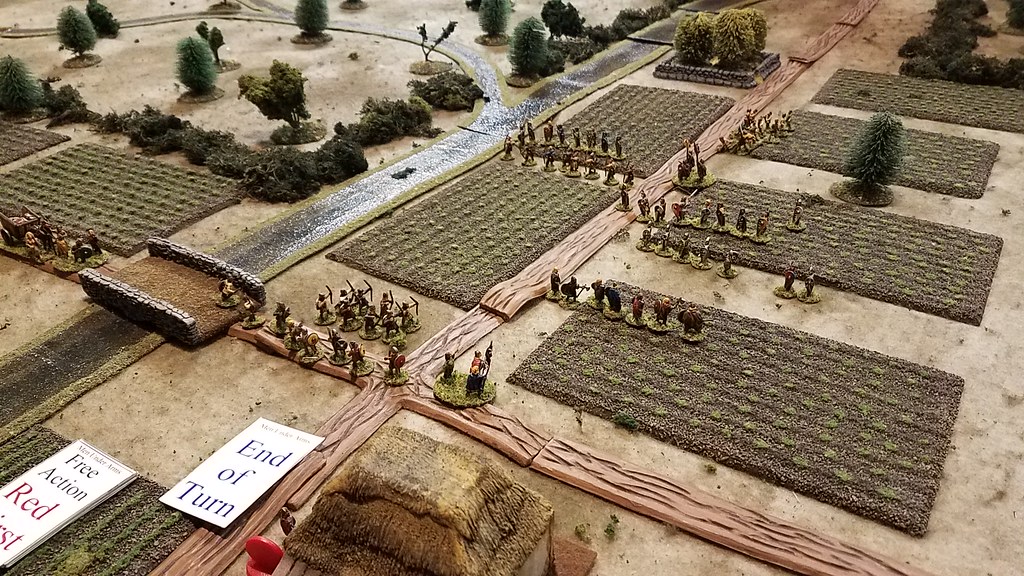
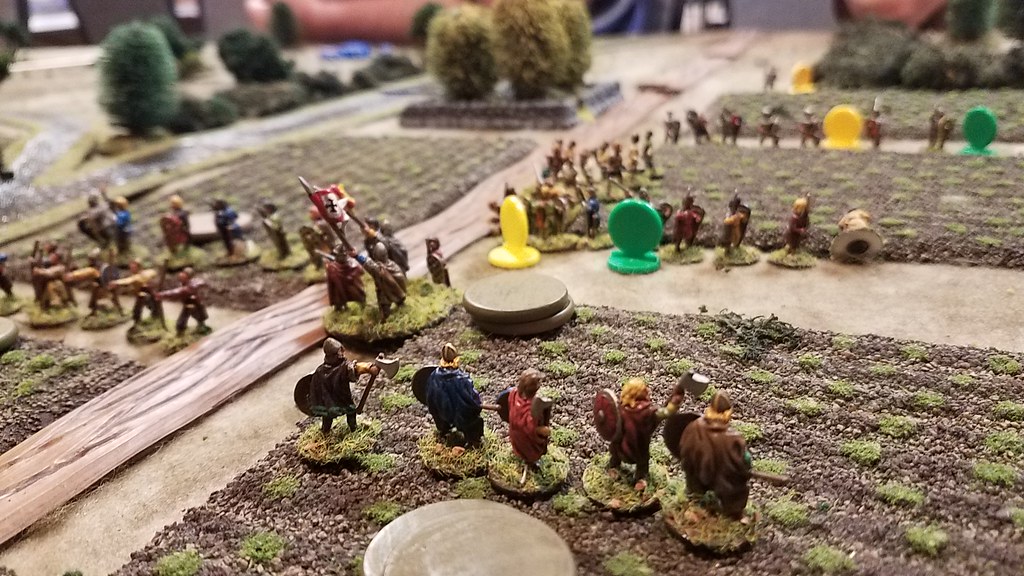
Photo 9 The Vikings charge, routing the first line. When a unit fails morale, it is treated as a green unit for the next turn (and remainder of this one) thus the green colored markers.
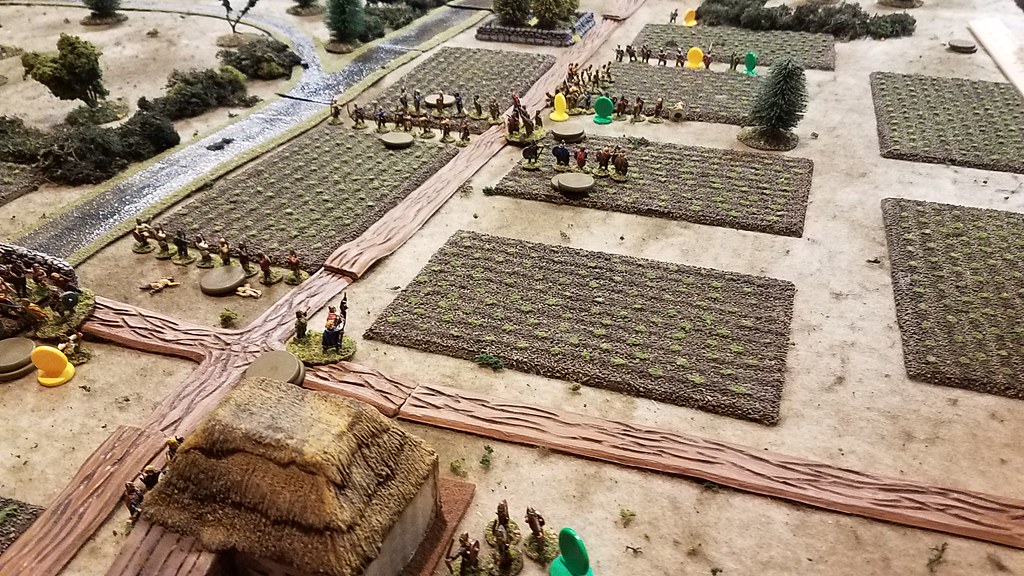
Photo 10 The second line of Fyrd is scattered as well. "… and there's none that can stand them, unless they're downwind."
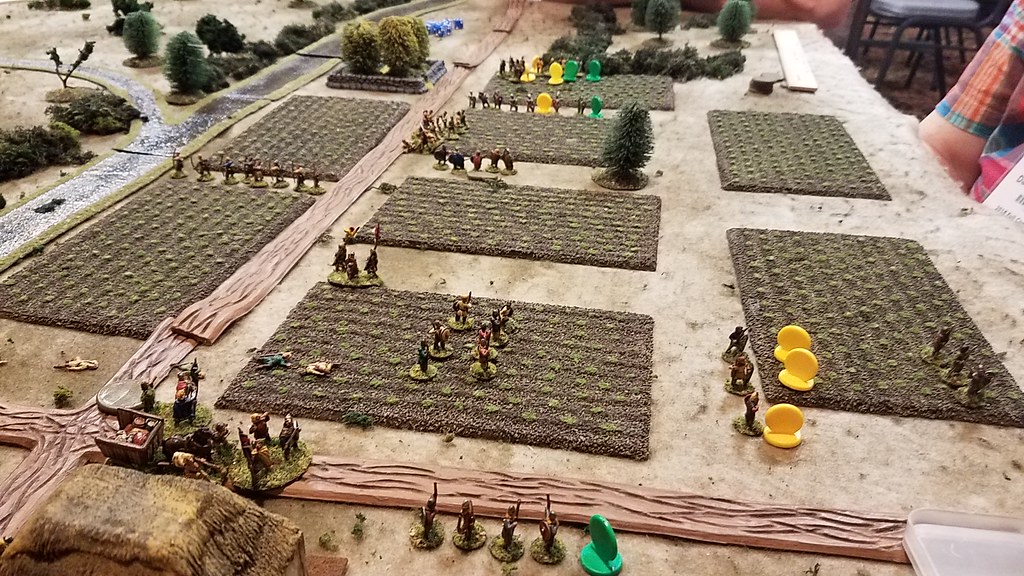
Photo 11 Viking archers driven back by the relentless fire from the Fyrd archers.
Photo 12 At this point, we called the game. It was obvious the Fyrd, despite their numbers would not stop Torik from getting the loot back to his ships.
I believe a fun time was had by all. Thus concludes this retelling of Torik's Raid and the Battle of Warwick Bridge (history has forgotten Bertwick, although Bert was pleased his farmstead was unburnt).
The convention game ran much the same course as the playtest.
Ponder on,
JAS


")