Hi all,
I usually post an AAR of the HAWKs monthly retiree game on the CD Forum, but the problem with large posts persists. So I'm posting here as an alternative.
Yesterday we played the April 2018 game in the HAWKs retiree series. As Ive told you, we're playing through Jake's scenario books, currently "From Normandy to Lorraine." This time we played scenario 2 – "Panzer Lehr Redux."
The Game, Intro
This game is set in France on July 11, 1944 as the Germans desperately try block the American Advance toward St Lo. Panzer Lehr sent Panzergrenadier Regiment 901 head on against the American 9th Infantry Division. Geoff Graff, Eric Schlegel and I played the Germans. Kurt Schlegel, Bruce Kohrn and Chuck Frascatti played the Allies.
Game Play
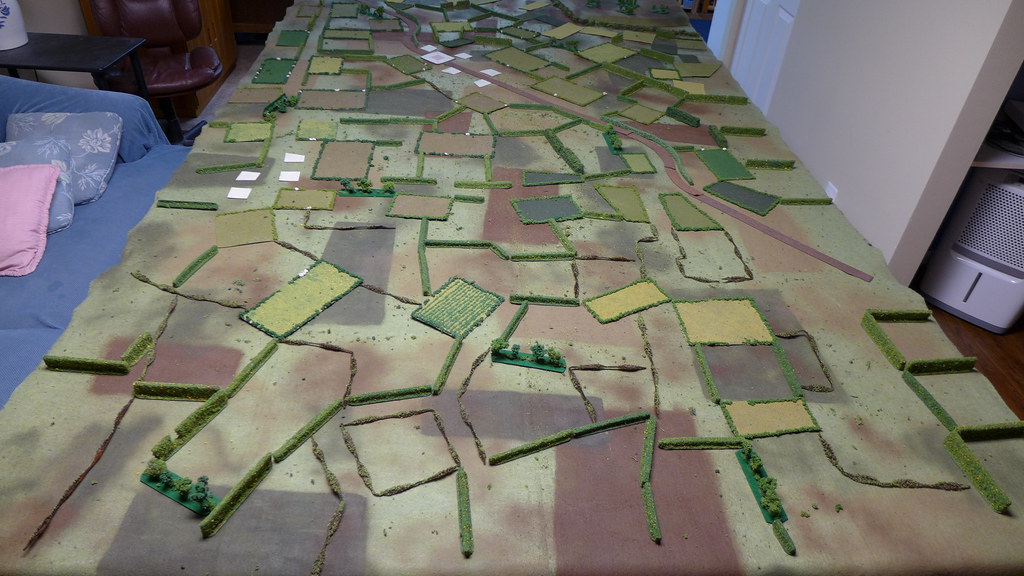
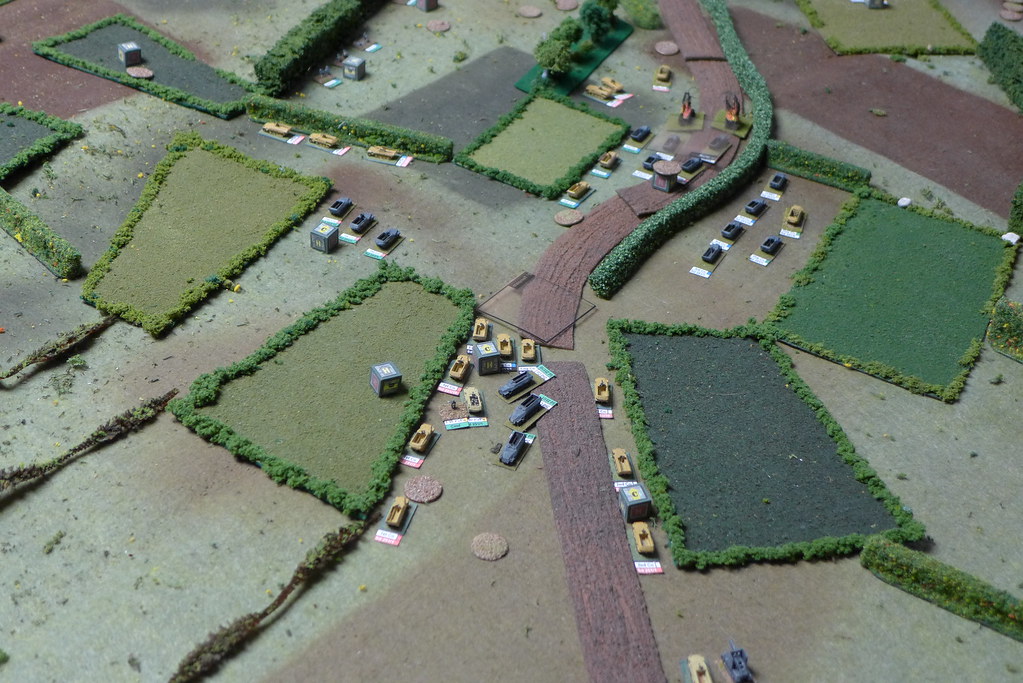
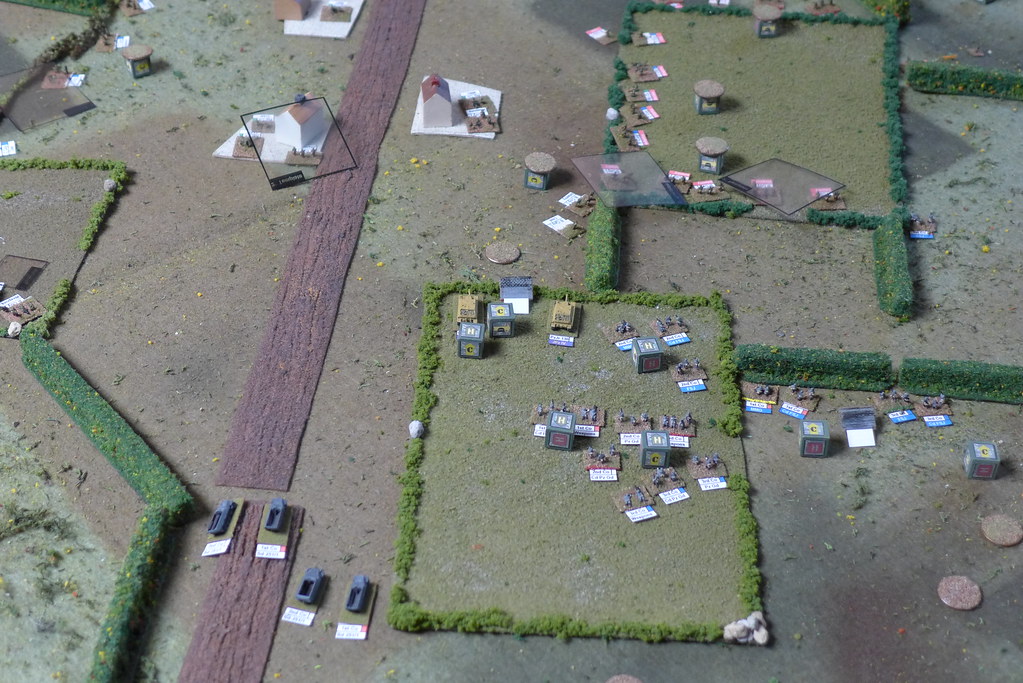
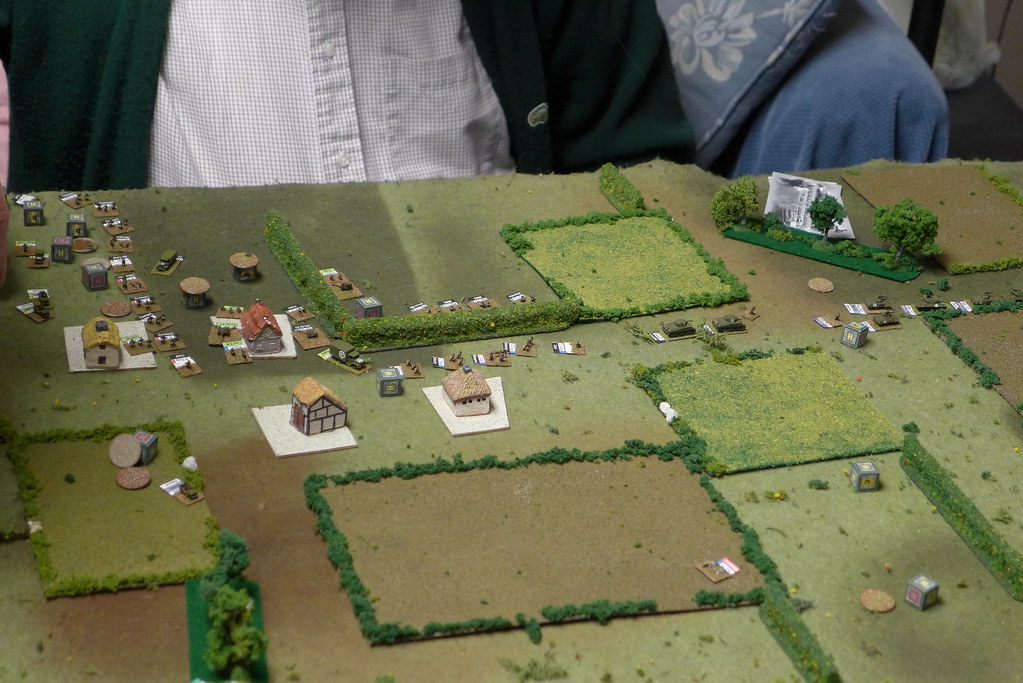
The table set up looking west.
The Americans are deployed in the towns and near the middle of the far end, reinforcements entering from the right. The Germans deploy on the left, reinforcements coming from the left.
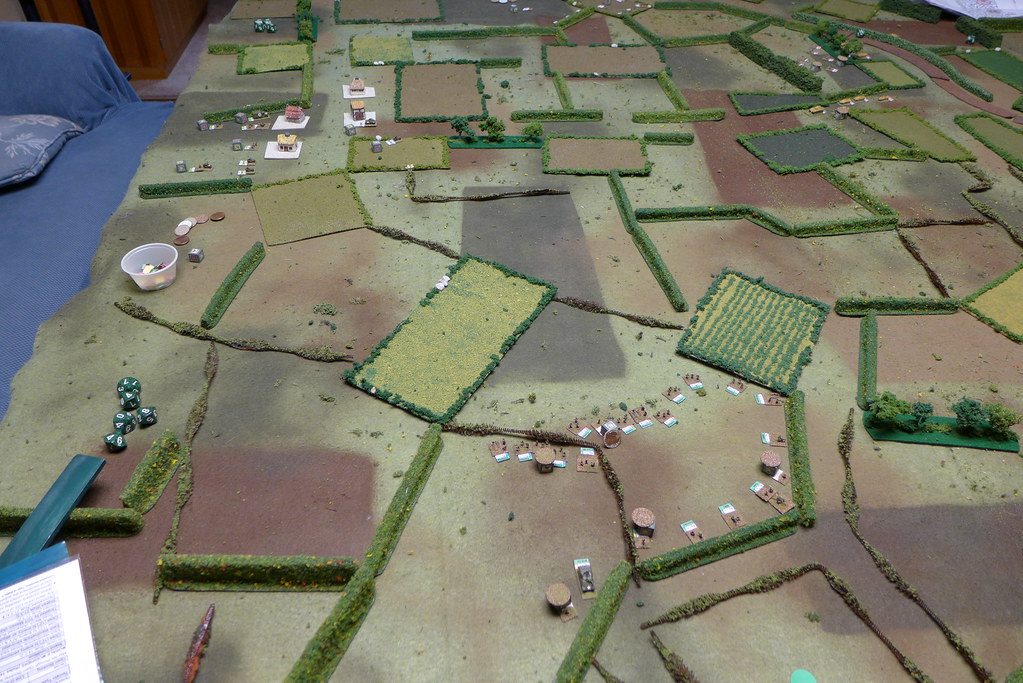
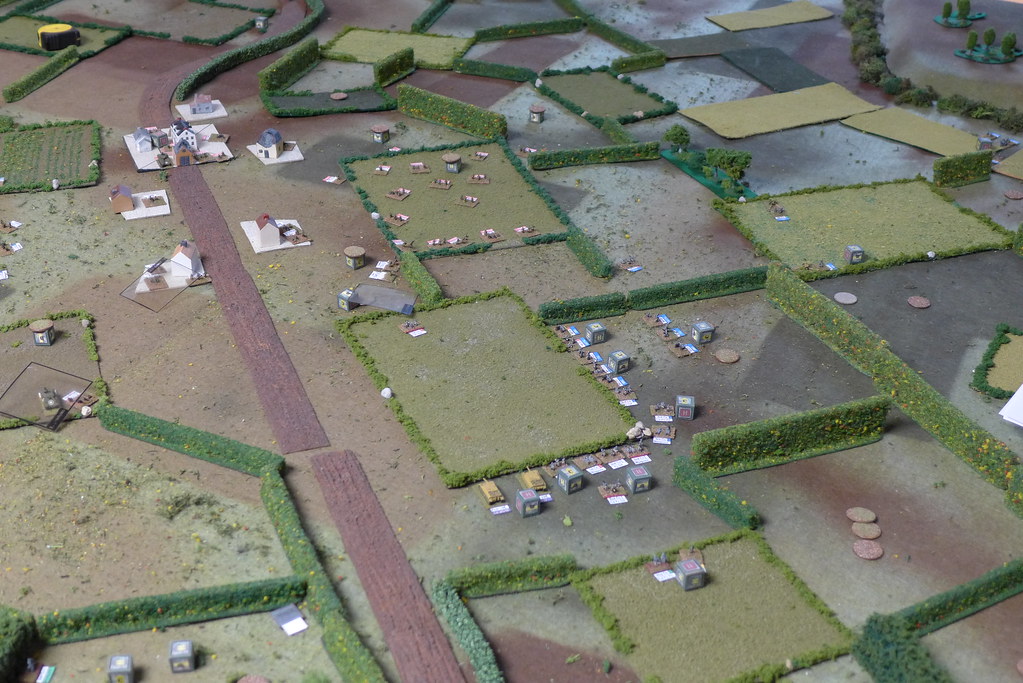
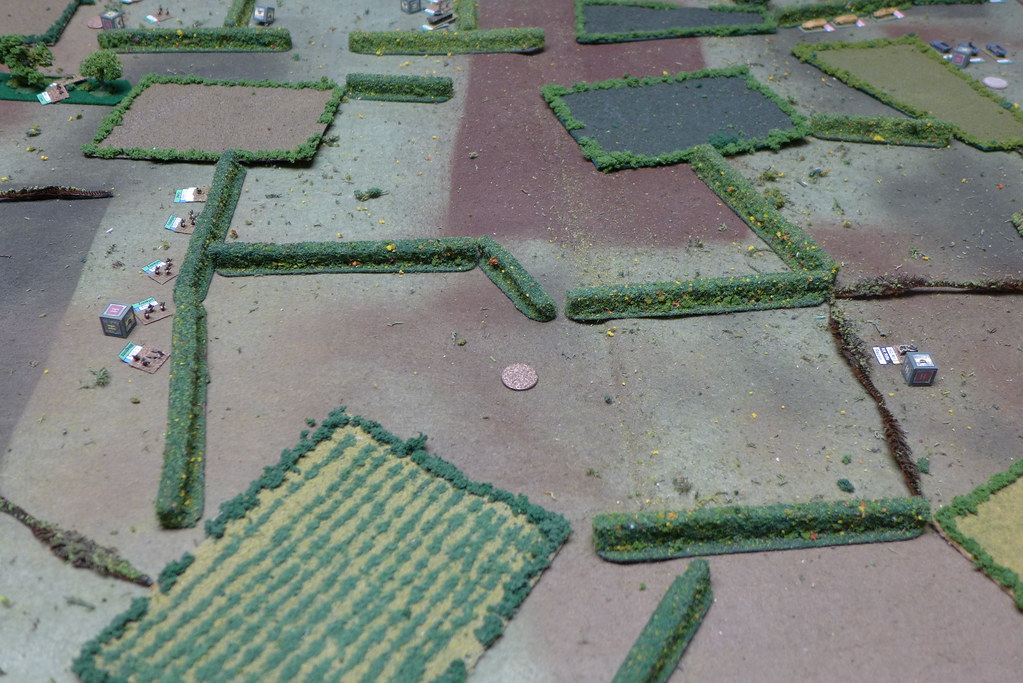
The table set up looking east.
Initial Deployment
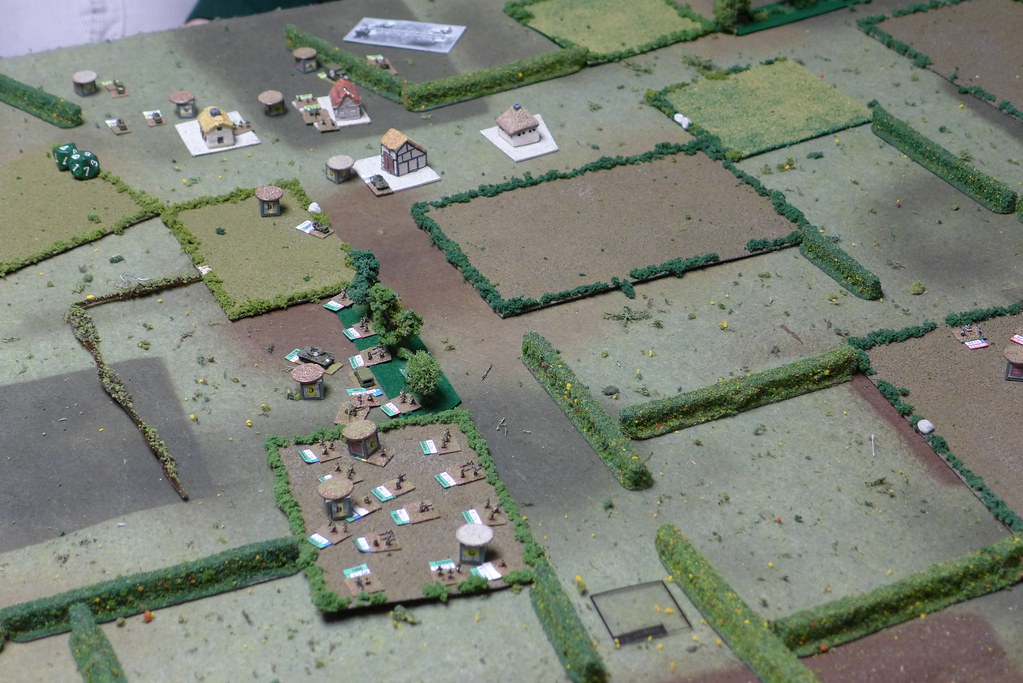
The Americans start with 1st and 2nd battalions of 39th Infantry in and around the larger town, Le Desert. La Desert is the main objective. The Americans need to control all of it and keep/push the Germans at least 18" away at the end of the game. The Germans need to control 6 of 10 sectors at any time and keep at least six good order stands within 18".
3rd Battalion, 47th Infantry had been advancing on the left and is deployed there. Near the top left the 47th's HQ and regimental assets are deployed in La Caplainerie.
As the scenario starts Fallschirm-Aufklarungs Battalion 12 (FAB 12) is within striking distance southeast of Le Desert.
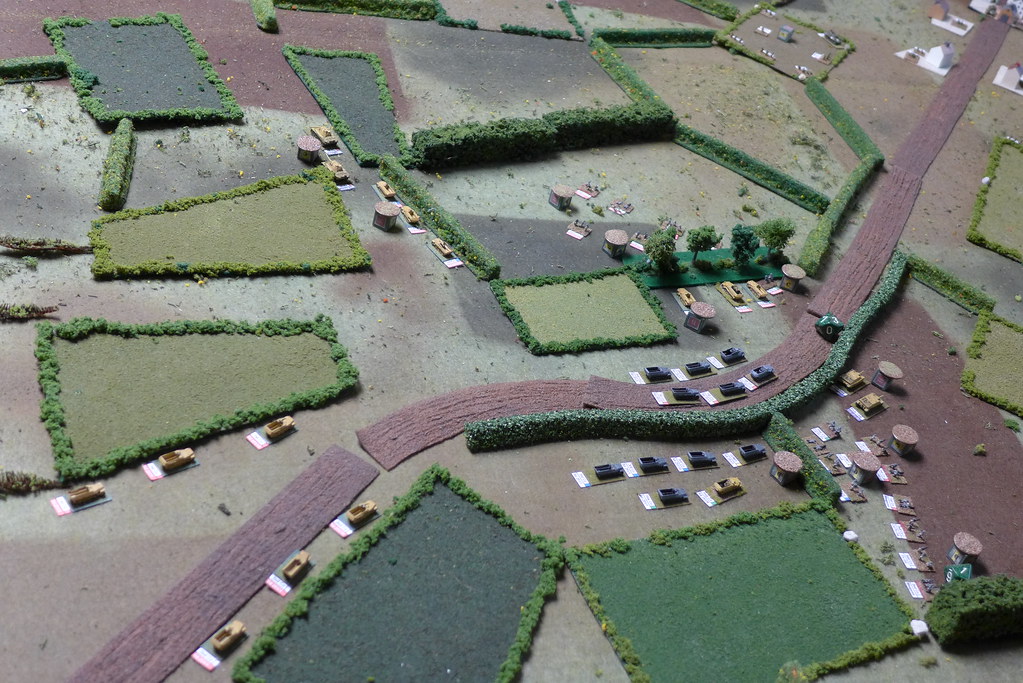
The 1st and 2nd battalions of Panzergrenadier Regiment 901 advance on either side of the road facing Le Desert, top right. At the top, just left of center you can see a company of 1st battalion and the battalion's supporting tanks showing the beginnings of another drift off to the right.
(Please excuse the mixed halftrack colors. I always thought that I had of both colors for any reasonable size scenario, but now I know better.)
Turn 1
FAB 12 sends a platoon forward to spot the enemy only to find that the American have disengaged and are concentrating near Le Desert.
The Panzergrenadiers have started advancing. The Panthers were hemmed in by H&I.
Turn 2
3/47th shifts eastward in support of Le Desert, threatening the flank of I/901 PzGd.
I/901 advances toward Le Desert the Panthers have gotten started. Note that the main weight of 1st battalion's advance is to the left -- out of position to attack in tandem with 2nd battalion.
The 901 Pioneer battalion and regimental assets have arrived and is advancing to protect I/901's flank. One company is driving north (left) to draw the attention of 3/47th Infantry.
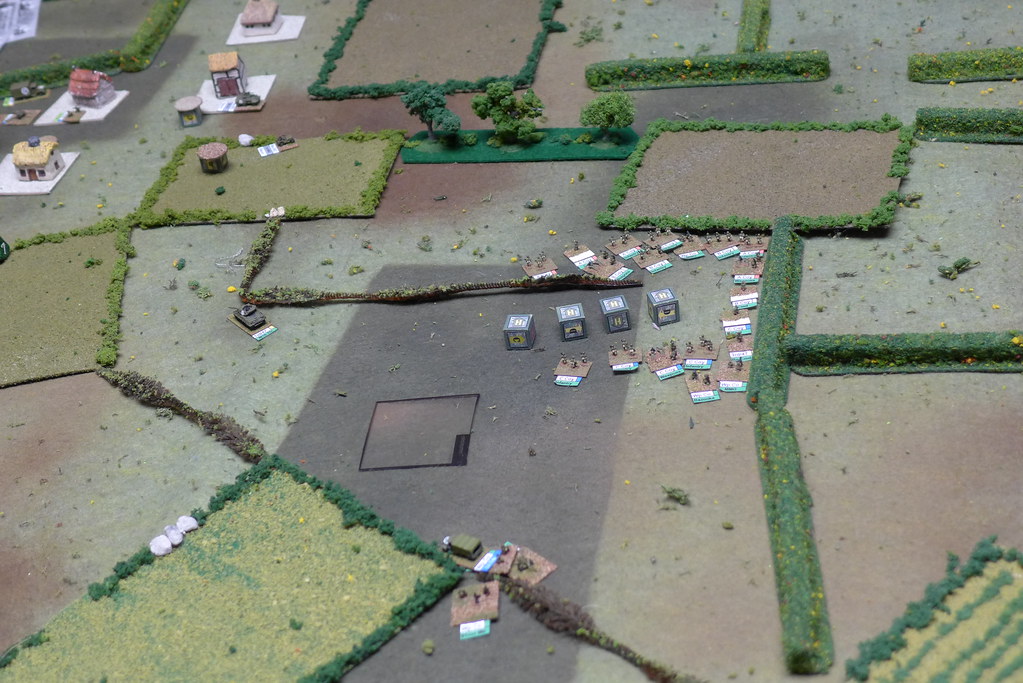
II/901 continuers driving north east toward Le Desert, the supporting Panzerjeagers in the lead.
FAB 12 is trying to find a position from which to attack with advantage.
Turn 3
As PzGd 901 continues to advance the American artillery has found their parked halftracks. To the left of the road, the Pioneers are ready to swing behind I/901 and fall in on their flank. That task is getting harder as the flank drifts further to the left.
3/47th continues to move on I/901's flank, which is visible at the far right.
Turn 4
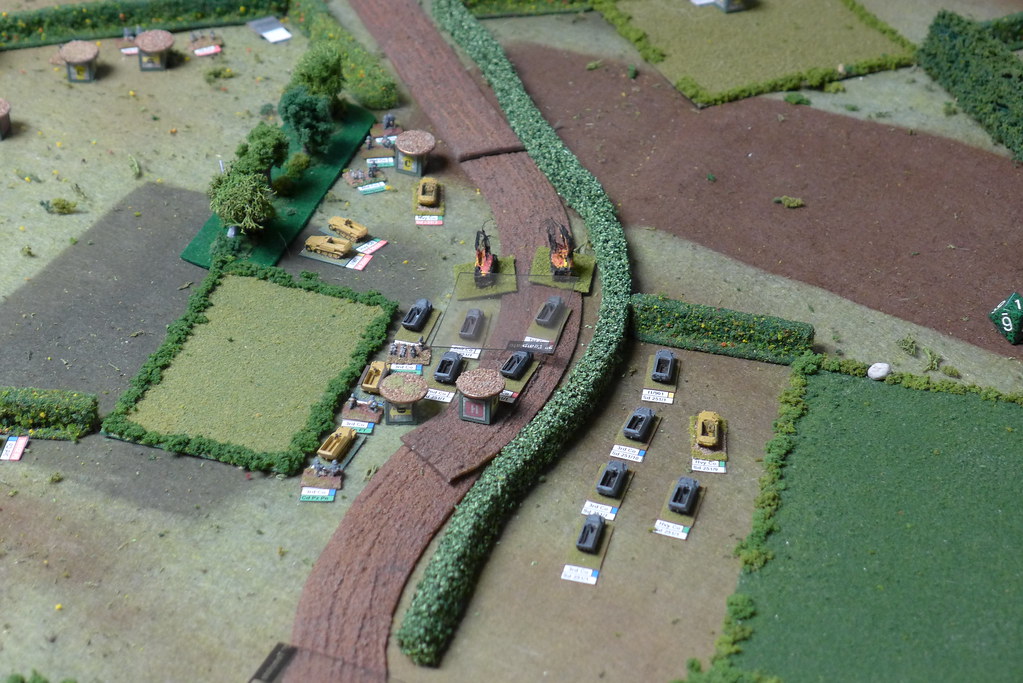
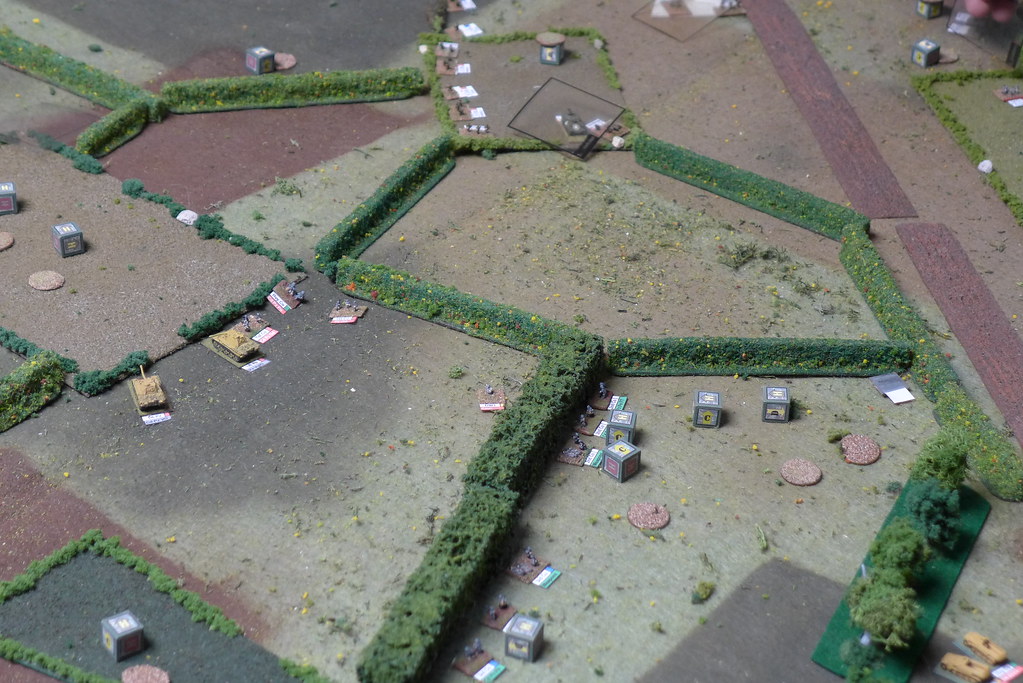
This is the crossroad where the PzGd 901 initially deployed quite a logjam of empty halftracks unable to cross the hedgerows and too vulnerable to advance on the road. The grey halftracks to the left of center are the last company of pioneers the other two are at the top of the picture in position to protect I/901's flank, but watching it fade away in the distance.
The Panthers have finally caught up to the infantry they are supposed to be supporting. The Americans have lots of artillery and few targets, so H&I has made it difficult to maneuver. Just out of frame to the right there's a company of 3/47th with an M-10 behind a hedgerow staring down the Panther company. [Please excuse the photography.] Center bottom, the other two Pioneer companies are at the top of the picture in position to protect I/901's flank, but watching it fade away in the distance.
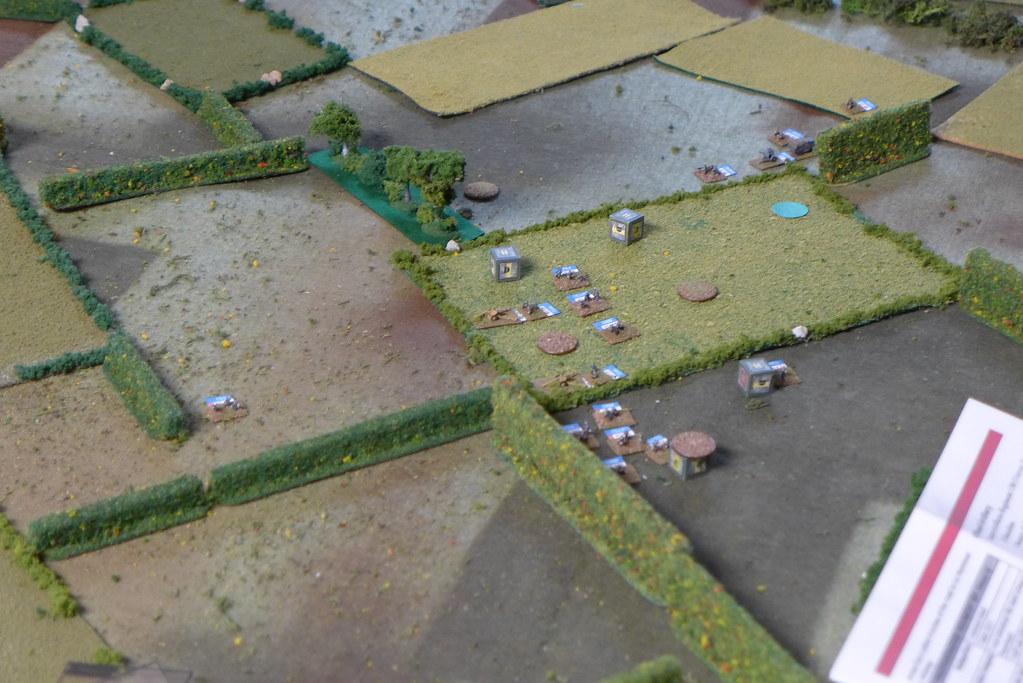
II/901 is in position to make a coordinated attack on Le Desert.
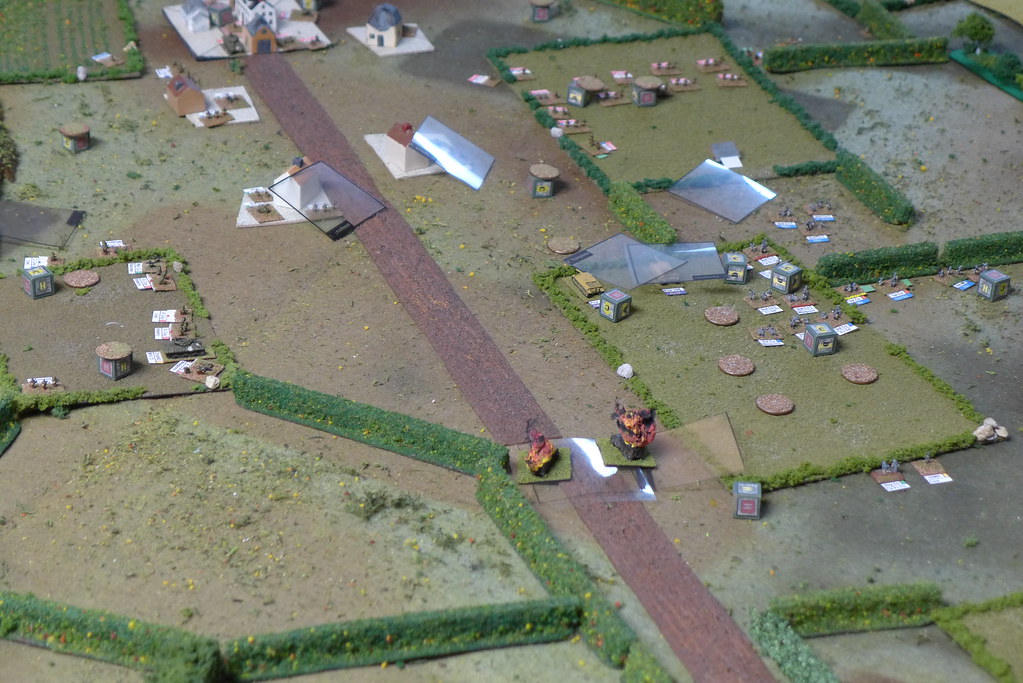
Turn 5
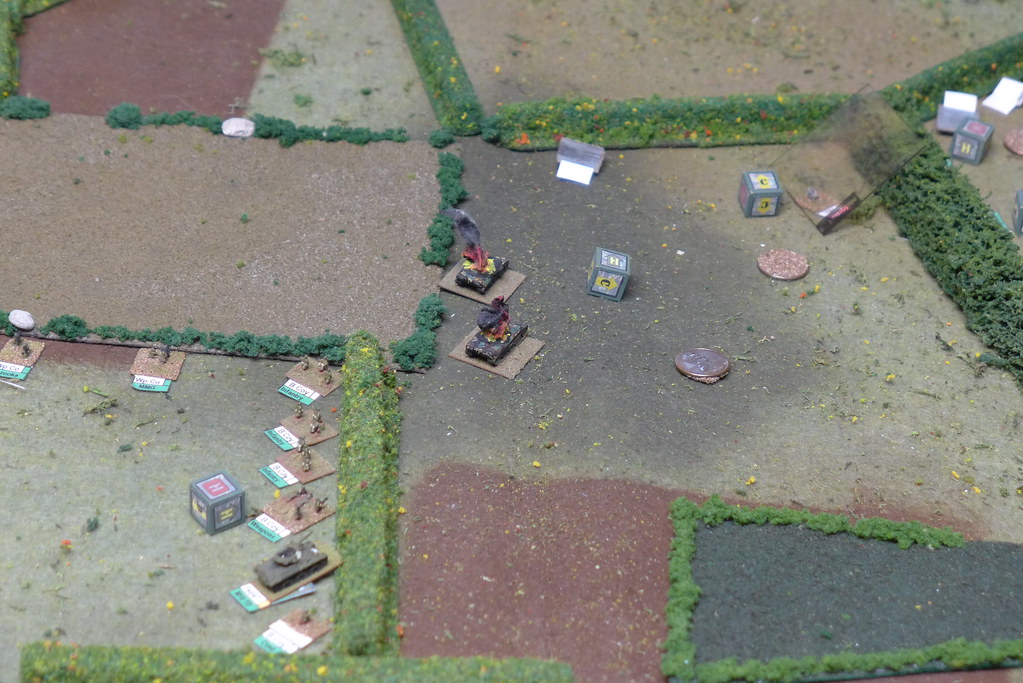
Now you can see the company with the M-10 looks like the Panthers didn't, though. Inexplicably, instead of shooting it out with the infantry and M-10 they turned to move toward Le Desert. OP fire by bazookas and 76mm rounds in their rears finished them off easily. To cap it off, small arms fire eliminated a platoon on the far end of the field.
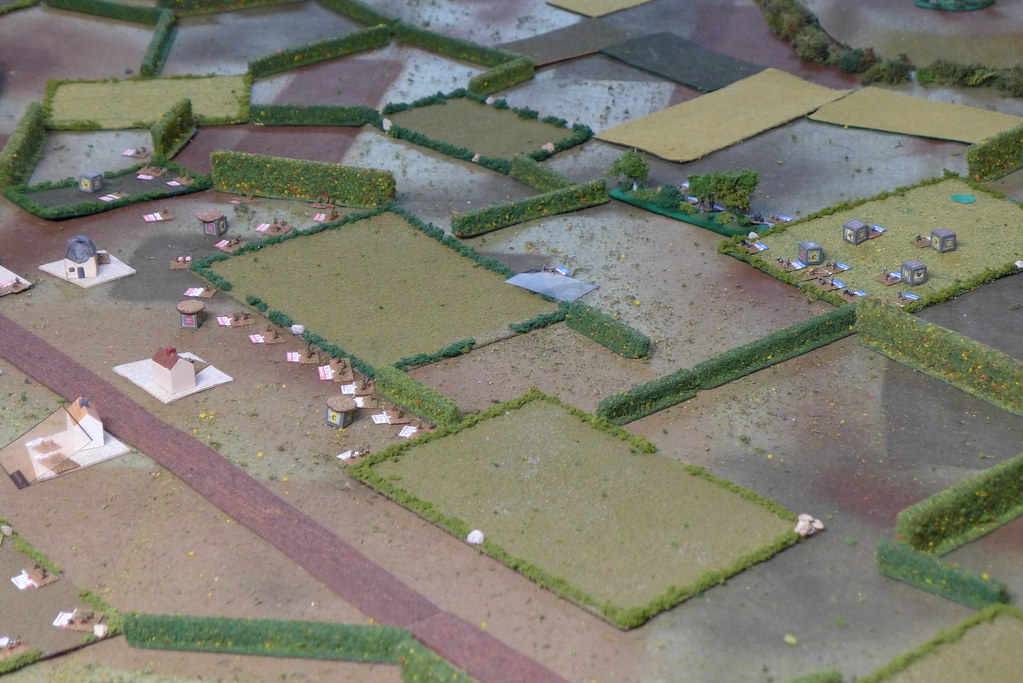
The day is getting rough for the pioneers, too. Moving to the hedgerow put them where they could see AFVs and infantry, so they need to roll 8 or less for morale. The company on the left rolled a 10. The company on the right then had its command stand forced back by artillery (inappropriately called as it was later discovered.*) So, instead of a being in a fire fight with two companies against one they were down to two stands. But the third Pioneer company is coming up.
[* After a couple of turns I realized that I was getting hit by multiple fire missions even though I was facing a single company, so a single command stand. It turns out that the American player interpreted the American command stands' ability to call a full battalion with as being able to call the three batteries as individual missions.]
II/901 has opened its fight against 1st and 2nd 39th alone.
Meanwhile, a German patrol has disengaged after drawing the attention of a company of 3/47th.
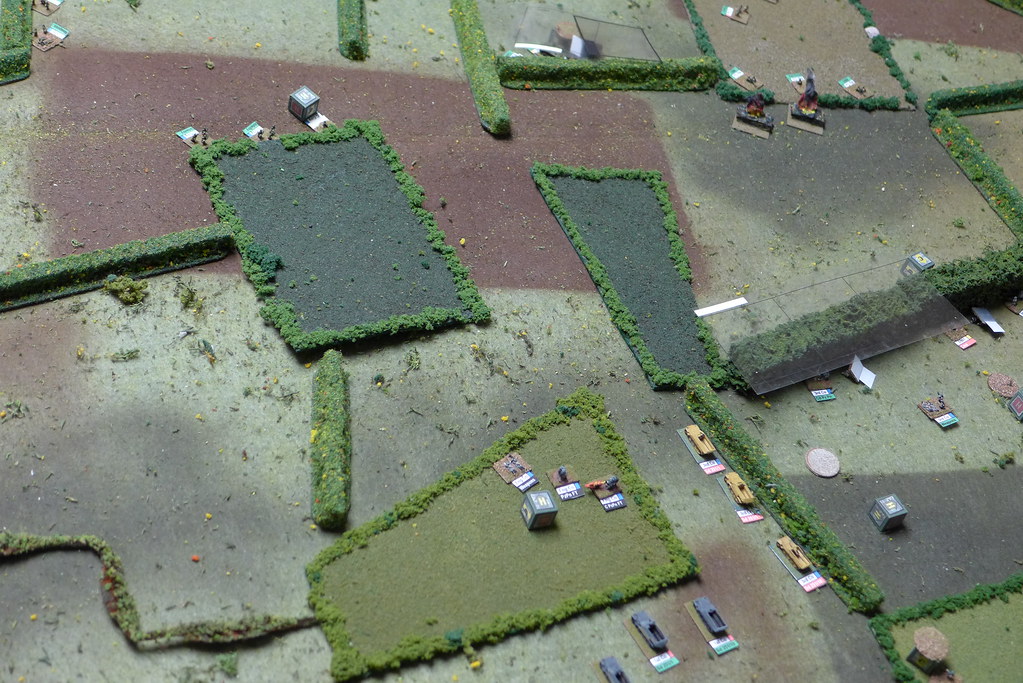
Turn 6
There are casualties on both sides in the fire fight between II/901 and 39th Infantry. Some more halftracks were brought up to provide fire support. They didn't last long.
At right the Pioneer battalion has blunted the attack of 3/47th. At center the 901's pioneer company moves up to secure the flank.
North of La Caplainerie 1st/47th arrives and swings east to reinforce the 39th at La Desert. 3rd/39th is also entering at the northeast no photo.
P1010255
Turn 7
We played turn 7, but I didn't get any pictures. It was getting late and the game was pretty much decided. With I/901 having dissolved and heavy American reinforcements arriving the Germans had no chance of getting a toe hold on La Desert. On the other hand, it seemed unlikely that the Americans would be able to drive the Germans away from town within the time limit. So, we called it a draw.
Observations
This scenario was a challenge for both sides. The hedgerows and the large amount of artillery on both sides makes maneuvering difficult. The Germans don't have the numbers to make inroads into La Desert unless they are very efficient and they have to get it done in six turns, because when the American reinforcements arrive they'll have no chance. The Americans have to play defense for half the game and then have six turns to root the Germans out of hedgerows.