Water and streams
Tools required
Wood Saw
Acetate cutting tool
Eye protection
Sand paper
Sealant trigger gun
Materials required
Plywood
Acetate sheeting
Brown paint
Model railway ballast
Model vegetation torn into small strips
Clear silicone sealant
Method.
First measure a batch of strips of plywood approximately 50 cm long by 10 cm or to your specific requirements. Then cut from the acetate sheeting the same dimensions to fit the plywood bases. Take care to make sure the acetate is cut with a proper tool otherwise it will shatter very easily. Beware of cutting yourself and protect your eyes.
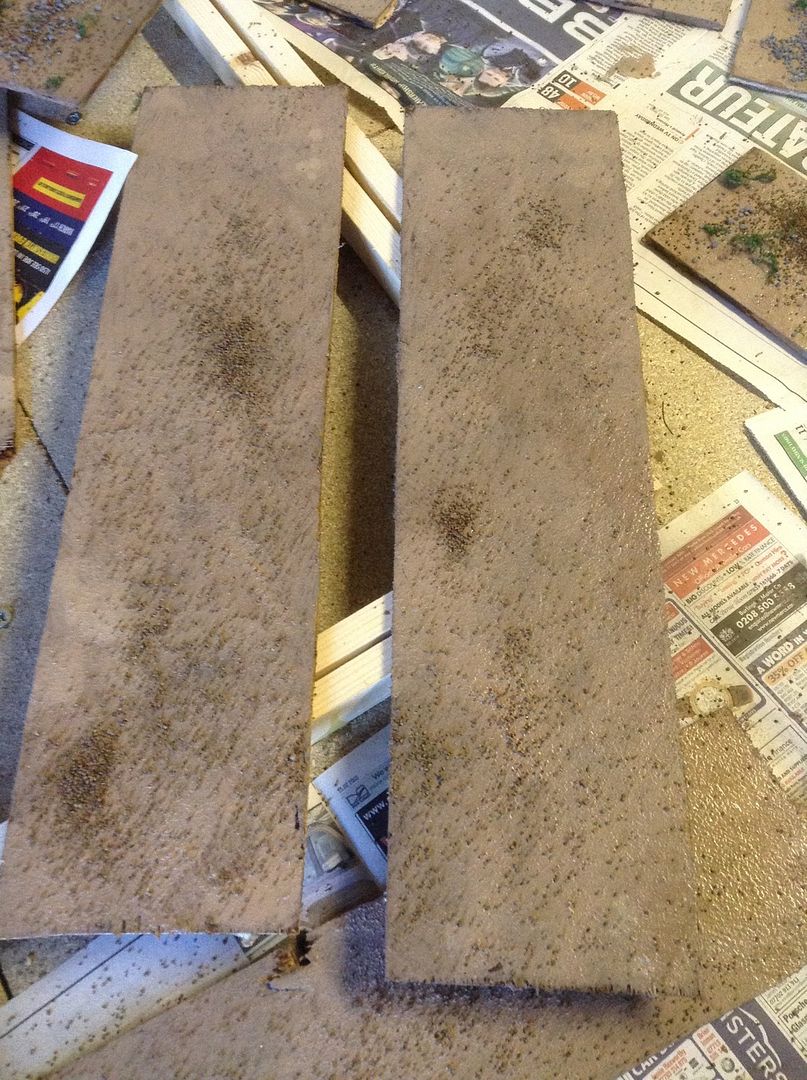
After sanding the edges of your plywood you are in a position to paint them. The colour you use is dependent on depth. Lighter is shallow and darker is deeper. One trick is to use a lighter colour as a base and then paint a deeper colour in the middle to represent depth.
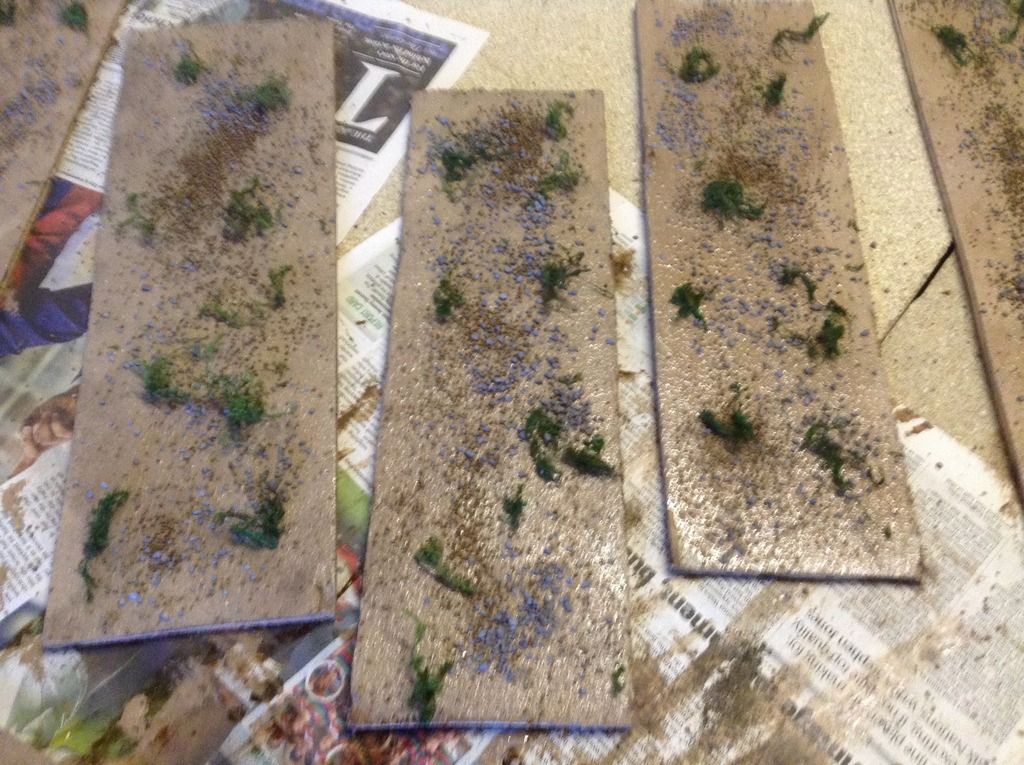
Use plenty of paint and whilst wet sprinkle some of the ballast on top to represent the stream /pond bed. Small bits of torn vegetation placed lengthways can be used to represent the flow of water unless you want a still pool.
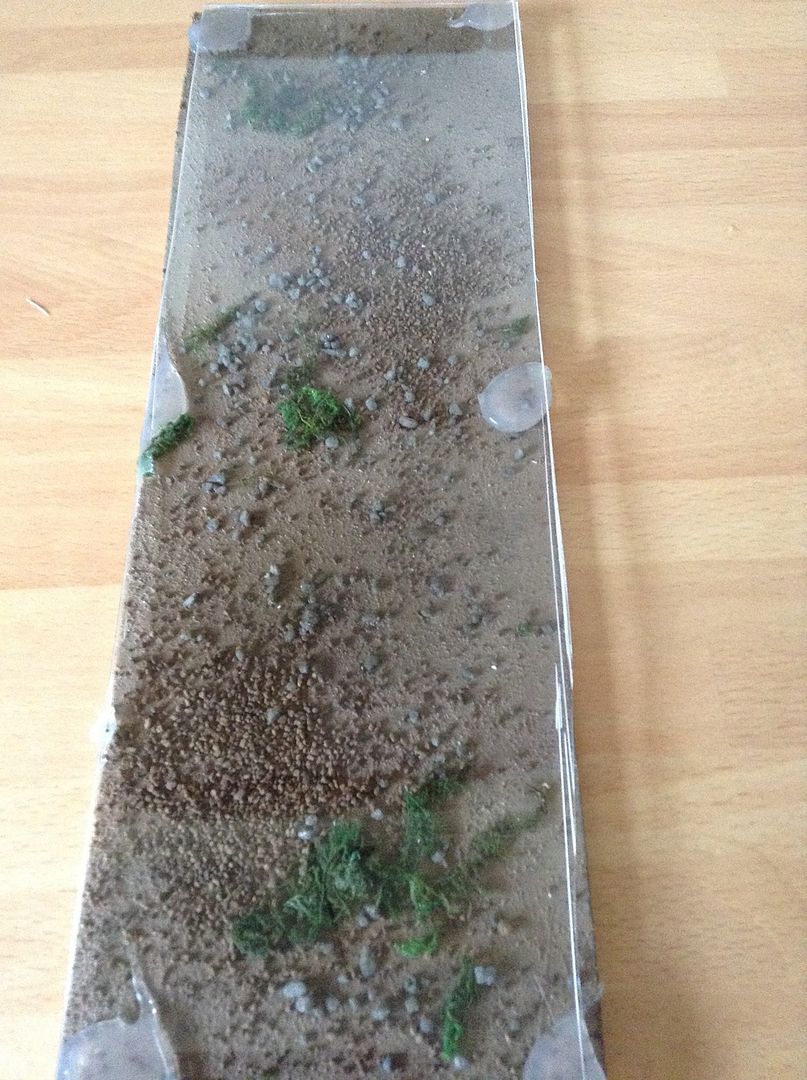
Once the paint is dry, put blobs of clear silicone on the base edges and place the acetate on top. Place a protective piece of paper, to avoid scratching and then put a weight on top to keep the two parts together.
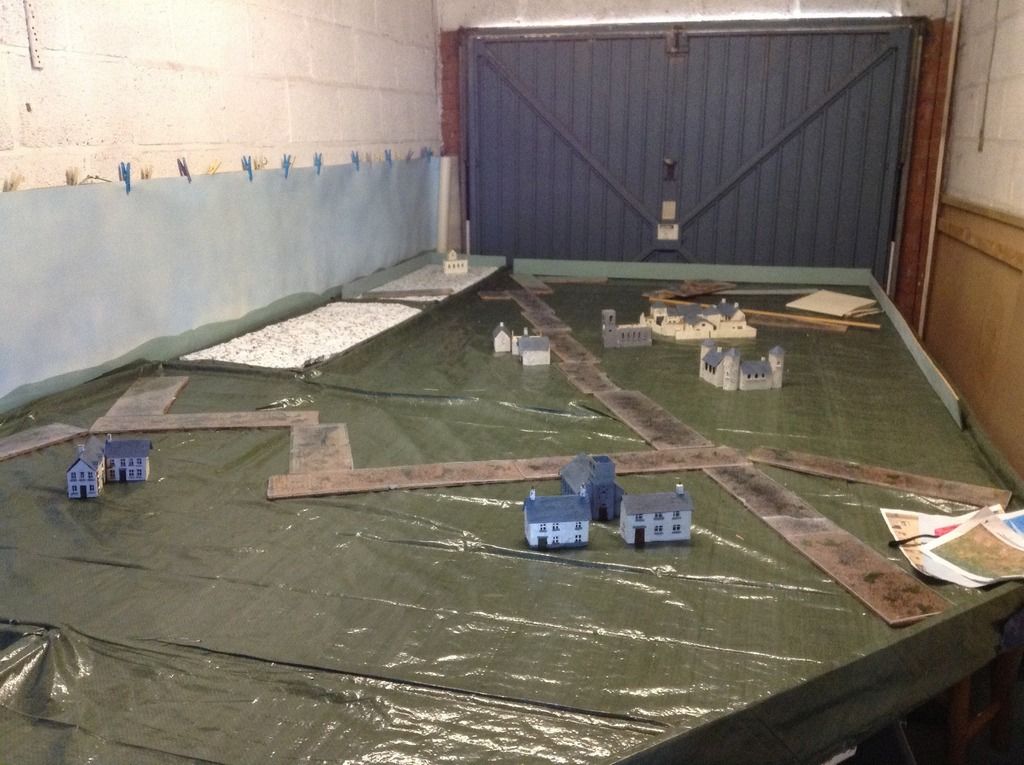
To form a stream, lie the sections out in a line, you can offset the sections or even cut specific turns if you wish. Make sure that the sections are flat, butting against each other for continuity.
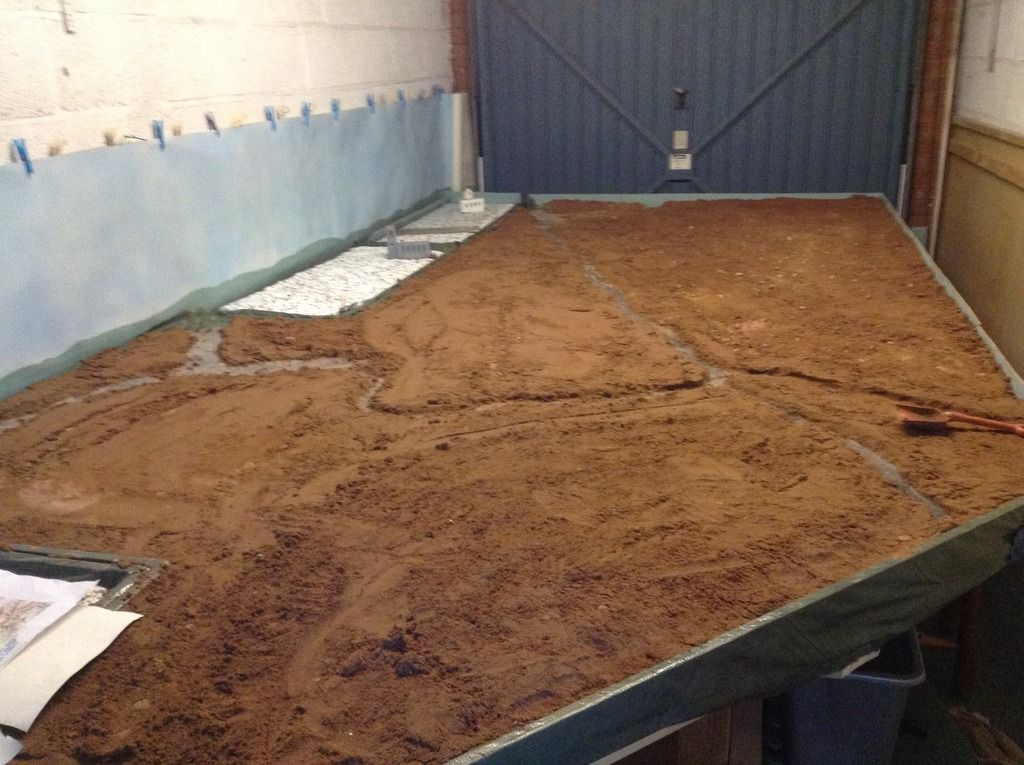
If employing a sand table, then the sand can be placed on top and then gently moved to form the stream and it's twists and turns. Otherwise a section of banking will need to be formed to represent the steam's flow. Do not forget that on the larger turns the bank opposite the flow tends to get cut into by the flow and the opposite side tends to get built up as the flow slows on the inside bend, depositing sediment in real life.
Any joints that have gaps can be filled by careful use of the silicone and a little patience.
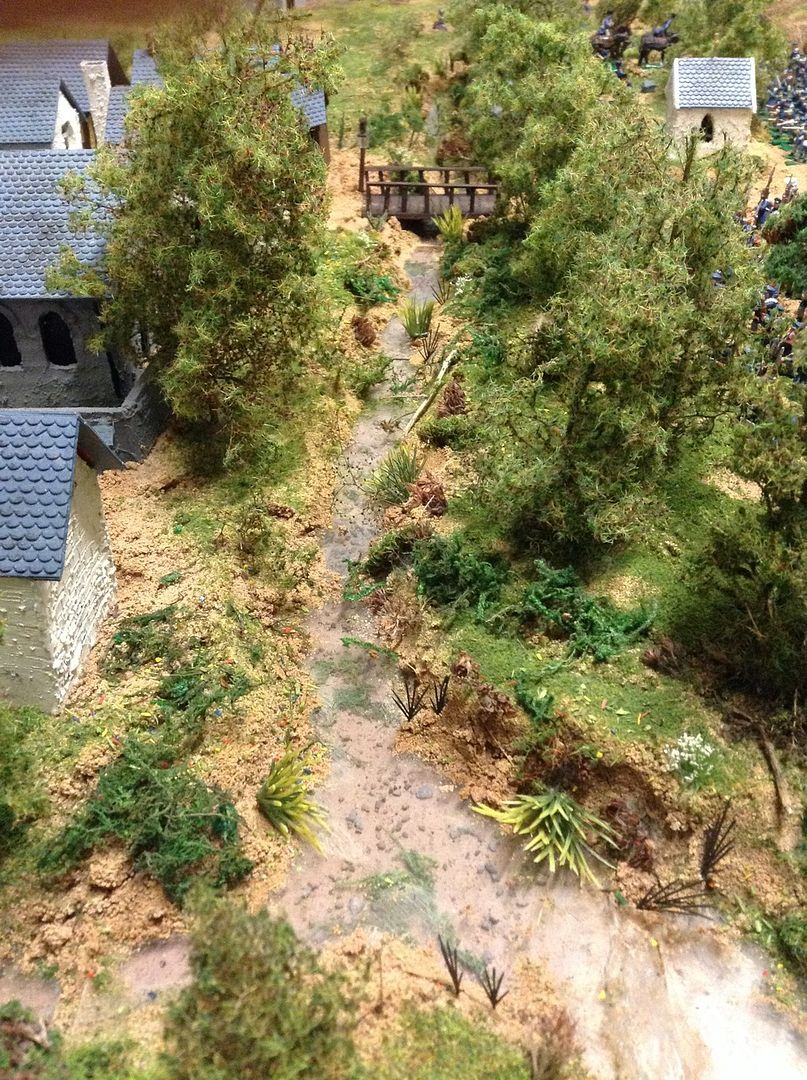
When you are happy with your stream or pond, decorate the banks with bushes, reeds etc for a natural effect. If you have used a sand table use a model paint brush to sweep away any loose sand. If you want to model rapidly moving water you can again use the silicone or a specific product such as Woodland Scenics realistic water.
Happy modelling,
Chris