Young Henry and I tried something new this weekend; a new set of rules and a new scale of miniatures. I thought you might like to hear how we got on and some thoughts on both the Hallmark minis and the rules.
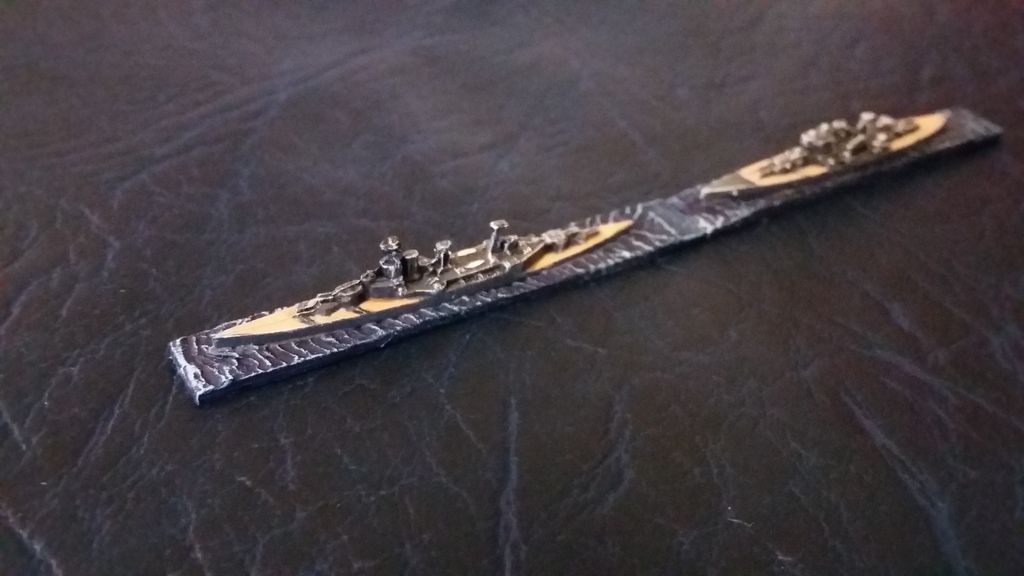
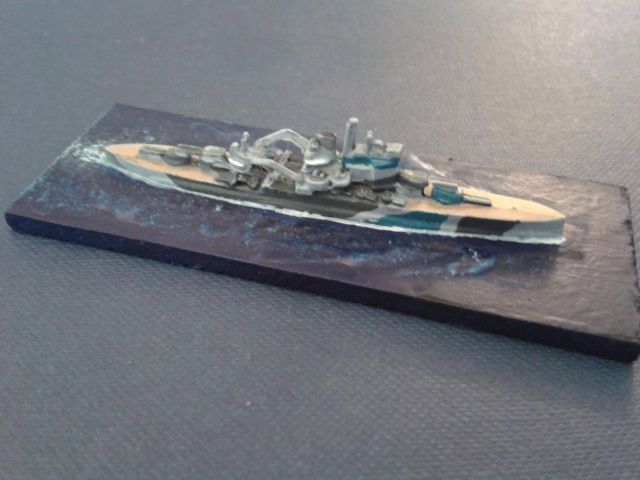
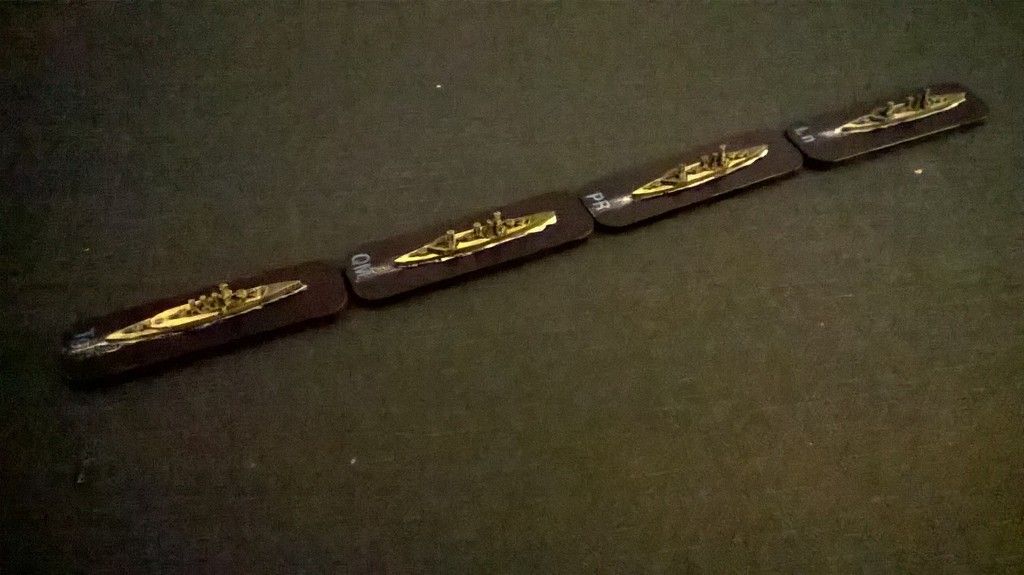
First the minis; I was quite intimidated when I got these, thinking them far too small to paint up effectively. But I was wrong; the castings are so crisp and the detail so well defined that they have proved an absolute delight.
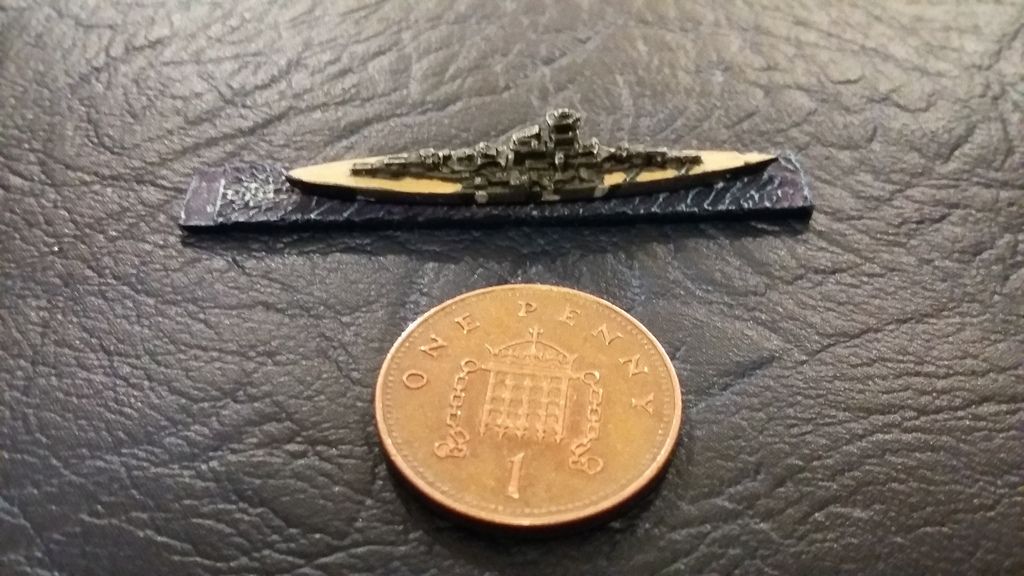
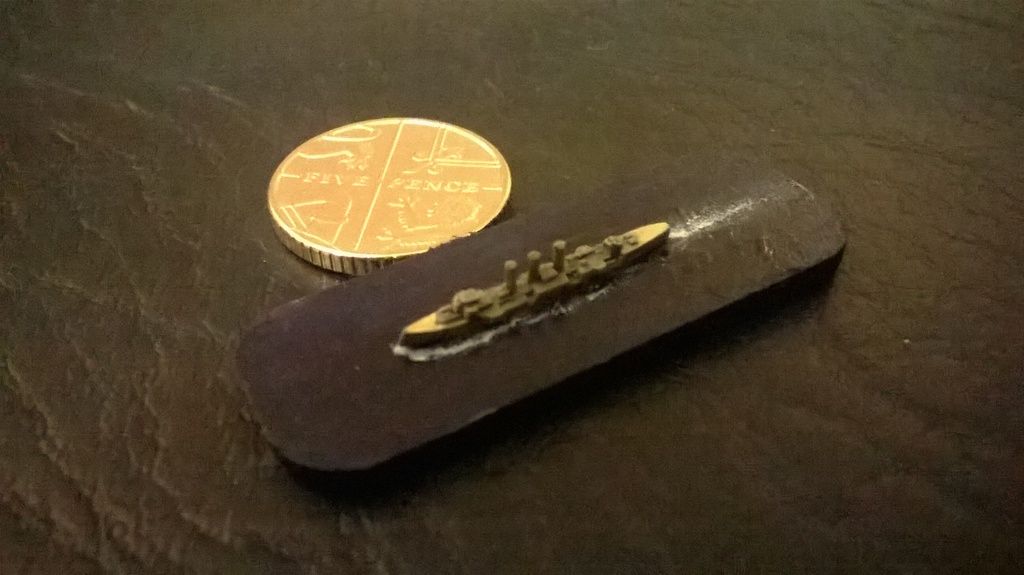
Here's the Bismarck, alongside a British penny for scale (a British penny is 20mm, or 4/5ths of an inch in diameter):
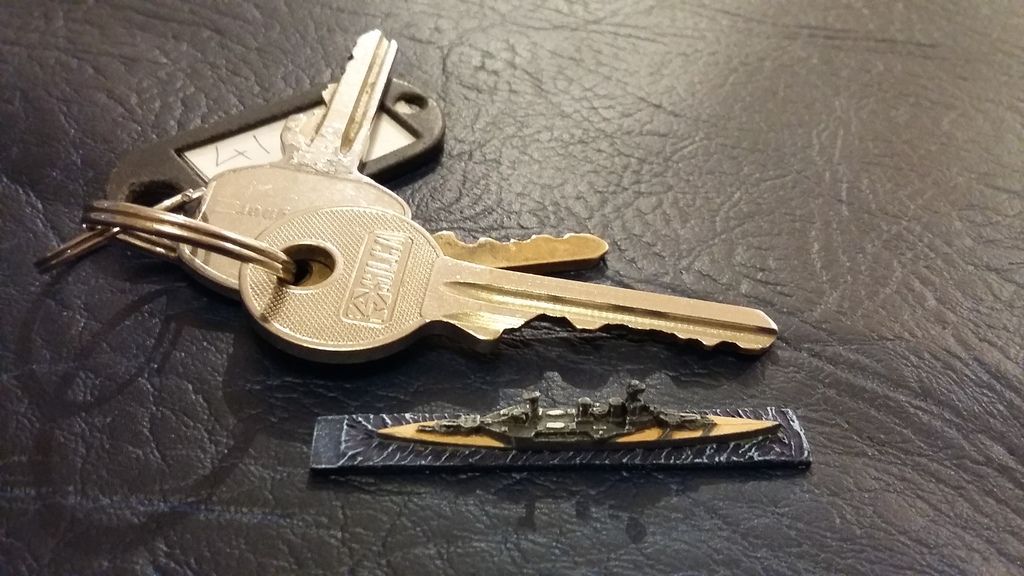
Maybe a more universal size comparison is a standard yale key, so here's HMS Hood next to one:
As you can see they are wonderfully detailed and they take a coat of paint nicely. En masse they would look very effective so when I start looking at WW1 (a future project) this will definitely be the scale of choice for actions involving several squadrons.
So, on to the action…
We set up using the standard scenario included in the rules. I took on the role of Lancelot Holland, Young Henry played the part of Lutjens.
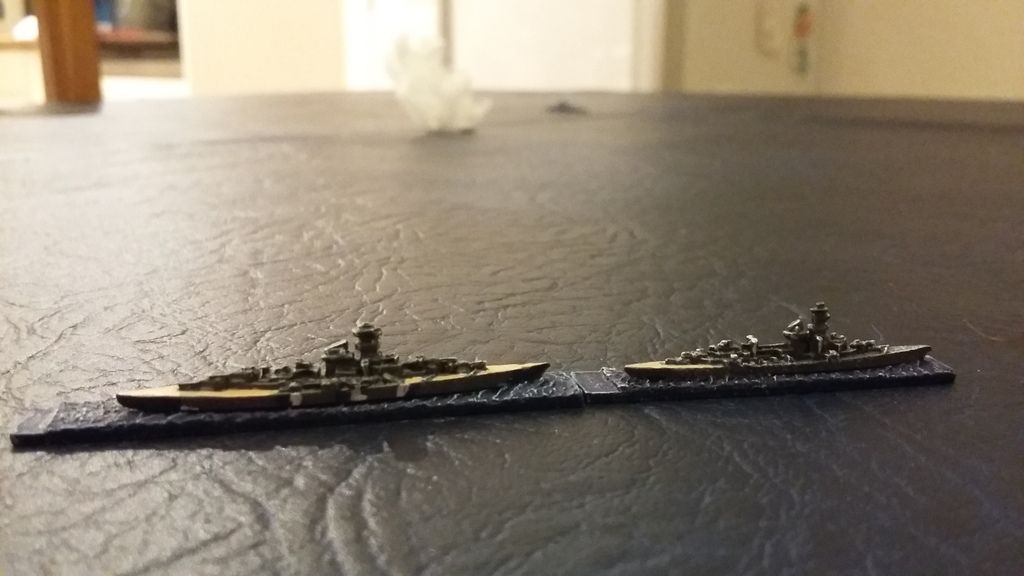
The Royal Navy steaming into action; HMS Hood leading HMS Prince of Wales:
The Germans Prinz Eugen and Bismarck. I know Bismarck had lost the 'Baltic' camouflage by the time of the breakout into the Atlantic, but it's such an iconic paint scheme I couldn't resist…
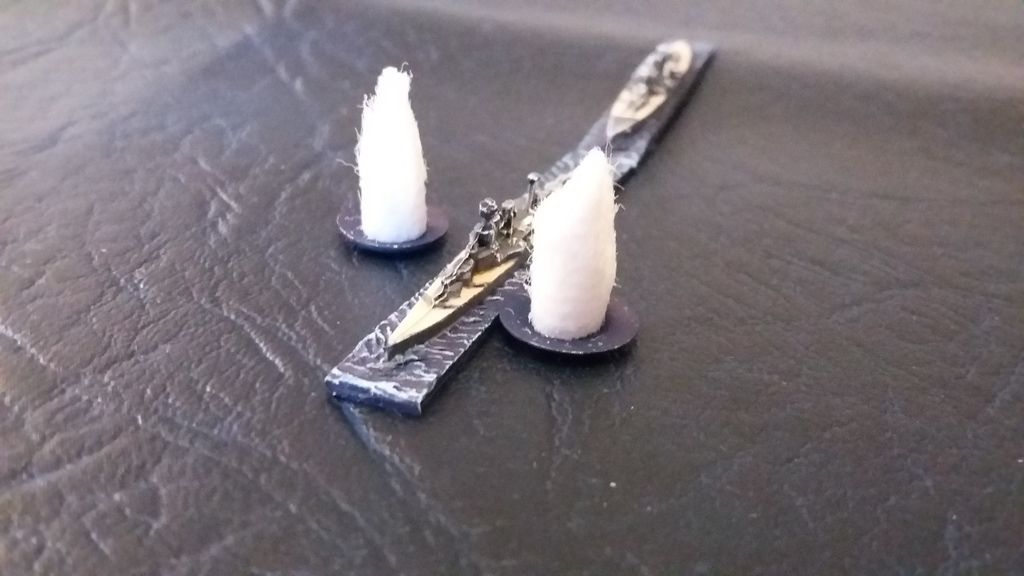
It wasn't long before Young Henry was making life uncomfortable for my flagship…
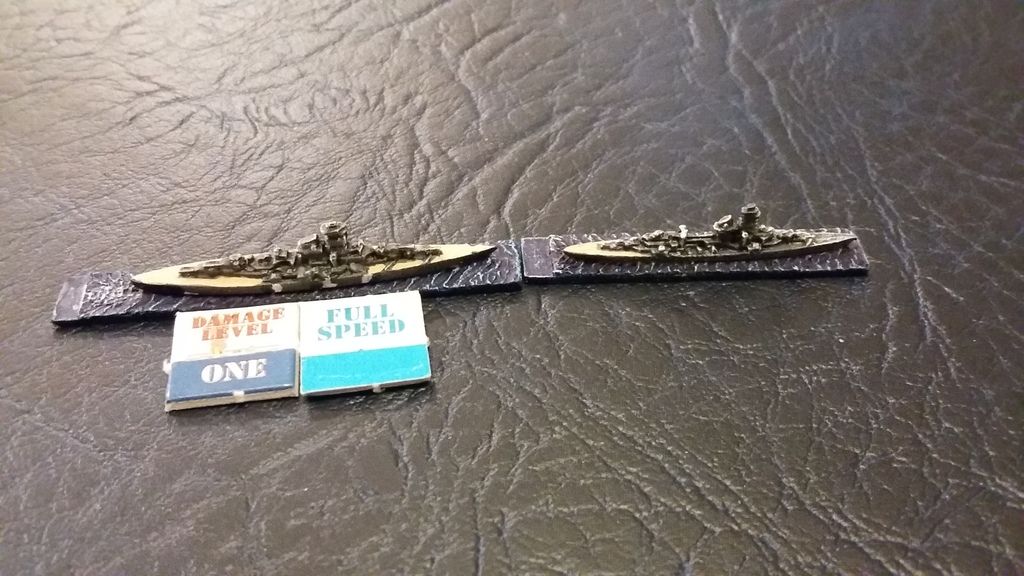
By the end of the 0530 turn Hood had received 'Level 1' damage.
In 'B!B!' there are 4 'damage levels' which are marked by counters to reduce paperwork. Each ship scores 'hits' which I mark with shell splash markers; at the end of the turn the ship under fire gets the chance to remove these using damage control throws. Any which it fails to remove translate into permanent damage.
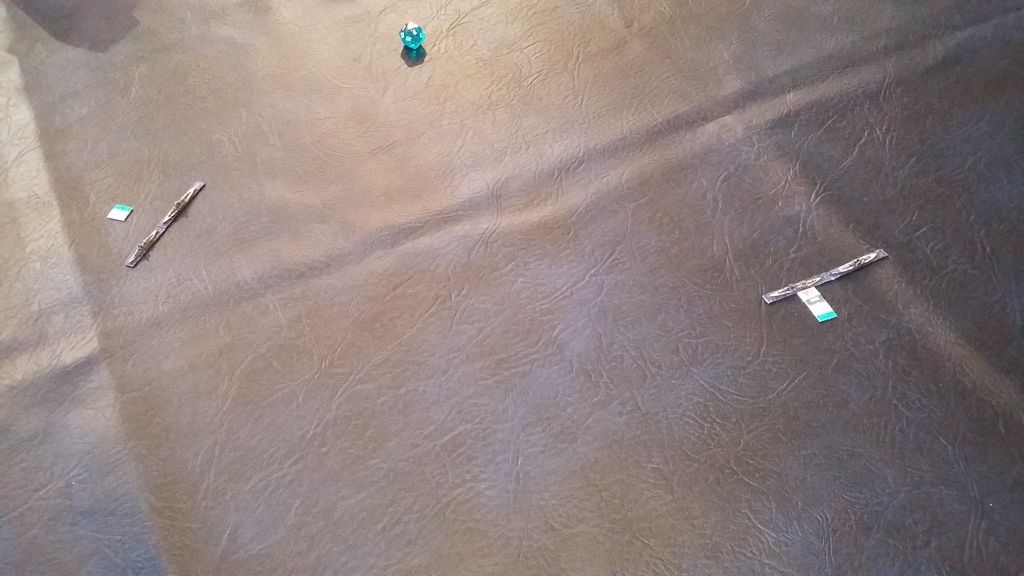
Using 1:6000 minis I did like the distance effect achieved, even at a scale of 1"=1000 yds.
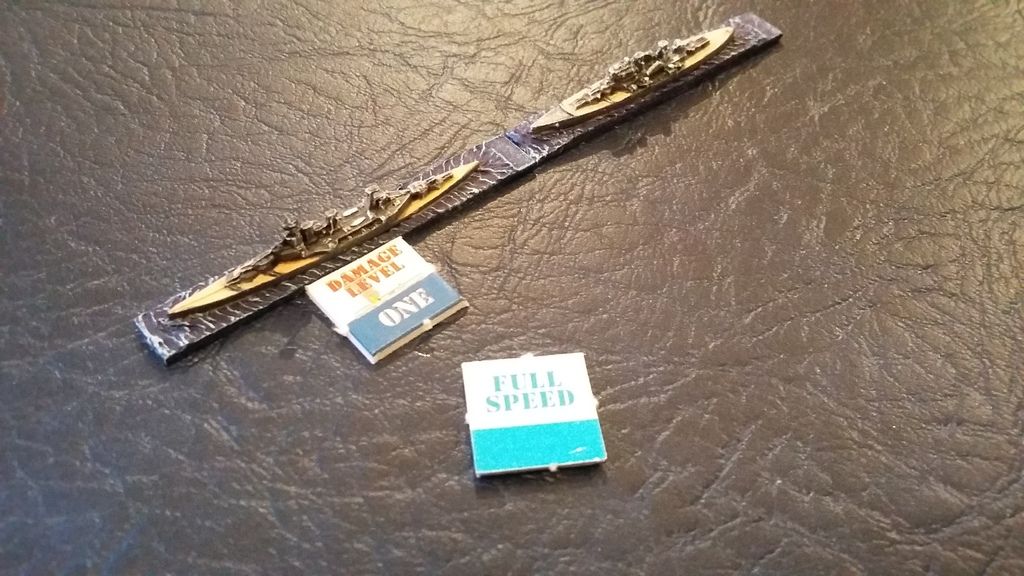
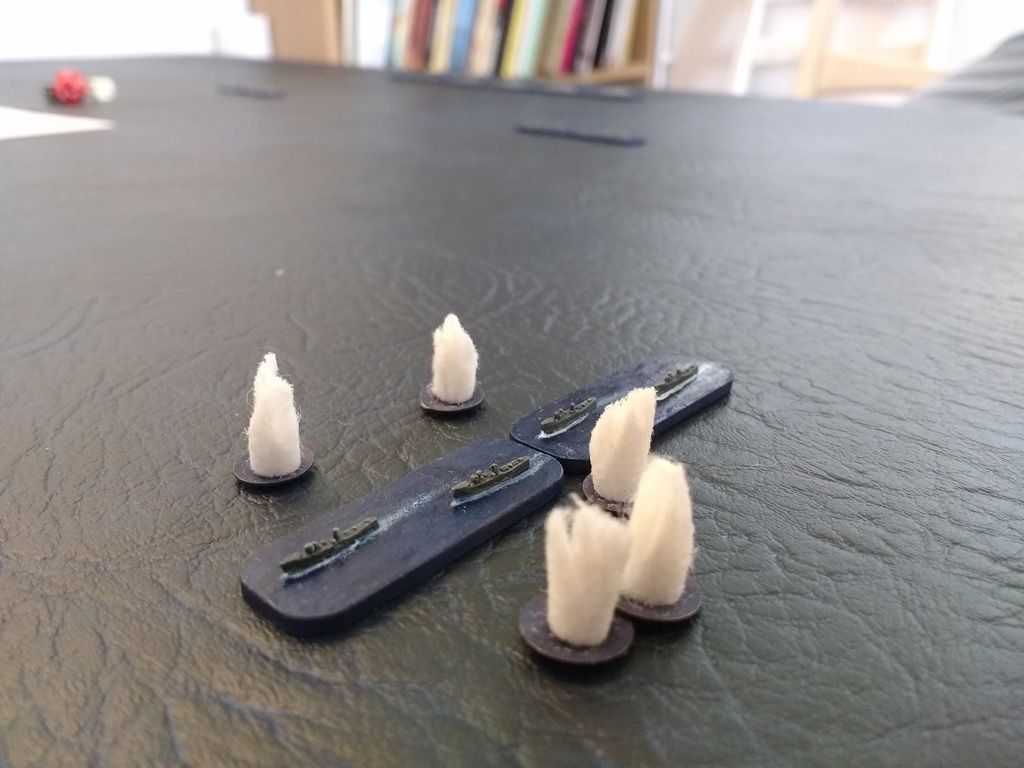
My dice rolling was really poor in this action, although I did manage to get some hits on Bismarck…
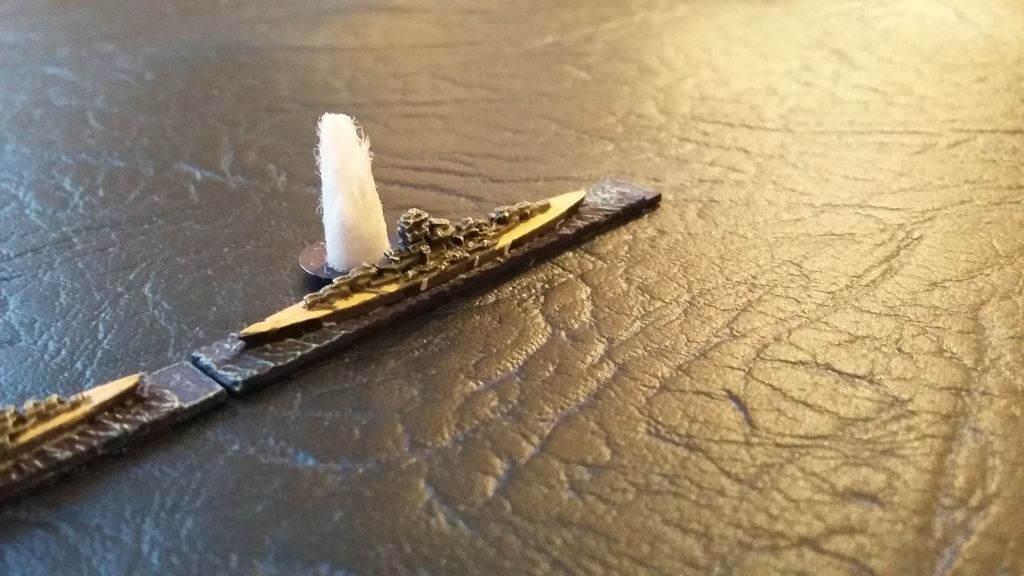
Which did actually translate into damage…
During the encounter Young Henry moved in a wide arc to the south. I tried to maintain a range of around 18,000 to 19,000 yards so was also pushed towards the south. Henry's reasoning was that he wanted to put as much distance between the action and the entry point of the reinforcements, the 8" cruisers Norfolk and Suffolk, due to arrive on move 4.
He completely achieved this objective, leading me to the south so I never got a chance to bring them into action. Dice rolls went in Young Henry's favour and I became increasingly discomforted until it became too much…
Hood went down and my morale was completely shattered, forcing the Prince of Wales to withdraw. This photo of the PoW retiring and a big plume of smoke and steam where Hood had once been is strangely reminiscent of the 'Prinz Eugen film'…
Another good game and an enjoyable set of rules. With small actions like this luck might play too big apart half an hour's firing is summed up with just one die. With a larger action, with more ships to average things out, I think these will be an excellent set so I definitely intend to use them for our Mediterranean battles.
I was again impressed by Young Henry's tactical thinking avoiding being 'doubled up' by keeping clear of Norfolk and Suffolk was a sound plan and I had really wanted to bring them in to distract Prinz Eugen while Hood and Prince of Wales took care of Bismarck.
I have beaten him once, but I've lost track of how many victories he's notched up!
Nick


 with 5 CNC Sherman tanks on deck")