Help support TMP


"Badly made WW1 tiles." Topic


10 Posts

All members in good standing are free to post here. Opinions expressed here are solely those of the posters, and have not been cleared with nor are they endorsed by The Miniatures Page.

Please do not post offers to buy and sell on the main forum.

For more information, see the TMP FAQ.


Back to the Early 20th Century Gallery Message Board

Back to the Early 20th Century Discussion Message Board


Areas of Interest

World War One

Featured Hobby News Article


Featured Link


Featured Showcase Article

Cheap Buys: 1/300 Scale Hot Wheels Blimp

You can pick up a toy blimp in the local toy department for less than a dollar.


Featured Profile Article

The Gates of Old Jerusalem

The gates of Old Jerusalem offer a wide variety of scenario possibilities.


Featured Book Review


Featured Movie Review


1,670 hits since 16 Jan 2015
©1994-2024 Bill Armintrout
Comments or corrections?

Gunfreak Supporting Member of TMP16 Jan 2015 9:17 a.m. PST
wrgmr116 Jan 2015 9:29 a.m. PST

They look pretty good to me.
Paint the blue side so that it doesn't show.
I would wash the while thing (except the water) with a dark color brown, then do some dry brushing of some light colored brown and beige over different areas. It will give you that depth of vision you are looking for.

HammerHead16 Jan 2015 10:02 a.m. PST

How many tiles are you doing? The water filled craters look fine. Yes, add some barbed wire

Londonplod16 Jan 2015 1:19 p.m. PST

Yes, get rid of the blue edge and a light drybrush and they will do just fine.

Dale Hurtt16 Jan 2015 1:29 p.m. PST

The trees need roots. Otherwise they look like twigs stuck into a board and glued. I would suggest a thin bead of hot glue. Even painting the bead the mud color would suffice, as it would look like a root exposed, then partially covered over again by thrown dirt and mud from explosions.

I agree with a wash over the whole of the ground in order to mute the contrast between the different colors on the tile. Ironically, I liked Army Painter's Dark Tone, which gives a very muddy look. Lots of little puddles. You can decide for yourself whether it is too glossy or not.

Gunfreak Supporting Member of TMP16 Jan 2015 1:44 p.m. PST

Thanks, roots and army painter tone is noted. And yes, the sides will be painted, just didn't have enough paint, so concentrated on the top part first.

D A THB16 Jan 2015 2:44 p.m. PST

I think that I would use bigger tiles and base paint them before putting any terrain on.

I'm considering doing the same thing myself but will probably use the plastic trenches from Early War Miniatures on a drop cloth.

Tom Bryant17 Jan 2015 12:32 a.m. PST

Don't put yourself down Gunfreak. Seriously, for a first effort this is pretty darn good. As others have noted, cover up the blues spots, hit the rest with a good wash coat and drybrush and cover the edges Depending on how big your terrain is going to be I'd recommend using cheaper craft paints for this kind of work.

Also, I'd add bits of model railroad static grass here and there and I would consider using some lichens or other foliage substitutes for a few clumps of growth here or there. I'd do this sparingly. In the case of the grass I'd use some tans or faded greens as well a just a bit of brighter green as well. While churned up I still think there might be a bit of greenery around here and there. One last little thing you might like to try is getting some Spanish Moss from the flower section for tree roots. The bag I picked up about 15 years ago is still going strong for making trees, tree roots and any misc tangles of flora needed on a battlefield.

Giles the Zog18 Jan 2015 8:44 a.m. PST

If you are doing terrain, then get down to the local DIY store, and get a tester pot of brown/earth colour emulsion done up ASAP. You don't need hobby quality acrylic paint for 90% of terrain painting especially the base colours.

Not sure where you are based but in the UK, a small tester pot (250ml) is yours for £5.00 GBP-6, whereas an acrylic pot (20ml) is £2.00 GBP-3 – NO CONTEST !

Once you have identified the colour of preference, you can have pots of emulsion done up for £15.00 GBP for 2.5litres which goes a long long long way.

I have 5 pots of emulsion on the go covering all my base colour needs for figures and terrain. And I have had enough to hand on to mates in small pots for free. As one of my mates has also turned his hand to producing terrain for some of the tables of scenery we field it means his stuff fits in 100% with the rest of my stuff.

If you do go down this route, consider keeping the plastic tubs you get food sauces in (curry/pasta) and invest in a soup ladle so you can keep small pots of the emulsion on the go preventing the bigger can drying out…and also your wife/partner getting annoyed at your use of serving spoons). ;-)

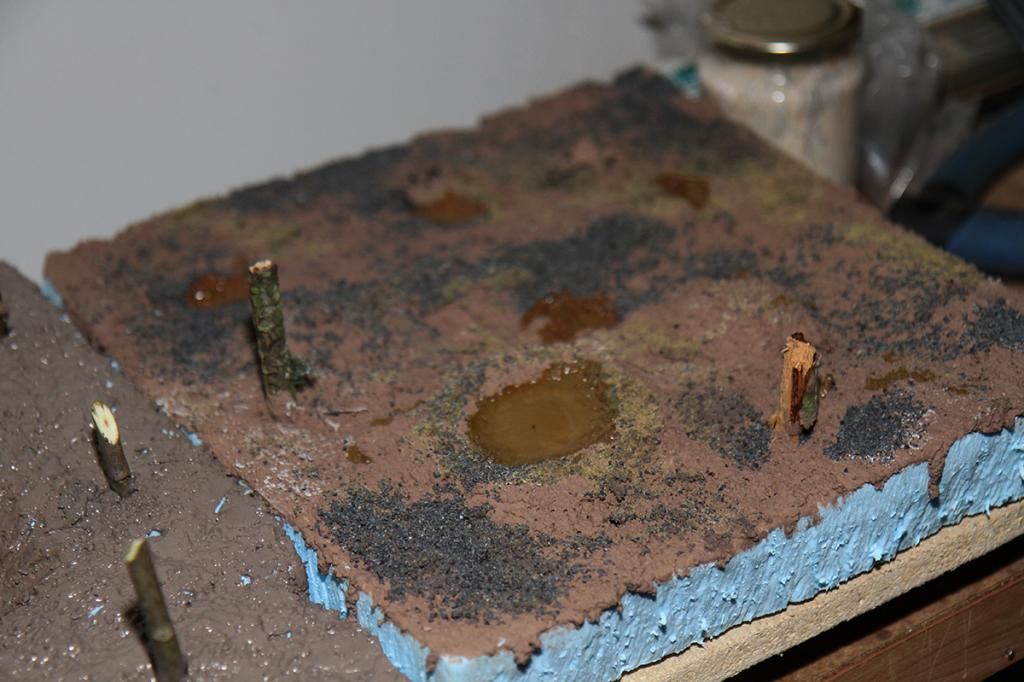
If your base material is fragile, you might also consider covering the material including the sides with PVA (white glue) before painting as well. Again, get down to the DIY shop and you can pick up pots of the stuff at prices far cheaper than model/hobby/art shops sell it for. I've got through two 1litre tubs of PVA in the last year so fast it didn't have time to form a skin.

Similarly, I have invested in "Ready to use Plaster repair and skim" tubs of filler (1 litre) for scenery and figure basing purposes. You can get various types including ones that flex if you think you need it (wood filler is good). Again way cheaper than model specific putty and will cover a feck load of scenery easily. You can get large hobby spatulas to spread it or even "grown up" building tools.

You might also try out your local motor repair store (Halfords in the UK, aka Hellfrauds), for cheap black primer and I've even found textured sprays in there was well.

Sorry on a roll, as I have just done a round trip through town today loading up on all of the above having blitzed a load of scenery in the last month.

HTH
Giles.

Giles the Zog18 Jan 2015 8:55 a.m. PST

And having re-read your blog…if you're doing a lot of terrain, then move up to the bigger tubs of stuff I suggested.
I wouldn't mix the PVA/paint/filler/sand, I'd do each layer separately to ensure total control of outcome.
So after carving the foam into shape:
- PVA all surfaces inc sides
- filler to contour
- base coat
- add extras (like tree stumps in your case)
- texture…sand…flock whatever…I even use cheap tea leaves if need be….paint again if necesary and or dry brush.

Sorry - only verified members can post on the forums.