All,
Following their last fight, the battalion spent several days recuperating at the LZ, performing working parties in support of the battalions in the line, and conducting security patrols around the LZ perimeter. On 28 Oct 1967 1st Battalion was thrown back into the line, and the squad was on point for a combat patrol heading up Hill 475 as the 201st Brigade continued its attempts to wrest control of the hill from the NVA entrenched there.
The squad received no replacements, but several of its previously wounded members were returned to full duty (Corporal Ham, Sergeant Bradley, Spec4 Stallworth, and Pvt Brown). The squad's mission was to patrol up the main axis of attack, locate the next enemy defensive line, and punch through it on their way to the top. They crossed the friendly lines at 0830, the line of departure at 0845, and the previous enemy line (from which the enemy had fallen back from) at 0915, and we pick up the action at 0945.
Overview of the table, with north being to the right. Once again I'm playing solo on a 3' x 2' board. The enemy baseline is to the right (north), the US baseline to the left (south), and the squad is patrolling up a trail leading north, entering from the bottom left. You can see three enemy bunkers on the table, with Bunker1 at top center, Bunker2 at top right, and Bunker3 at bottom right.
Looking north at the enemy bunker line: Bunker1 at left, Bunker2 at top center, and Bunker3 at right. Moving up the trail you can see one squad member, Spec4 Shell, on point. All troops on the table are starting unspotted except Shell and the man immediately behind him (just off camera at bottom), Pvt Swan, who are starting as spotted as they are without cover on the trail, moving right into the NVA kill zone.
The squad, moving up the trail south to north, from right (closest to enemy) to left: Shell, Swan, Ham, Mansfield, Sgt Banaszak, Sgt Bradley, Stallworth (carrying the squad's machine gun), and Brown. Because of how the casualties have worked out, the squad is in the field without either of its M-79 grenadiers.
Shell is on point (bottom center), not happy with Banaszak reaming his ass about running away in the last fight and putting him on pointman duty. As he's grumbling to himself while moving up the trail, he sees or hears or just feel something bad about to happen. As he moved up he had already noted a clearing to the right leading into a foliage-heavy treeline, but as he scanned again, suddenly he could make out the outline of an NVA bunker (top center). He just opened his mouth to yell a warning when AK-47 fire erupted…
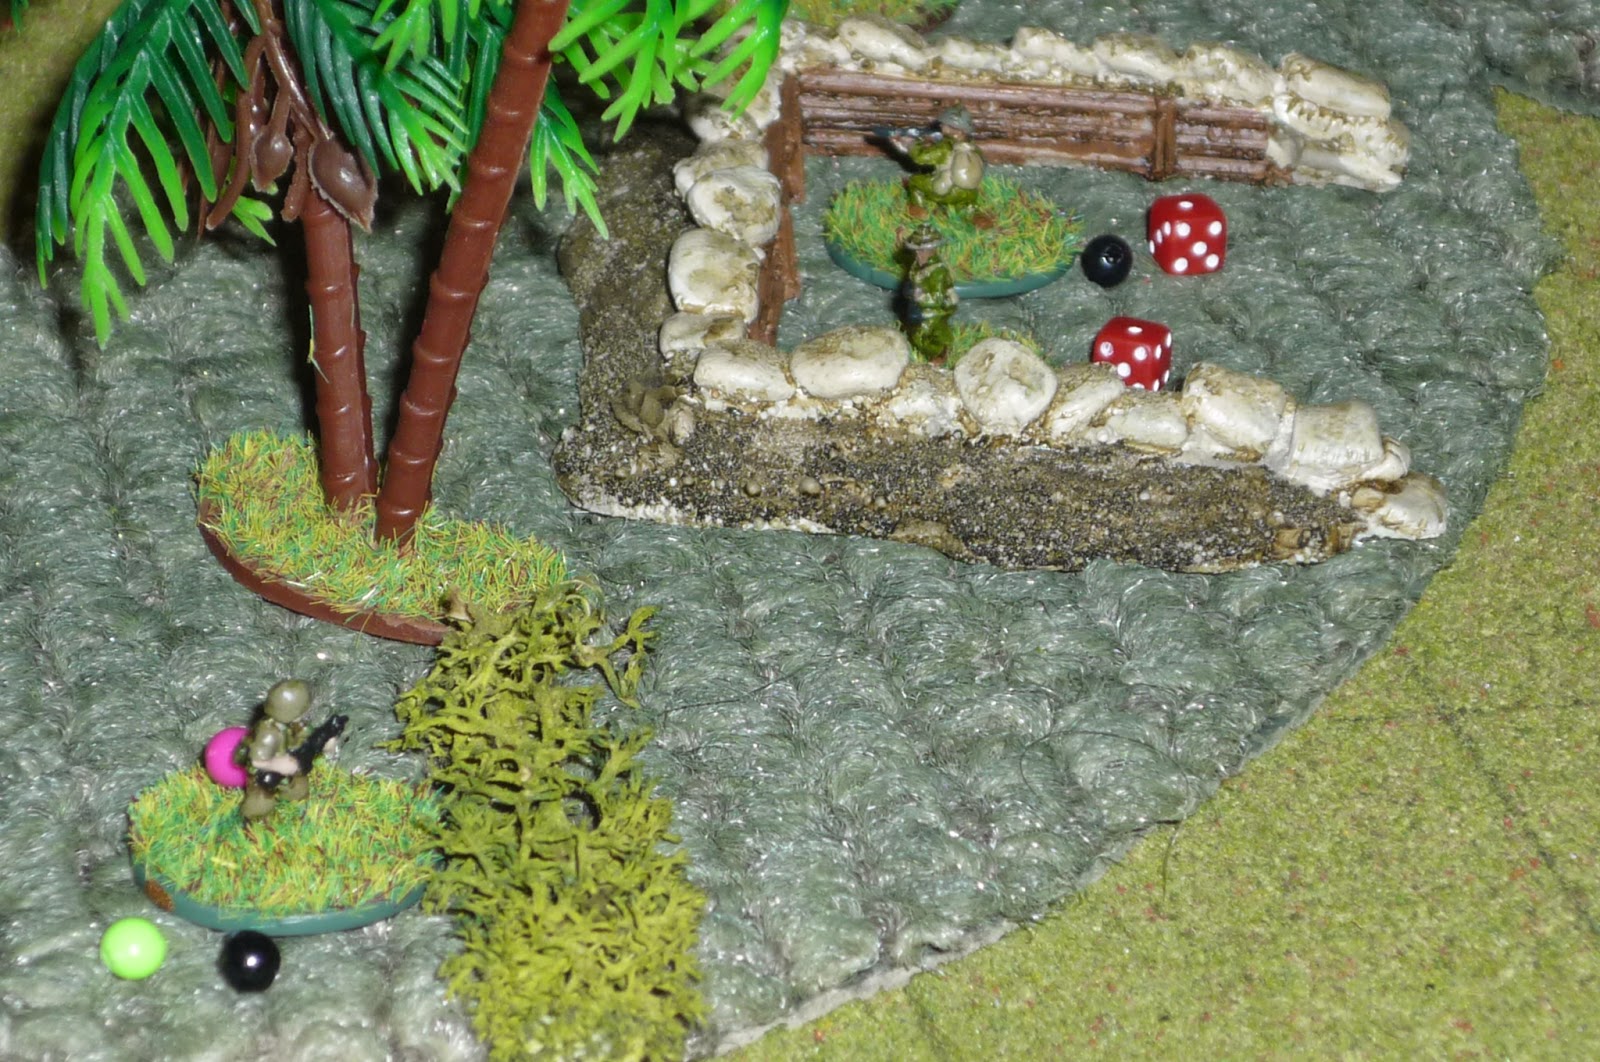
Behind Bunker3, where both NVA rifleman have opened up on Shell (top right) and Swan (top left). The NVA at right delivers a full magazine of 7.62mm rounds in Shell's direction, but miraculously Shell is not hit! The NVA on the left fires at Swan, missing him with two bursts, but the third lightly wounds him. Due to the outbreak of automatic weapons fire, Bunker3 is spotted.
Shell (center) passes his test (caused by the shock of three bursts of AK fire), moves right, drops prone, and returns fire (at Bunker3, bottom right), stitching 5.56mm rounds into the sandbags but hitting no one, while Swann (top left) is stunned from his wounds and simply drops prone to avoid incoming fire. At this point he's not even scared, he's just thinking, 'Swannie, don't you dare run away again, that @#$% Banaszak will shoot you just like he said!"

No sooner had Bunker3 opened up on the point element than Banaszak understood the threat and what he must do. "Ambush front, base of fire, I'm moving right" he yelled as he shook out of his pack and web gear, stuffing frags and extra magazines into his cargo pockets. Banaszak then sprinted off the trail to the right, continuing up the right side until almost face to face with the bunker, then dropped prone. As the NVA are focused on the Americans to their front, Banaszak remains unspotted, though all his sprinting through the jungle will make it easier for him to be spotted.
What happens next? Will Banaszak continue to cover himself in glory, or will he fall apart? Maybe even become just another casualty? You'll just have to check the blog ;)
link
Hope you dig it.
V/R,
Jack

