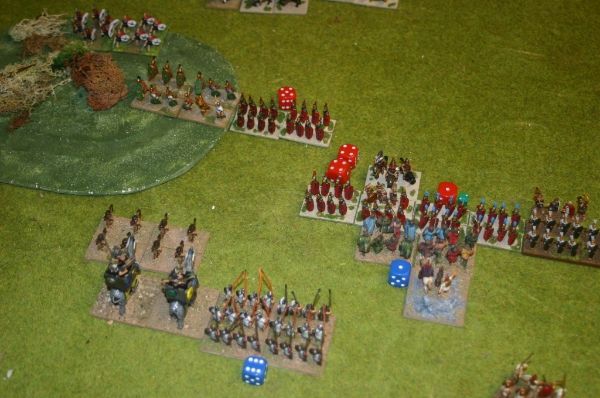
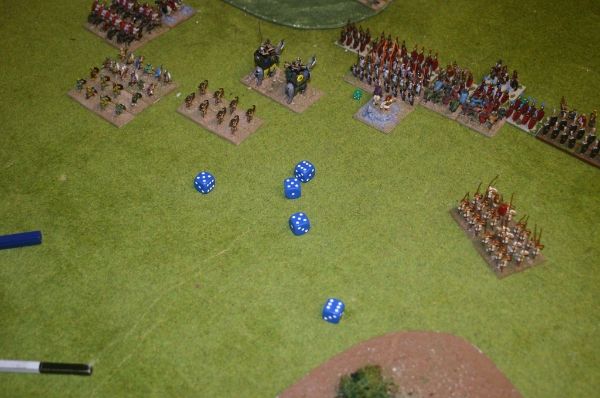
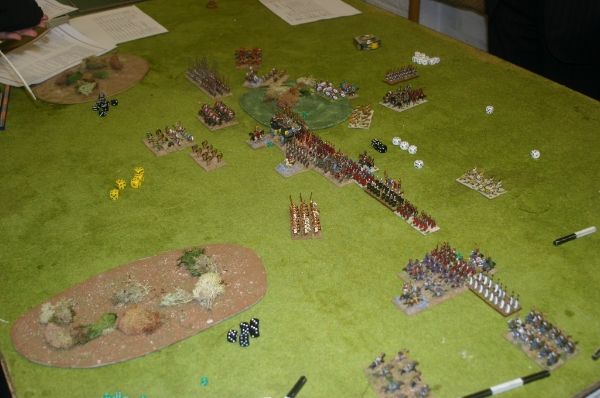
Last week we played Republican Romans vs Seleucids. The rules used were Sword & Spear. For more information about these rules seelink
There were two players on each side. The Romans had two equal commands each of seven units 3 Hastati & Prncipes, 1 Triarii, 1 Cavalry, 1 Auxilia, 1 Light Foot Javelinmen. On the Seleucids we also had 7 units each. On the left we had two units of Phalanx, 1 Thracians, 1 Companion Cavalry, 1 Elephants, 1 Light Horse and one Light Foot archers. On the right we also had two units of Phalanx, although one was the Elite Silver Shields, 1 Galatian Warband, 1 Cataphracts, 1 Scythian Horse archers and two units of Light Foot, one archers and one slingers.
All units are equal frontage, and the phalanx are classed as large units so are deeper to reflect this.
The small green dice you can see in the pictures are to indicate hits. A unit can take hits equal to its strength before routing and being removed. Heavy foot are strength 4, Skirmishers are strength 2, and all other units are strength 3. The black and white dice are the ones we were using for combat resolution, and the larger coloured dice are command dice which are used to activate units. Each player has his own coloured command dice, and each phase 13 of these are pulled out of a bag and allocated to units.
We wanted some terrain to protect our flanks, but were unfortunate in that the brush covered hill we chose went right in the middle of the Roman deployment area. Then we were outscouted and had to deploy first, so we split our phalanx to go either side of the hill. The romans then out-deployed us by deploying most of their army on their left of the hill, meaning that it was going to be difficult for us to get half of our phalanx into the battle.
The situation at deployment :
In the first turn most of the Roman legionaries pressed forward on our right. Not much happened on the left as both commands had used most of their command dice for the first turn on scouting. On the right our command dice were poor, so we couldn't do much expect push the Scythians forward, hoping to get in a position to start shooting the Roman Spanish cavalry.
At the end of turn 1 :
We push our infantry line forward to try to engage the Romans. Pike blocks are hard to manoeuvre, but the command dice showing a 6 will allow the silver shield phalanx to turn to protect the flank of the line.
The Roman line prepares for action. It's going to be tough for the Seleucids with fewer units of heavy foot on this side of the battlefield.
On the Seleucid left the Command dice are poor so not much happens, but the elephants come forward to support the infantry. The Romans have pushed some of their infantry line forward in the middle so there might be a chance for the Seleucids to strike swiftly and hit them before they can bring the remaining units into line.
On our right the Romans have shifted some legionaries to our right, deterring our Scythians, and they have brought the triarii forward into the line opposite our cataphracts.
At the end of turn 2 :
Our Galatian warband unit is just outside normal movement range of the Romans opposite. However, good command dice can give bonus movement or bonus combat dice. We get two 6s, which can give us both, so we seize the moment and charge. The Romans do not have a command dice allocated so get no impetus in the combat. So we will have 6 combat dice against the Romans 4, and being Impact troops we can hope to do some serious damage, maybe wiping the unit out.
The charge goes in and we inflict two hits. Not bad, but a routed Roman unit would have been nicer !
The Romans then charge in against our warband with another unit of legionaries. Now the odds are against us, with the Romans also getting bonus dice (from the double command dice allocated) and get 7 dice to our 4 in the combat.
They roll well, but we do better, so our Galatians are fighting heroically against bigger numbers of quality troops.
We desparately need to gets the pikes up to support the Galatians, and we get the 6 we need to give us the bonus movement we need to reach the Roman line. The pikes go in but fail to dent the Roman armour. The next unit of legionaries then charges in and their advantage in numbers means the pikes lose the combat and suffer two hits. The pikes can take 6 hits before routing as they are a large unit, but their combat effectiveness deteriorates when they have suffered hits, representing the loss of cohesion. At the end of the turn our general rallies one of the pikes hits, but they still have one hit, which means they will be disadvantaged against legionary opponents.

On the left in turn 3, the Seleucid phalanx heads forward in at attempt to circumnavigate the hill. With hindsight this was a mistake on our part, as they were unlikely to get anywhere useful. On the right the Seleucid Cataphracts move to threaten the Roman triarii.
At the end of turn 3 (you can see the command dice for the first phase of turn 4 being picked out of the bag):
My command dice for the first phase in turn 4. You can't hope for much better than this ! I was hoping this would allow me to turn the battle in my favour, but alas, this wasn't to be.

The good command dice allowed me to activate all of my engaged units for combat, as well as charge in with the cataphracts against triarii, with bonus combat dice everywhere. This put pressure on the Roman line and meant that the triarii were not allocated a command dice, thus giving me a good chance against them with the cataphracts (if they had been allocated a dice the cataphracts would not get impetus against them as they are spearmen, so the cats would not have gone through with the charge). The cataphracts inflicted 3 hits on the triarii, so not quite enough to rout them. The other legionary unit on the right move up to engage the cataphracts and the Spanish cavalry advance also, aiming to move into a position to charge the flank of the cats.
In the middle the combats were indicisive, even with the bonus combat dice and the Seleucid elephants joining in.
At the end of turn 4 :

Right flank action. The Roman (Spanish) cavalry then move into a position where they can get a flank charge on the cataphracts. The cataphracts fight well against the two Roman infantry units, with their heavy armour and the presence of a general keeping them alive.
Fierce fighting in the middle.
Not much happening on the left.
At the end of turn 5 :
Things start to go badly for the Seleucids. The elephants rout, and the infantry are taking losses.
The pikes then rout, leaving the Galatians isolated and close to routing themselves.
On the right the cataphracts continue to fight heroically, and, due to the Roman focus on the middle, the Spanish cavalry don't get to charge their flank.
The Scythians take advantage of this and shoot the Spanish cavalry, inflicting a hit.
At the end of turn 6 :
On the left we have a small victory as the Seleucid archers shoot the Roman javelinmen and rout them. Our thracians had hoped to take out the Roman medium foot at the end of their line, who had been weakened in combat against our elephants, but it did not go our way.
One of the left phalanx units is finally getting within sight of the enemy !
On the right the Spanish cavalry finally go in against the flank of the Seleucid cataphracts, who continue to fight incredibly well and just about survive.
At the end of turn 7 :
Right flank action. This turn the cataphracts finally succumb to relentless pressure and rout. Subsequently the Seleucid Scythian light horse charge the victorious Spanish cavalry in the flank and rout them. But too late to make a difference to the outcome.
Middle and left. The Seleucid Galatians and Thracians both soon rout. The Seleucid Companion cavalry decide the only useful course of action is to charge the Roman auxilia in the brush, hitting them in the flank and routing them.
However, it is too little too late. Losses on the right mean that that Seleucid command breaks, and it is game over.
At the end of the game :

