The Corlears Hook Fencibles played a game of the 1811 battle of Albuera using our club rules "Bonaparte Waltz". These use a Memoir style hex mat, each unit being a brigade or artillery battalion. Rick and Tom shared command of Soult's French force. I was Beresford and Ken was the Spanish general Blake.
A warning: Dutch Belgians stand in for Portuguese, the Spanish have 1808 uniforms and some of the French are in bicorns. If this offends you, avert your eyes.
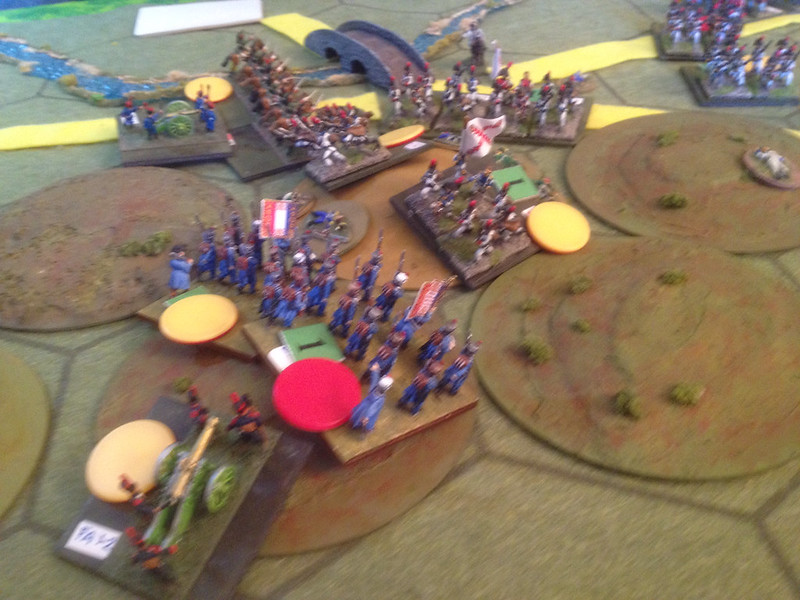
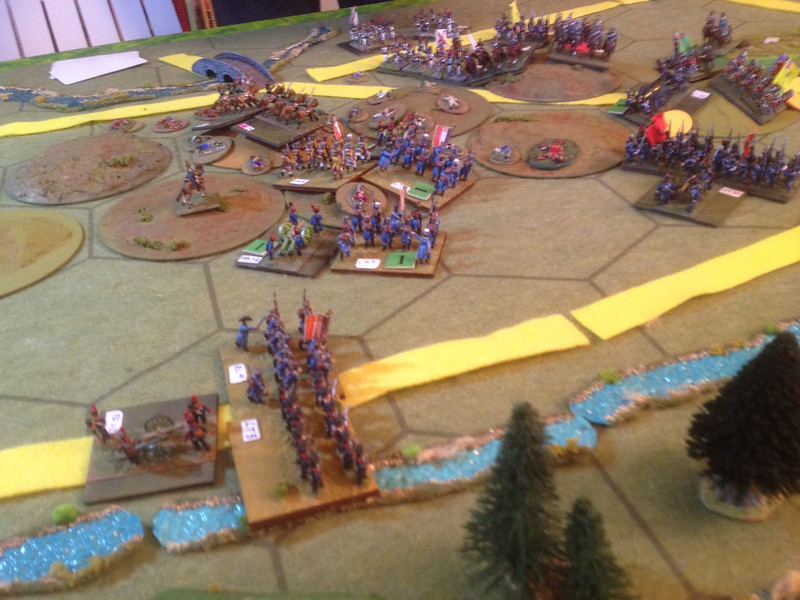
The French marched forward and deployed, threatening the Spanish southern flank.
Cole's division was on the road further north, just the other side of the British camp.
Both the Spanish and Anglo-Portuguese armies suffered from low pip rolls. Both also had poor commanders and could only draw one card each turn, where Soult could draw 3 and good pip rolls for much of the game. On the other hand, Beresford had 13 units and Blake 8 for a total of 21 to the French 17. The first French attack knocked conscript Spanish infantry back. Ken threw in a counter-attack that regained the ground.
The French replied and scattered two brigades of Spanish infantry.
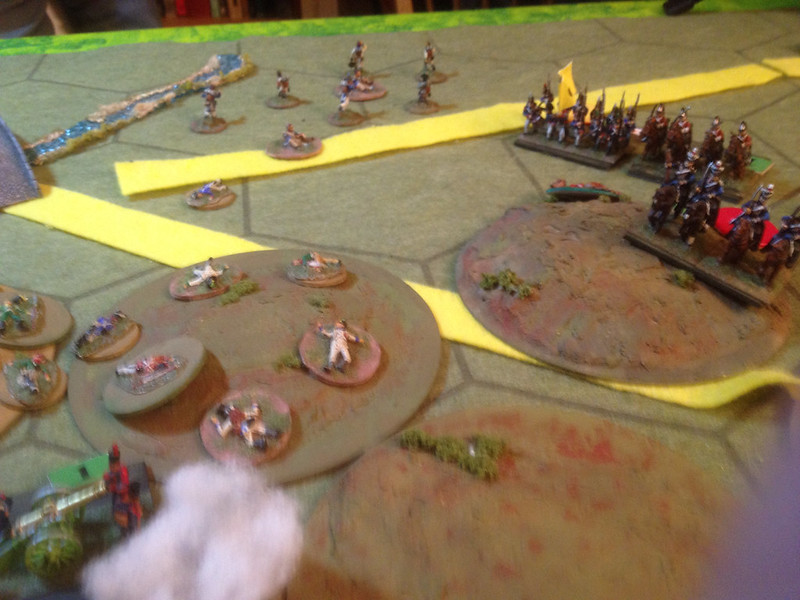
I was leaving casualty markers whenever hits were scored. 3 hits breaks infantry, others take two. You can see where much of the fighting occurred.
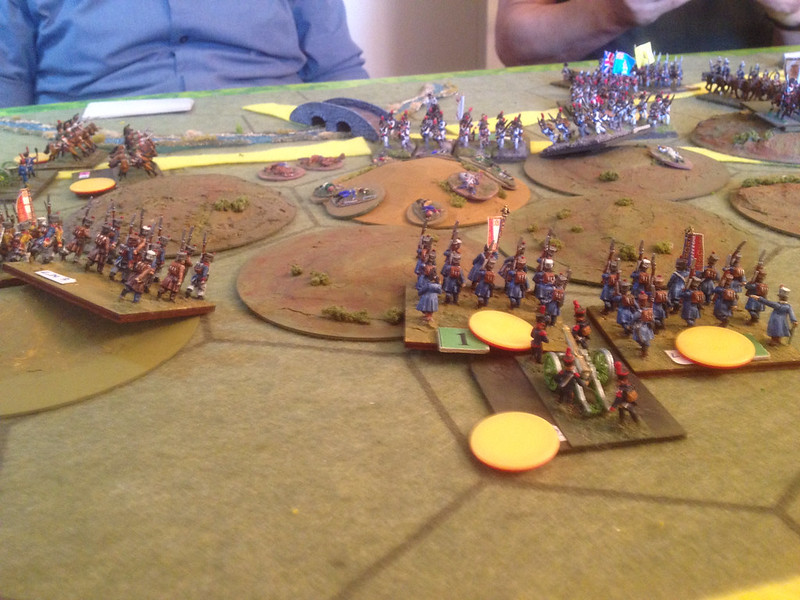
Cole's division marched into the line and drew French artillery fire.
Stewart's division began sidling southward, sooner than in the actual fight. But the Anglo-Portuguese army moves slowly, with a 2-4 pips per turn. The Spanish have 1-2 and the French 5-7.
We broke for dinner. Afterwards the action heated up and I missed some photo ops for a turn or two. The French attacked Cole's division and were repulsed with loss to both sides. I threw Cole forward in a counter-attack. The defender fire put a hit on the fusiliers, driving back the divisional artillery and the Portuguese brigade. The Fusiliers as elite troops ignored a retreat result and stayed in the attack. They rolled dice and drove the French back. Our rules require the attacking winner in close combat to advance and take the hex. The only unit left was the fusiliers, disordered by the fight. They advanced and then were hit by a massive French attack that scored two hits, finishing off the fusiliers and making the retreat results they had also scored moot.
The British and Portuguese cavalry came forward and were charged by French dragoons and the Vistula Legion. The British cavalry took a hit, the Portuguese rode off in a rush and the French were repulsed.
Stewart's division came up and I sent it into an attack before realizing that Hamilton's Portuguese division was too far away to help them this turn.
Stewart's troops came tumbling back in disorder. What can I say, my blood was up. This left the rump of Cole's division to face a coordinated French attack. They were swept away.
Stewart then held off a French attack.
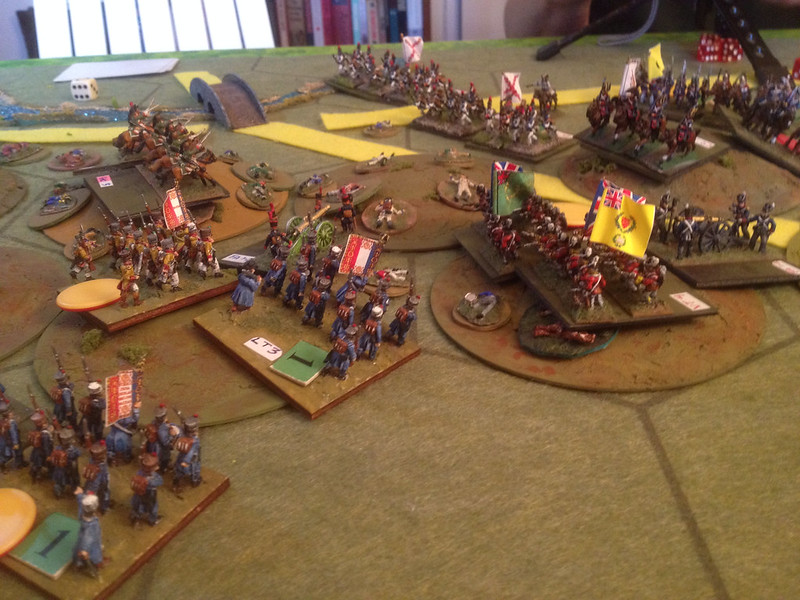
I had been leaving a casualty marker on the table whenever a unit took a hit. This is required for the game but does serve as a guide to where the fighting was hottest. You can see the result here.
The French attacked Albuera twice and twice were sent off by Alten's KGL. I played the blunder card and made the light cavalry brigade there make an attack on the town, over the creek. They were driven off in disorder but survived.
Around this time a 4th unit broke and put the Spanish over their breakpoint. They fled.
This lowered the Anglo-Portuguese breakpoint from 7 down to 5. While the French re-organized from their effort, the Allies dressed their lines.
The French came in for the kill, looking to put one more Allied unit out. Soult rode forward and began leading attacks. He had a close call when an aide was hit in the head beside him.
British cavalry was attacked by the French and saw off the attack. Disordered by the fight, they were prey to the French Tally Ho card which makes disorganized British cavalry attack as the enemy wishes. One more hit would put them out. They rode through a hail of fire from a disordered French infantry unit and chased them away.

The game ended with Beresford's army still on the field, claiming a pyrrhic victory. We played 12 turns in 2 hours and 35 minutes, 13 or 14 minutes per turn. As Rick pointed out, these were small armies for our game, 24,000 French vs. 35,000 Allies. French losses were about 5,810 and 6 guns. Spanish losses were some 4,170 and Beresford's losses some 4,100 and 12 guns. Total loses about 5,800 French vs. 8,300 Allies. The French had done better than Soult, breaking the Spanish army but failing to chase off the Anglo-Portuguese. It had been a nail-biter right up until the end and everyone enjoyed the game. I do think my berserk counter-attacks may have helped the French.
We use yellow markers to show disorder and red markers for exhaustion. You can see what shape both armies were in at game end.