The Miniatures
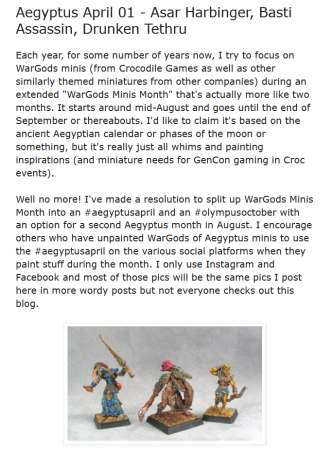
These miniatures are from Shadowforge Miniatures' fantasy line. They are three female Amazon/Warriors.
The overall quality of the minis is good. I had issue with the faces, though. They were a little tough to paint because there wasn't a whole lot of definition to them. There were also a couple of rough spots that needed to be filed down.
Photo blocked by adult filter:
"Tribal Drummer in progress"
Photo blocked by adult filter:
"Tribal Totem Bearer in progress"
Photo blocked by adult filter:
"Tribal Champion with Spear in progress"
Materials
I used a variety of paints on this model to get just the right colors.
Paints:
- Reaper Pro Paints (RPP)
- Vallejo Game Color (VGC)
- Reaper Master Series (RMS)
- Games Workshop White Primer
Brushes:
- Winsor & Newton Series 7 Miniature — sizes 0 and 1
- Winsor & Newton Series 7 — sizes 0, 1 and 2
Palettes:
- Two flower palettes from Dick Blick Art Supply
Basing:
- Elmer's white glue
- Corn meal
- Static Grass (can find at any local game store or online)
- Epoxy Putty (to fill in the slot hole)
Miscellaneous:
- Top to a primer can
- Silly Putty (to affix the mini to the primer can top, so you don't handle the mini during painting)
- X-acto knife
- Flat golden taklon brush
- Superglue
- Toothbrush
- Dish soap
Prep Work
I prepped these minis just like I would any other. I first took a look at them, and clipped any chunks of flash that needed to be removed. I filed down the rough spots - which were mainly on the arms and legs. Once the filing was done, I used an old toothbrush and some dish soap and scrubbed the minis down. This removes a good amount of oils or dirt that may be on the mini from handling. By cleaning them you are ensuring that your primer and paint don't chip off as easily.
Once they were cleaned, I glued them together using superglue from my local game store. Once they were dry, I took my can of Games Workshop white primer and gave them a couple of light coats. After an hour of drying, they were ready to paint! Affix the minis to my spray bottle caps for easy handling, and we're off!
Methods to the Madness!
When I first got these minis, I thought to myself, "I should really do something more realistic. Most of my minis lately have had a lot of bright colors and have been very fantasy looking. Maybe these should be more traditional with natural colors." I thought and thought about it. I didn't like that idea. So, I made a compromise that I think was a good one. I decided to keep natural skin tones, but to do some anime-style hair! I also decided to keep the furs in natural colors, but to do some bright purply-pink leather! That way, there are some natural tones to the minis, but still some bright colors. I'm all about the bright colors!
To help the painting process along, you should always sit down and really take a good look at the mini. This is also when you should really figure out your plan of attack, too. Before you set paint to mini, you always need to have a plan of what you are doing. If you don't, you may come to a point and think, "Well, this really bites! I don't like the way this is going at all. Time to scrap and start over." By having a plan, your painting will go smoother, and you will be able to keep in mind what the mini will look like when it's done.
I always keep a notebook at my painting table. In this notebook, I keep paint recipes from my own experimentation, and also from other painters that I may want to try later. I also write down my plans for complex minis, and names and contact information for my customers (this is if you sell your work).
I have a section devoted to plans for minis, though. For each mini, I write down the area of the mini and what color I want to paint it. If I mix colors while painting a mini, I will put a dab of the mix on the page that I can reference later and try to match. This cuts down on having to constantly repaint sections on the mini (which I did a lot of when I first started).


