I applied the decals, after scraping and scratching a few of them to make them look weathered and chipped once applied. I wanted them on now, to help get rid of any glare and the clean look that decals often have if you wait until the end of the paintjob to apply them. I use Solvaset on all my decals and swear by its results. A thinned ink wash (as described before) was applied over the decals, after they were set and sealed with a matte coat. This helps with the appearance of wear.
Now it's time to add the GW Boltgun Metal to the edges and panels. This was time consuming since I didn't want to just drybrush it on and hope for the best. I thinned the paint down, and used a 5/0 brush to try and hit most of the edges that were left from the blue-and-white coverage earlier.

Now I mixed a few drops of GW Brown Ink with a small drop of black paint and a few drops of water. This has been very effective for me when I want to make grease and fluid leaks on my minis. As it dries on your palette, it will get more and more concentrated - so keep that in mind as you're working, so you don't end up with something too dark where you don't want it.
I also started adding sand to the base. I used superglue to set the sand, and then let it dry completely.
I also started jewelling the laser barrels and lights on the tank. There are tons of tutorials on how to jewel, and I'm not the person to give one here (given my lack of experience and inconsistent results).

I made sure the base was dry, and then applied a thinned coat of GW Scorched Brown, mixed with some thinned black ink while it was still wet on the base. This makes it easier to get different shades of ground and dirt, if you wish that effect. Once dried, I used Neutral Grey to drybrush the highlights on the rocks near the feet.

Here, I started to apply my ground cover and flocking. I start with the small stuff first, then add the bigger clumps at the end. I wanted the vehicle to look like it had made some tracks in the dirt before it was stomped down, so I used some more Scorched Brown (with some Black added) to give an appearance of tire ruts.
Once this had all dried, I applied two coats of GW Matte Sealer, and let them dry before going back to my jeweled areas and cockpit glass. I used GW Varnish, and let each coat dry completely before the next. Two or three coats usually gives a nice depth and gloss.

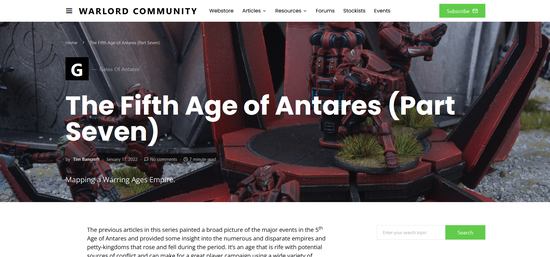
Well, there you have it - all done. I wanted to give the appearance of a mech that was built and repaired many times over. There are some panels and colors that are definitely older and more worn than others. I figured this mech pilot was tired of having his home planet raided by pirates, and decided to return the gesture by stomping on them for once.
Thanks for your time!


