


Or more accurately, 'tinting' - as I have used a new technique (at least new to me) to paint this miniature. I wanted to see just how far I could go with washes, inks, and tints over the polished bare-metal miniature. I have used Games Workshop Badab Black and Gryphonne Sepia Brown washes, artists inks, and acrylic medium to tint the colour of the metal - as detailed below.

The miniature has been given a wash of 2-parts Games Workshop Black and 1-part water. I was very happy with the result.

A second Games Workshop wash of undiluted Black has further defined the sculpted detail. At this stage, I was trying for a metallic black look as 'Robbie the Robot' from the film Forbidden Planet. Once again, I was happy with the result.

As well as another, lighter wash of Black, I have painted the legs with dark grey acrylic paint, and the mouthpiece red over black. Both areas were then given a light wash of Games Workshop Black Wash.

I have used the Games Workshop Sepia Wash mixed with Games Workshop Flesh Wash (the old version in the blue-topped tubs) to tint the groin area and head a gold colour. I used a white plastic palette, and added both washes which were then mixed on the figure. The second colour wash is much more subtle - blue and purple inks have been diluted with water and washed over the legs and torso.
In addition, I have used a diluted black wash to blend in all of the above effects used so far.

At long last, I have added the arms! They have been attached with superglue at a wide or outstretched angle to try and fill the rather large base. The middle section of each arm has been painted with dark grey acrylic paint (as the upper leg sections), and washed with Games Workshop Black Wash. The shoulder and hand areas are just polished metal, with some acrylic silver paint used on the highlights.
In addition, I have added detailed painting to the eyesocket area, the ear area, and the chest. All done with acrylic paint over a white undercoat, and washed with red, yellow or green inks. (I am still trying to keep to a wash-and-ink scheme.)

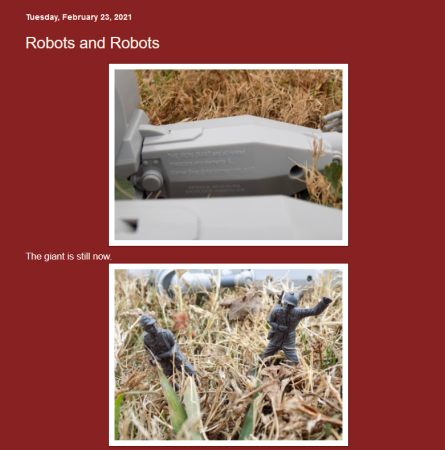
The main detail on this photo is the work I have done around the mouthpiece. I had seen a similar toy robot with a red mouthpiece that lit up when the robot spoke, and wanted to reproduce the same or similar effect. However, the red-over-black and black washes were making the area 'muddy or dull' and this was not the effect I wanted. I therefore drybrushed the raised area with white paint, then red paint was brush painted on, and finally the whole area washed with red artists' ink. The effect is better, but may still need some additional work.
I have also added a plastic card plaque to the front of the base. The two small rivets are plastic rod sliced into sections and glued on with plastic cement.