Help support TMP


"Home made 15mm scenery for FOG-R - Italian Wars" Topic


Field of Glory: Renaissance

10 Posts

All members in good standing are free to post here. Opinions expressed here are solely those of the posters, and have not been cleared with nor are they endorsed by The Miniatures Page.

Please don't make fun of others' membernames.

For more information, see the TMP FAQ.


Back to the Field of Glory: Renaissance Rules Board


Areas of Interest

Renaissance

Featured Hobby News Article


Featured Link


Featured Ruleset


Featured Showcase Article

28mm Acolyte Vampires - Based

The Acolyte Vampires return - based, now, and ready for the game table.


Featured Book Review


871 hits since 31 Dec 2016
©1994-2024 Bill Armintrout
Comments or corrections?

Midlander6525 Oct 2015 9:29 a.m. PST

I have been making some scenery to go with my 15mm Italian Wars French army.

I particularly want to get a southern European pre-industrial appearance and have plans for vineyards (no growing them on 100m long lengths of galvanised wire!), olive trees and plenty of weathered pan-tiled roofs. I was very disappointed to learn that tomatoes only arrived at the end of this period so I'll have to think of something else to add a bit of interest and Italian colour to the urban areas. I suppose a pizza oven would be wrong too :-(

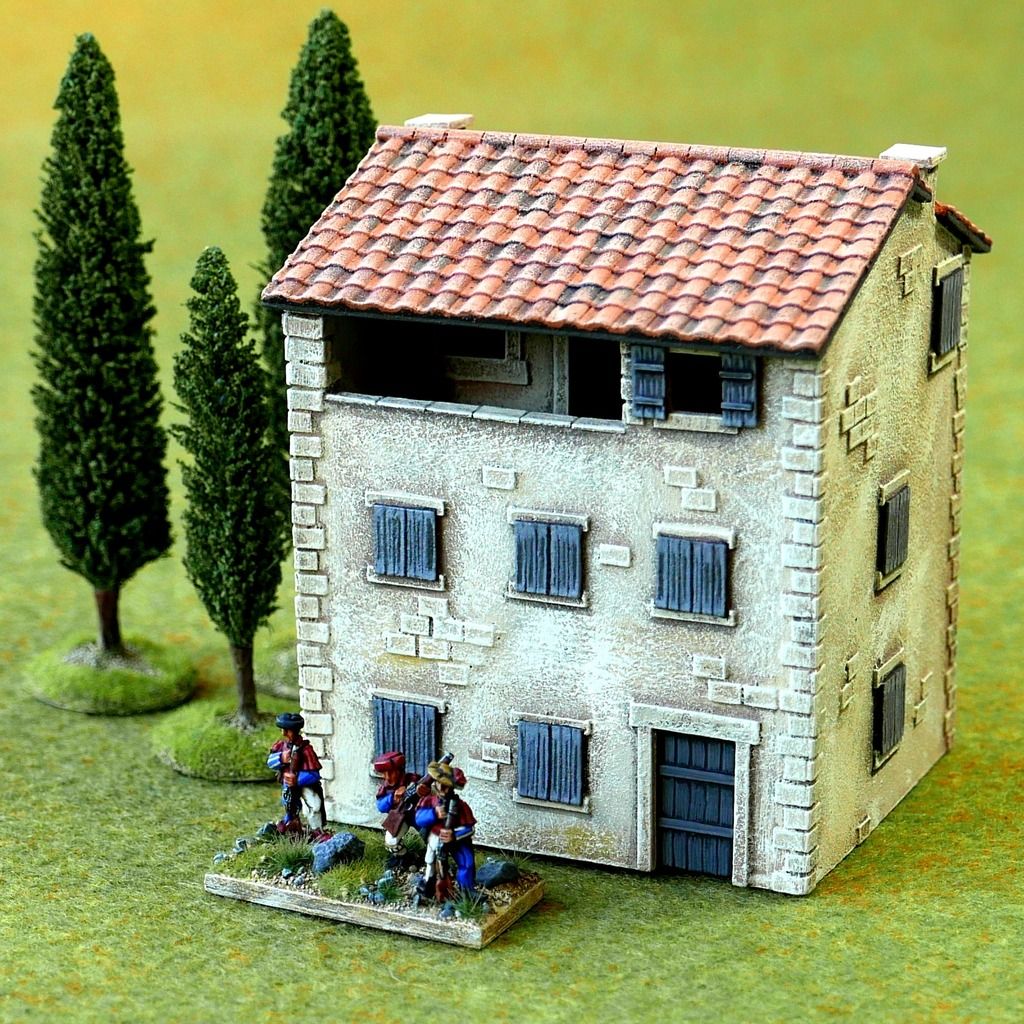
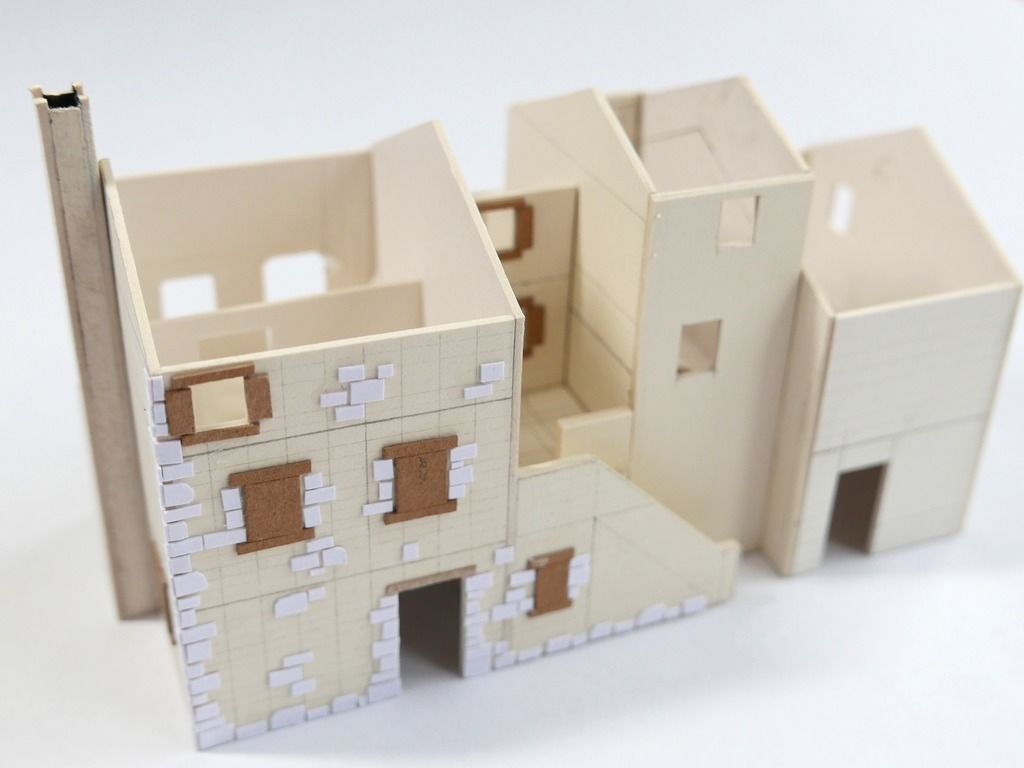
So far I have made some irregular areas as woods, broken ground, brush or marsh (depending on the markers placed on them), fields, hills and a house.

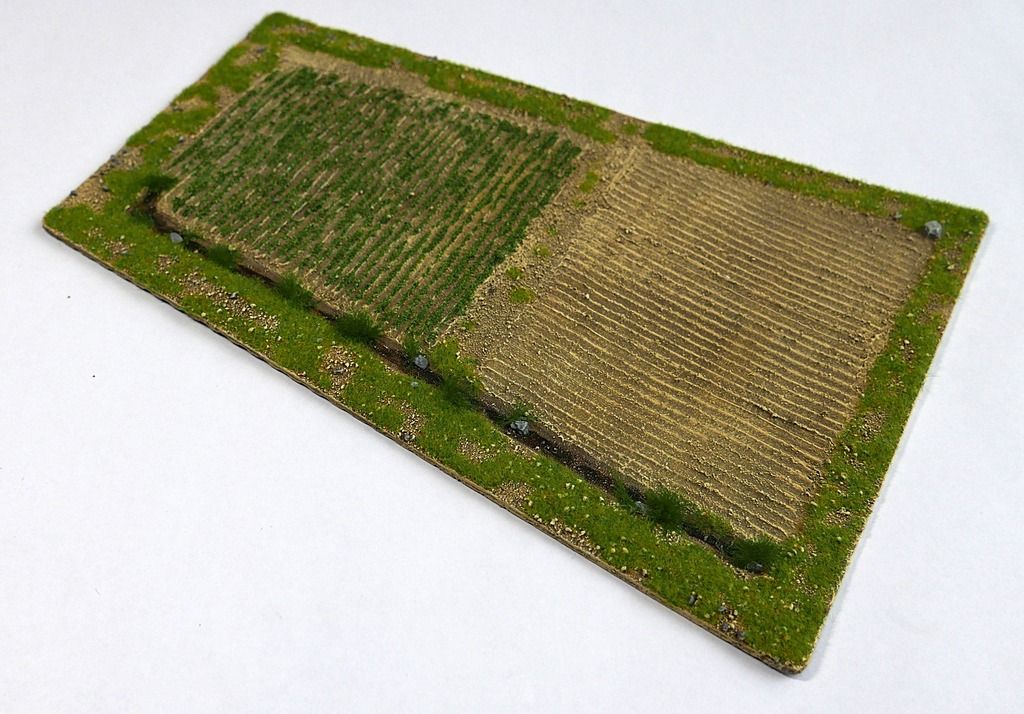
Here is one of the fields with a ploughed effect and crops growing on one area:

[/URL]

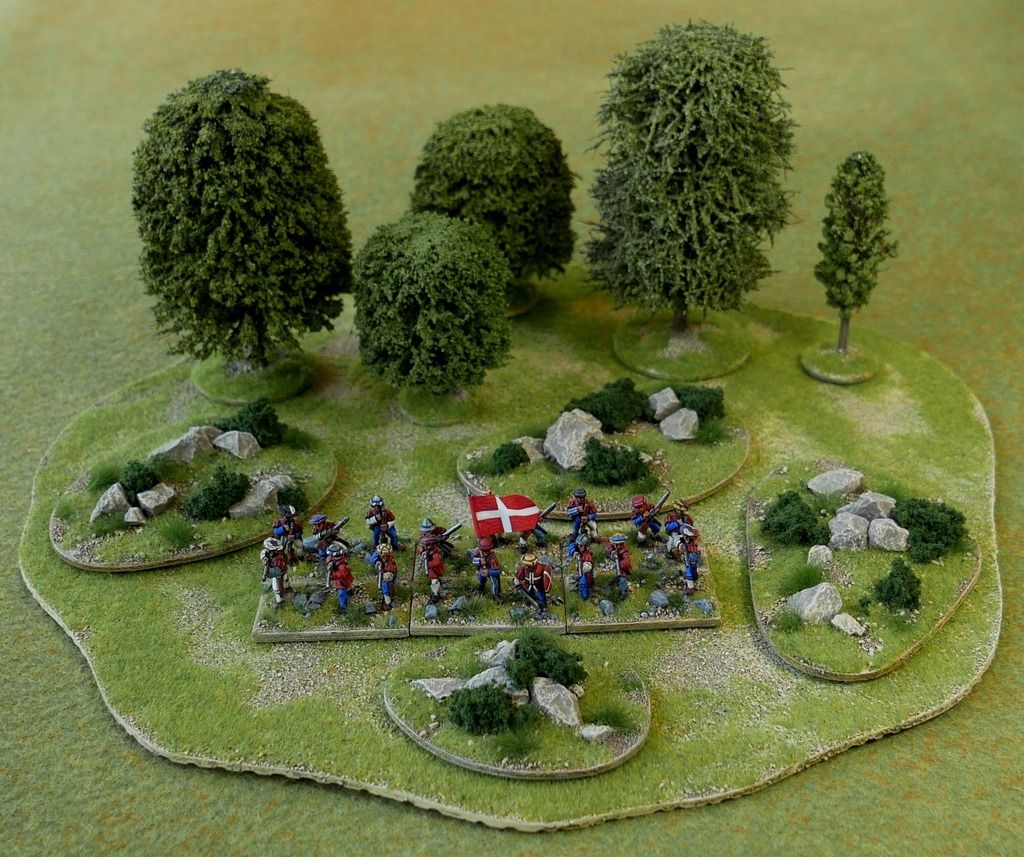
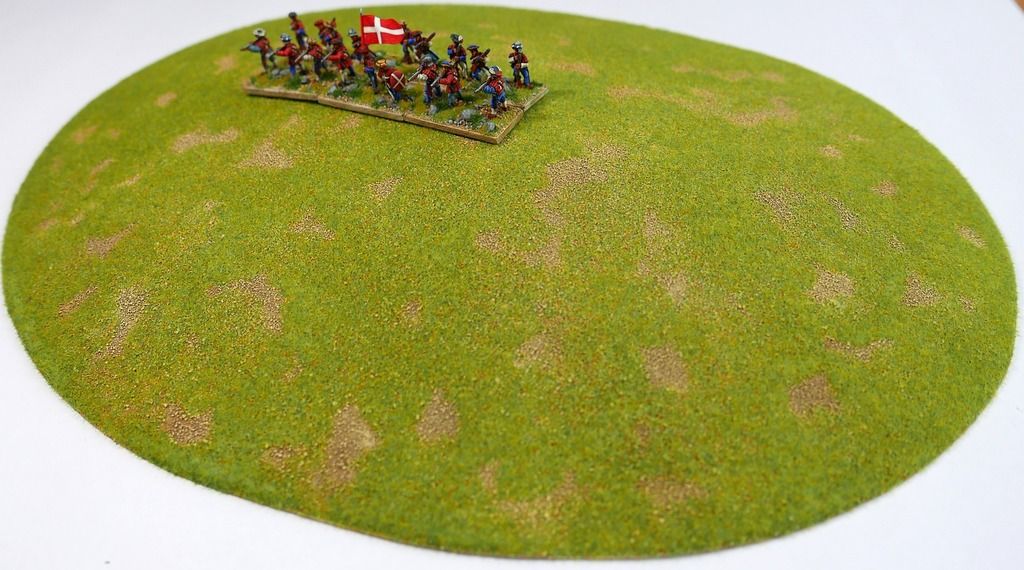
The area pieces will be used as woods, broken ground, brush or swamps, depending on what terrain markers are used – this one shows both trees and broken ground markers. My first go at swamp markers wasn't very successful so I need to re-think that one – I'm wondering whether to invest in some proper water effects so I can do a convincing lake as well.

[/URL]

The close-up of the ditch along the edge of a field shows where I have just used a couple of coats of gloss varnish to give the impression of water/wet mud in the bottom of the ditch. I think it looks OK for this but something better is needed for larger water areas – suggestions would be very welcome.

[/URL]

I've put a detailed report on making the irregular areas of terrain and fields on my blog here: smallitalianwars.blogspot.co.uk

As soon as I get round to writing up (and completing) the other features, I'll post some additional pictures on here.

davbenbak25 Oct 2015 10:16 a.m. PST

I really like your broken ground effects. The removal ovals are a great idea.

VicCina Supporting Member of TMP25 Oct 2015 10:26 a.m. PST

This is truly impressive! Wish I could make terrain look that good.

Norman D Landings25 Oct 2015 10:47 a.m. PST

I advise a comfort break and a cuppa before clicking that blog, 'cause you'll be there a while!

LOVE that terrain – subtle and realistic.

Personal logo Condotta Supporting Member of TMP26 Oct 2015 7:26 a.m. PST

You are a creative Faller, er, uh, fellow. Well done, you have found your Noch in life it appears. Puns aside, let us know how you decide larger water features can be achieved.

Chinggis27 Oct 2015 3:55 a.m. PST

Norman, I agree. I've had to bookmark it so as to continue reading later. Good blog, great pictures, lovely looking chaps and terrain, the bloke has it all. The amazing thing is that I not even remotely interested in the period but you can't deny what a great job he has done.

painterman01 Nov 2015 5:45 a.m. PST

Very nice terrain – to match your equally impressive figures.

Midlander6513 Nov 2015 12:54 p.m. PST

Thanks very much for the comments.

I have now added some low hills out of MDF, textured and flocked using the same methods as for the area pieces.

I also completed a first building and made a start on a second group. I am trying for a generic Southern European look suitable for France or Italy from the middle ages onwards.

These are made from picture mounting card with business cards cut up for the stone detail and a piece of Amazon parcel pack scored and cut up for the shutters. The tile effect for the roof uses Wills textured styrene sheet. It isn't quite the right style or scale but the overall effect is OK, I think.

The next group will be a bit more complicated with external steps, multiple roofs and a wooden balcony to represent a row of houses.

There are more photos and details on my blog here: link

uglyfatbloke14 Nov 2015 12:17 p.m. PST

Very nice indeed. If only I could get a talent/patience implant Id be doing the same.

Oh Bugger14 Nov 2015 12:24 p.m. PST

Yeah that's all that's stopping me too.

Its lovely work.

Sorry - only verified members can post on the forums.