"Cold War Micro Armour - A first go!" Topic
9 Posts
All members in good standing are free to post here. Opinions expressed here are solely those of the posters, and have not been cleared with nor are they endorsed by The Miniatures Page.
In order to respect possible copyright issues, when quoting from a book or article, please quote no more than three paragraphs.
For more information, see the TMP FAQ.
Back to the Cold War (1946-1989) Message Board Back to the Modern Gallery Message Board
Areas of InterestModern
Featured Hobby News Article
Featured Link
Top-Rated Ruleset
Featured Showcase Article Can you identify these figures or who painted them?
Featured Profile Article
Current Poll
Featured Book Review
Featured Movie Review
|
Please sign in to your membership account, or, if you are not yet a member, please sign up for your free membership account.
| ROUWetPatchBehindTheSofa | 09 Mar 2018 3:32 p.m. PST |
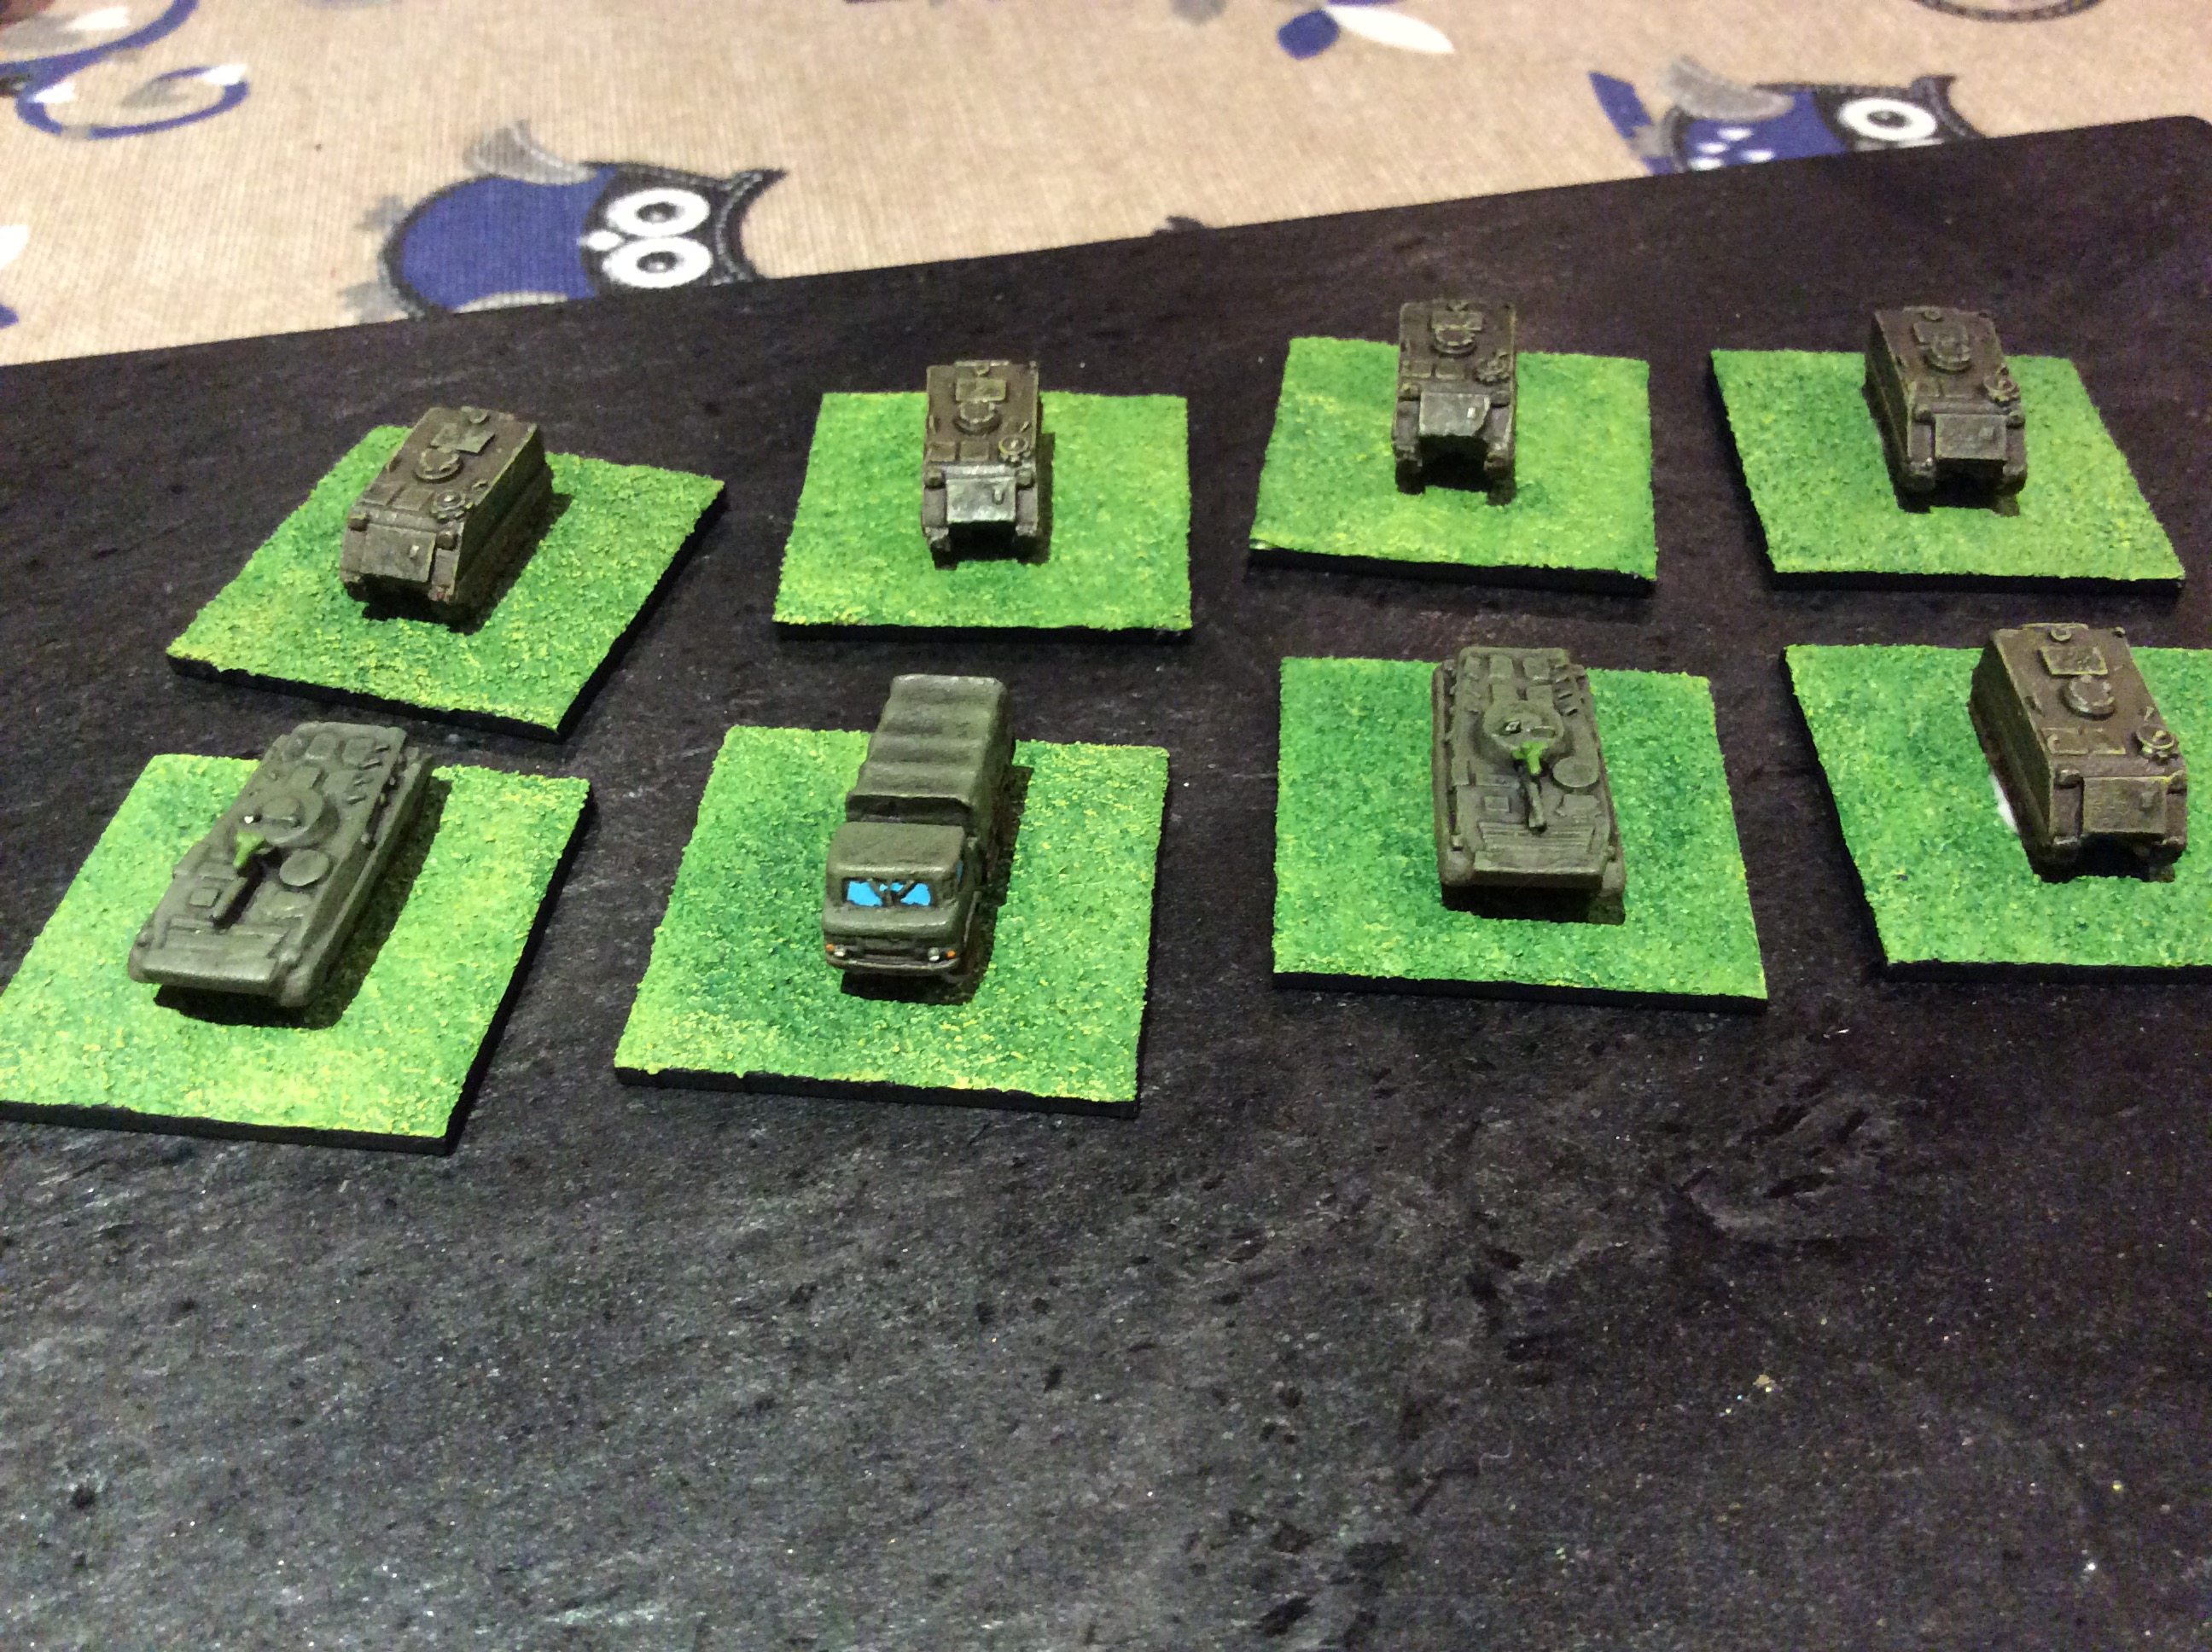
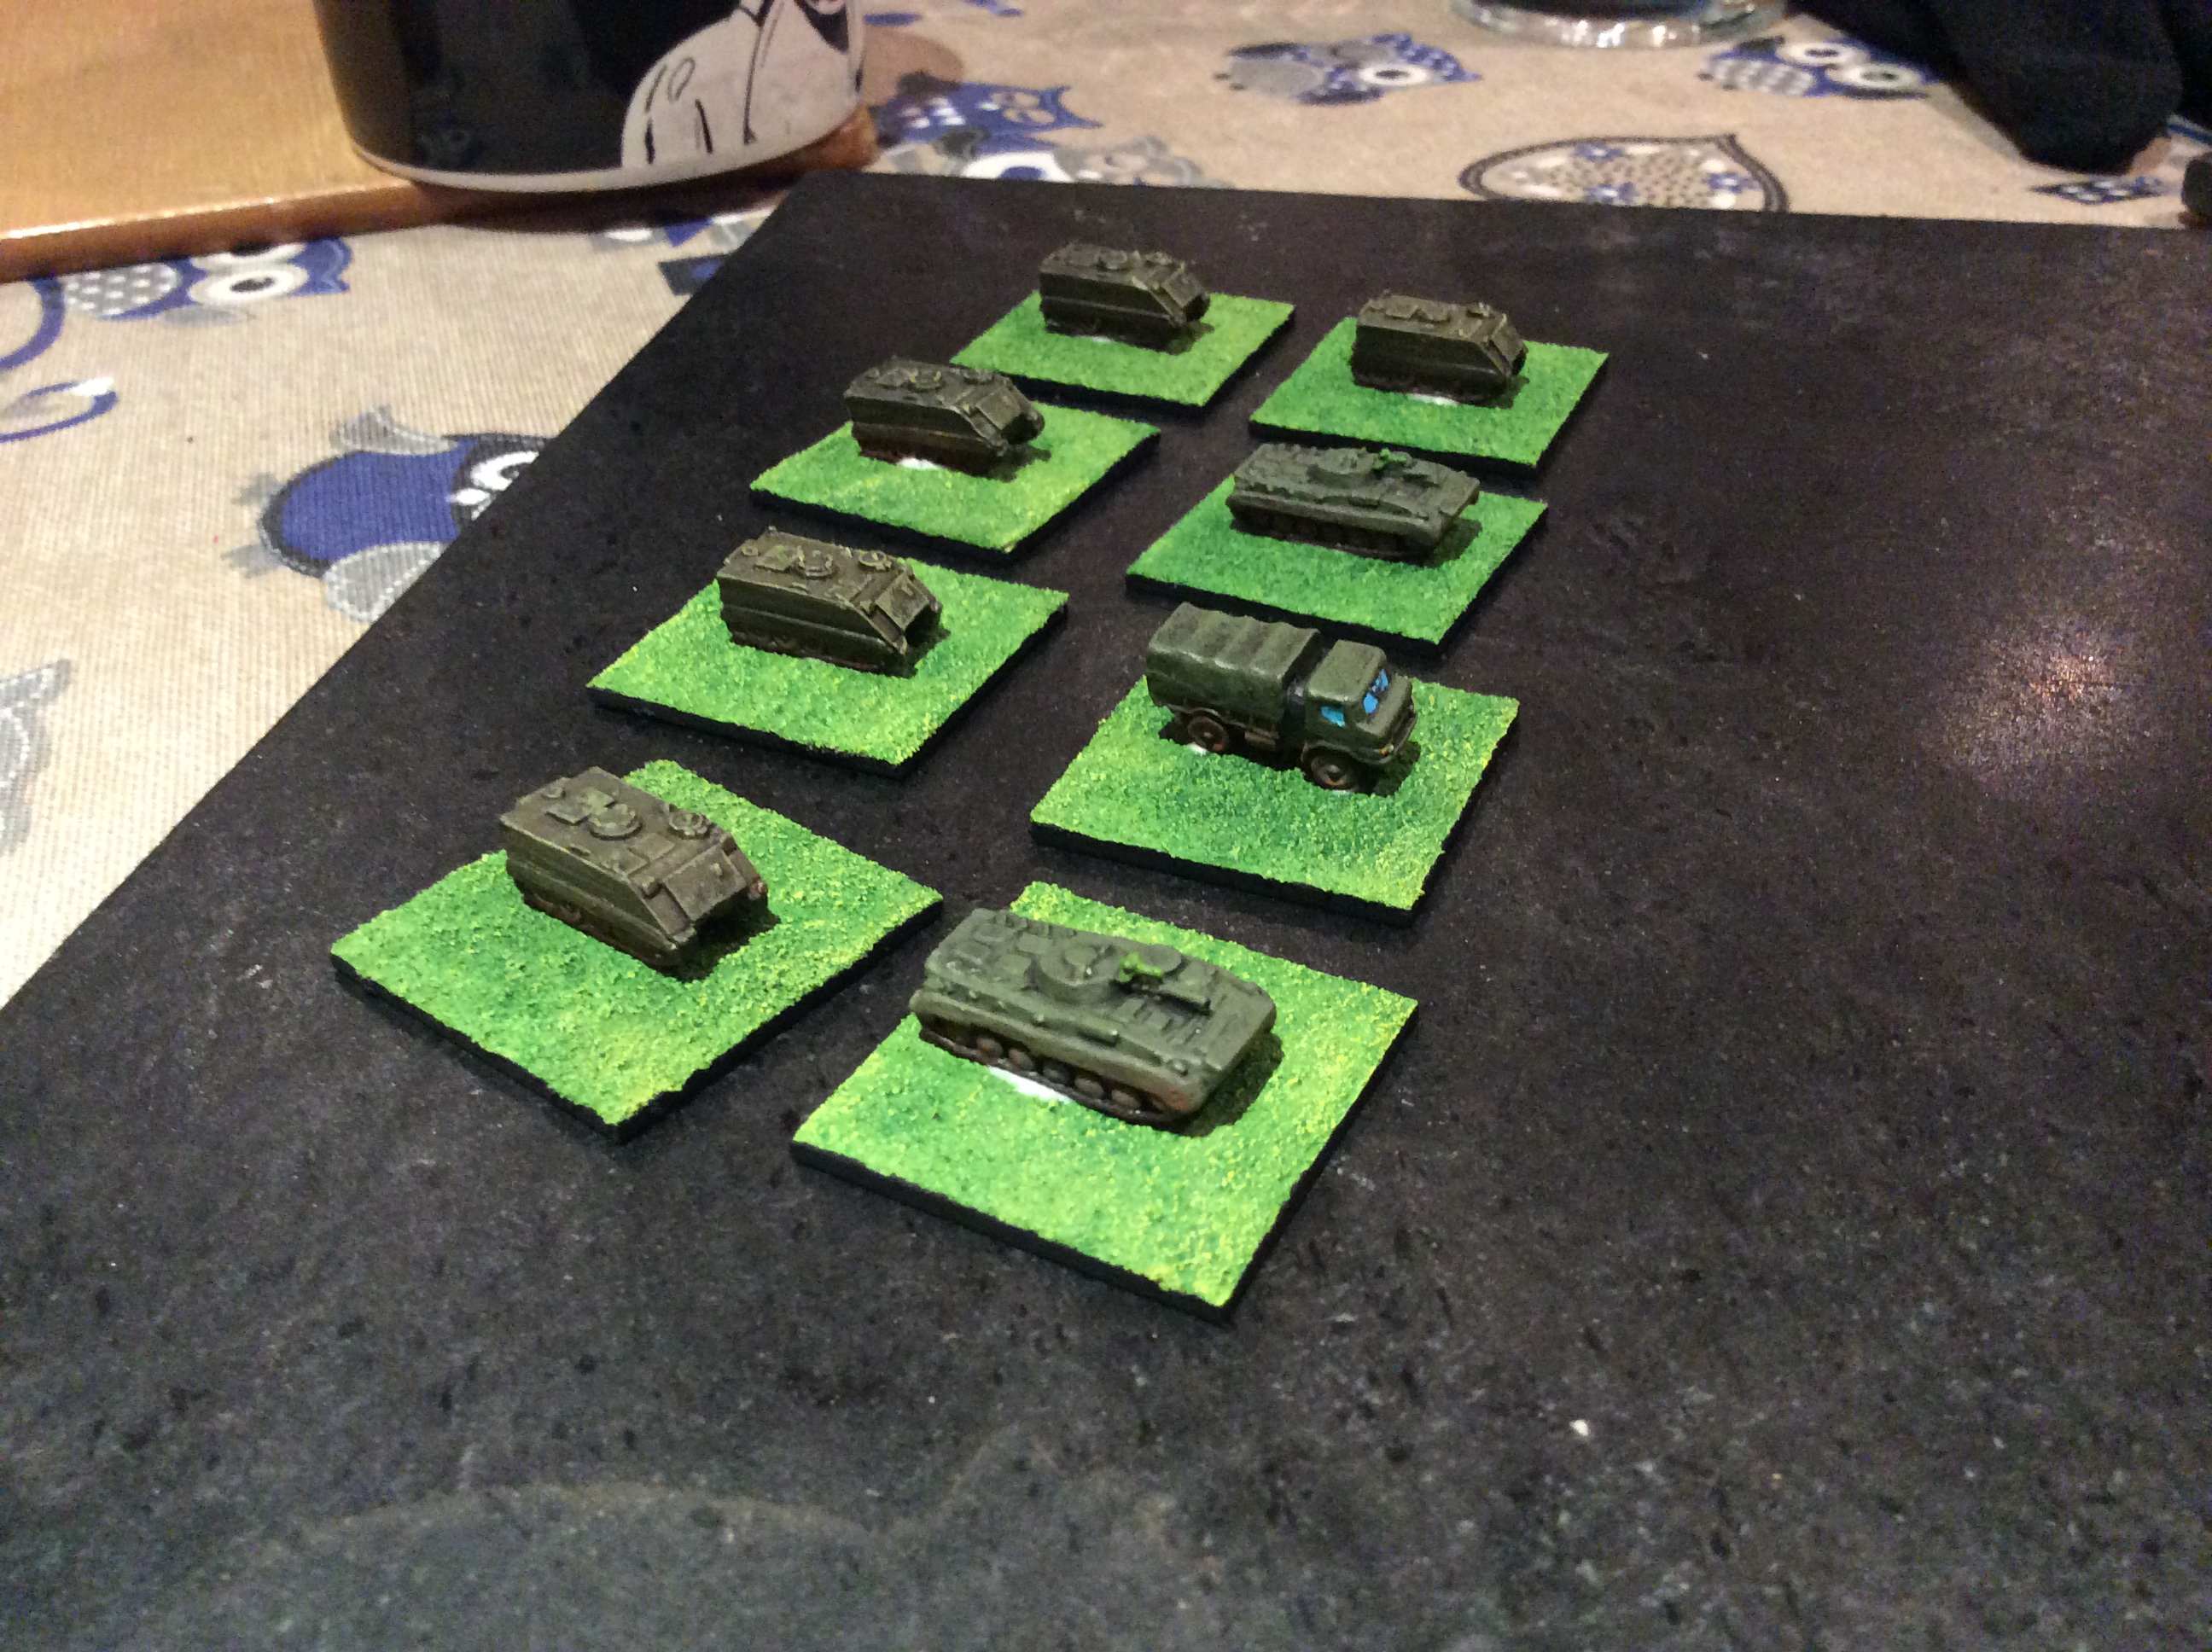
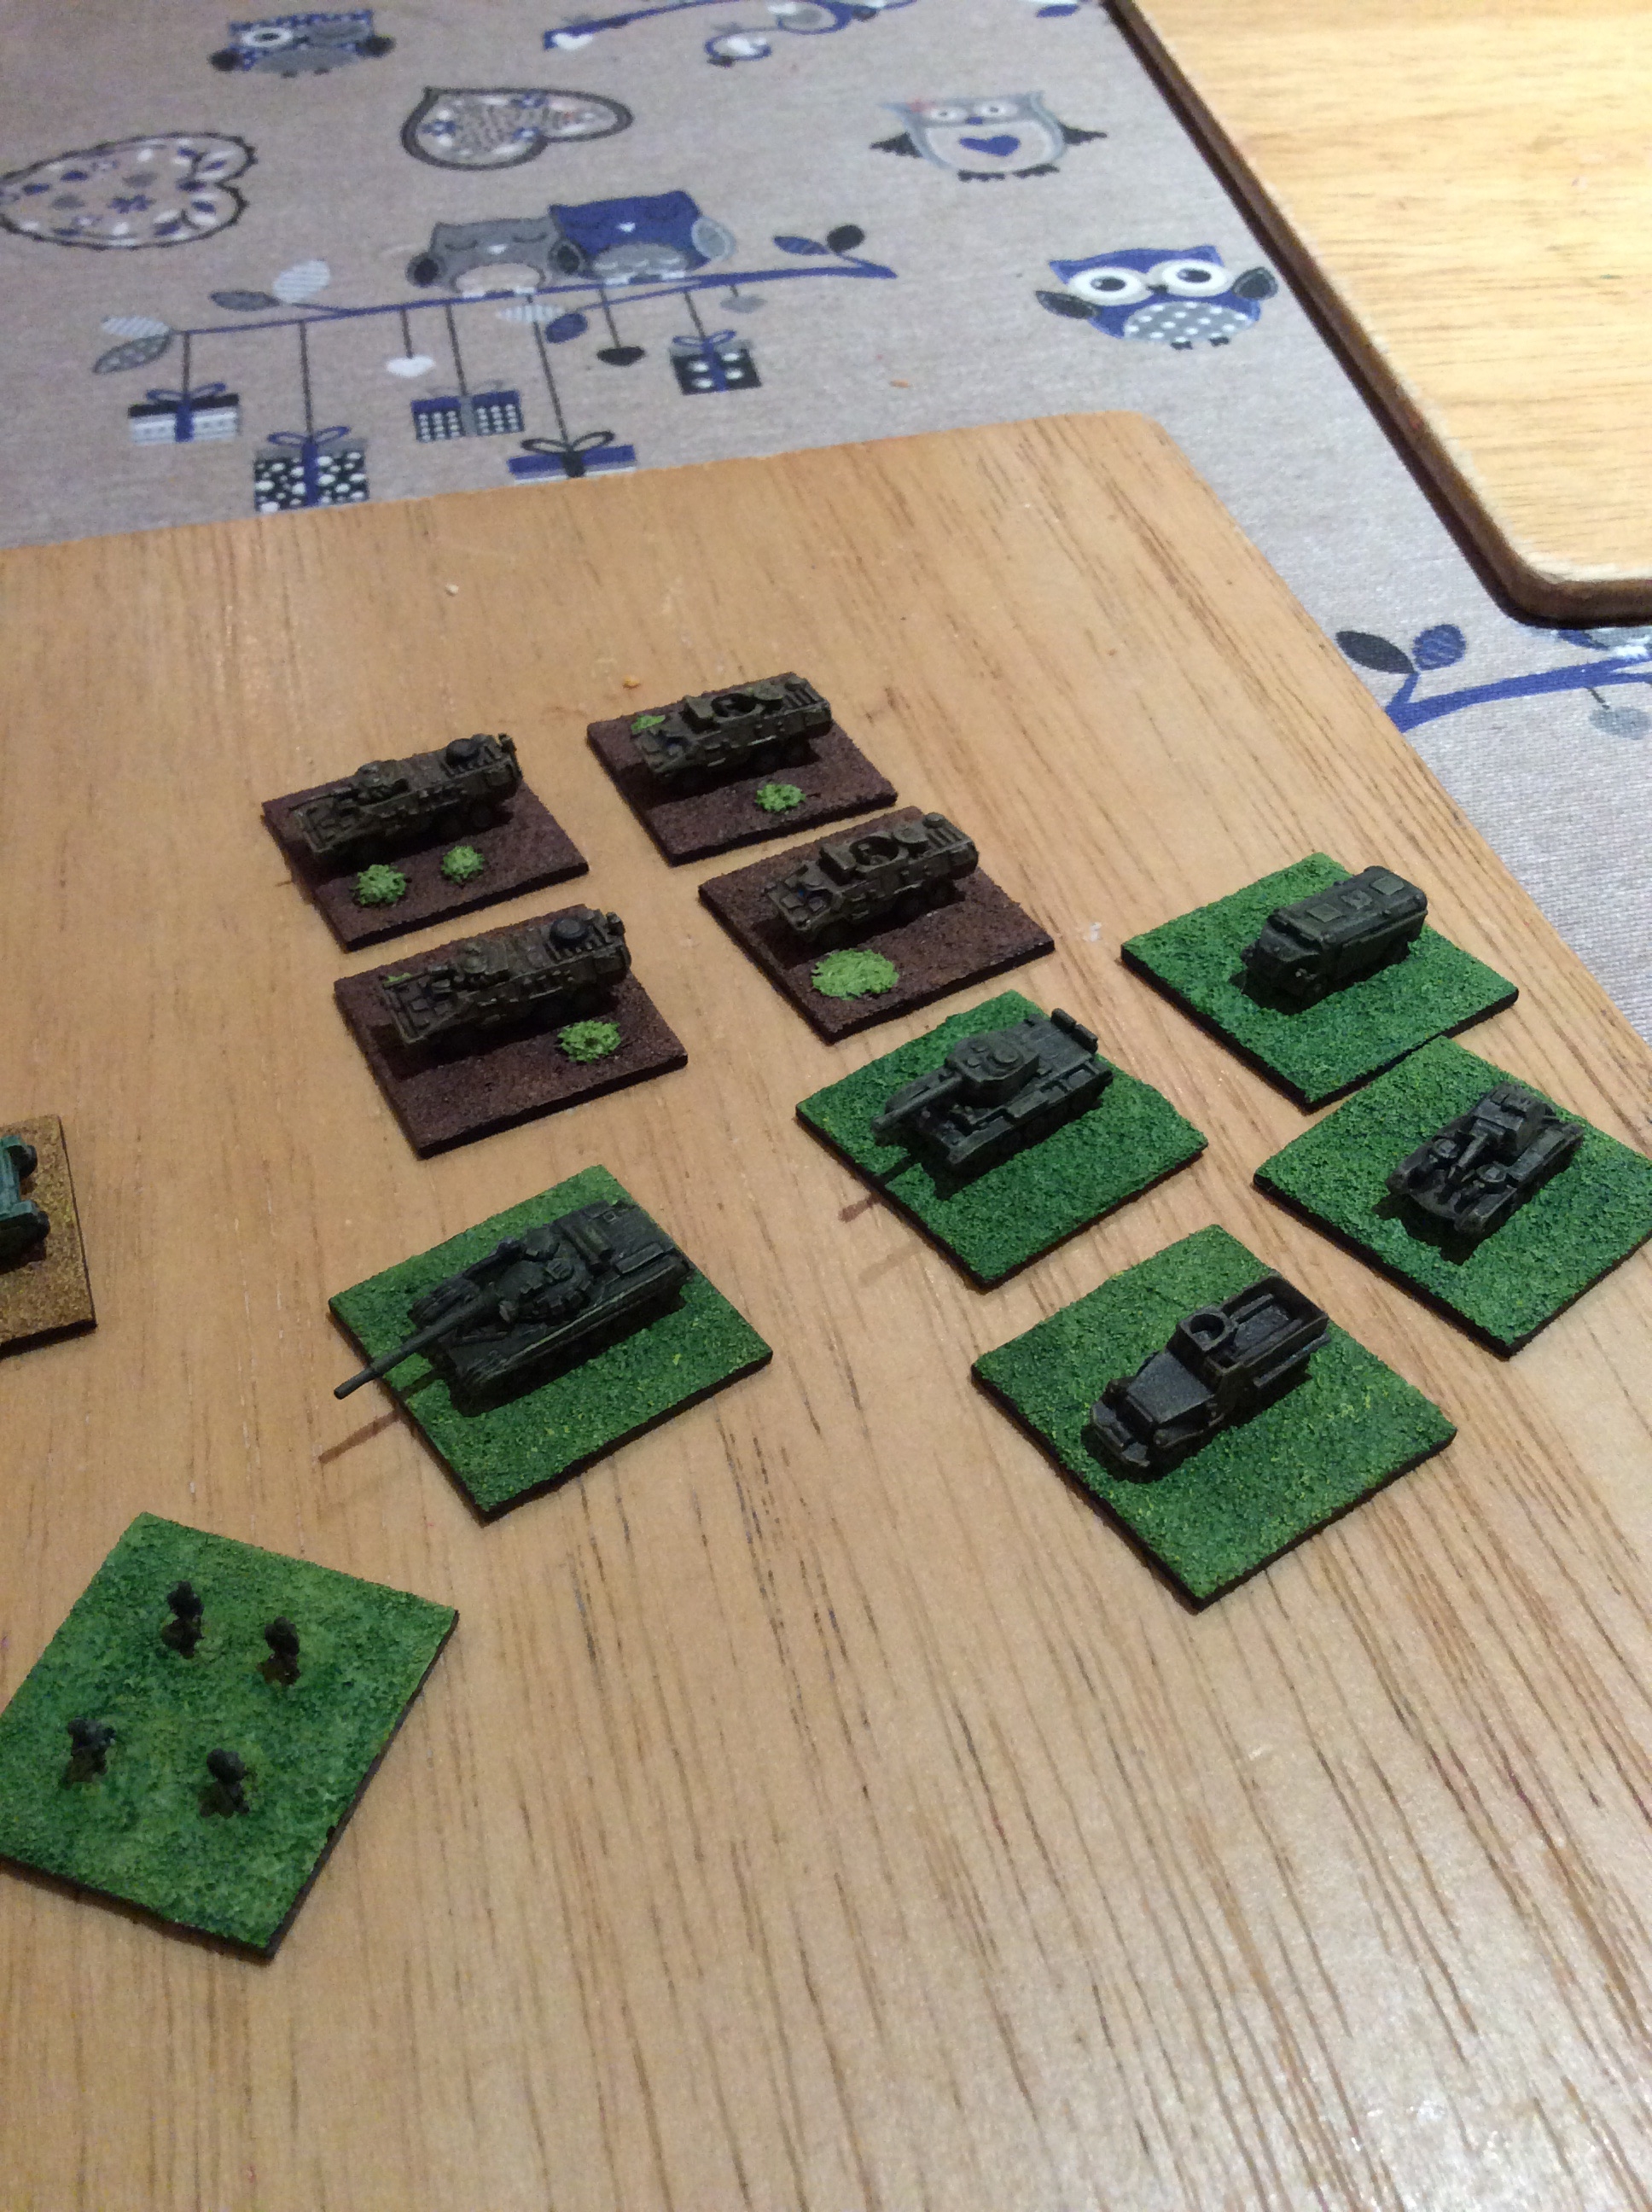
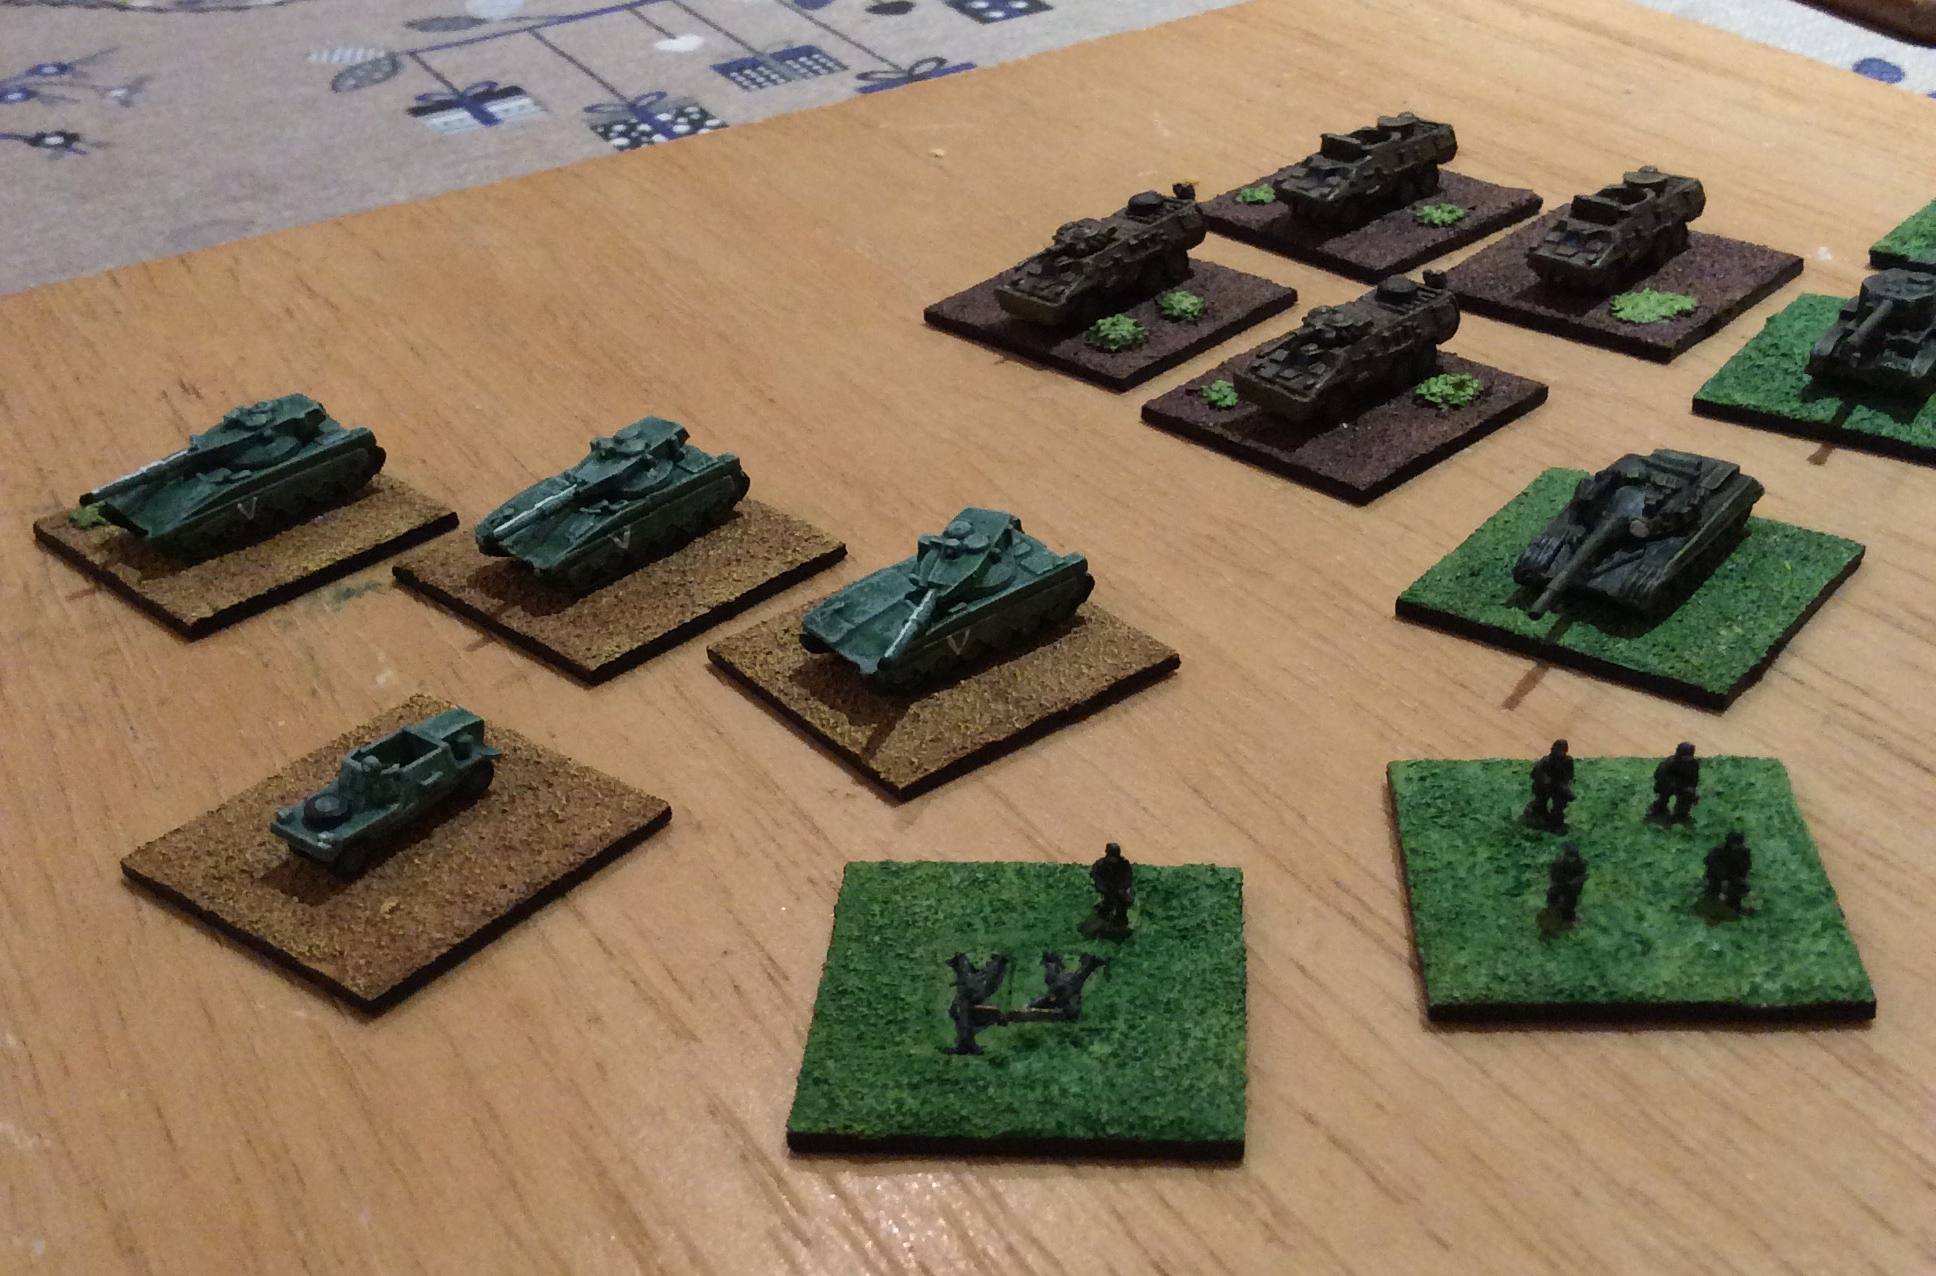
On one of those wargamers whims I picked up some cheap'ish lots of micro armour on ebay, spent ages getting the paint off, which in some cases seems to have been car paint and distemper, and removing various plastic card conversions – the infantry seem to have had their legs reinforced with little plasti-card triangles! Underneath they look to be a very eclectic mix of nationalities from Navwar and old H&R ranges. Finally got around to painting some, colours are eye balled from pictures on the internet and partly dictated by what I've got to hand. The bases are 30mm square, sanded and painted, not being keen on flock and static grass. The green seems to have come out more verdant than I anticipated.
|
| Joe Legan | 09 Mar 2018 5:13 p.m. PST |
They look good. As long as they fit your needs; that is what is important. Joe |
| Jeigheff | 09 Mar 2018 5:41 p.m. PST |
The colors look great, including the grass color and texture on your bases. The local spring grass here in Austin, Texas is plenty bright. I really like the subtle shading on your vehicles. |
| BattlerBritain | 10 Mar 2018 2:33 a.m. PST |
They look good but I usually dry brush a light brown round the sides for added mud effect. Adding splodges of brown on the grass also offsets too much green as well. |
| ROUWetPatchBehindTheSofa | 10 Mar 2018 1:20 p.m. PST |
The 'technique', if you can call it that, is just base colour over white primer, a black ink wash, dry brush with a lightened base colour and detail. Tracks are v. dark grey with a little chestnut ink wash. Then a light dab along the sides with a cotton bud dusted with a little red brown weathering powder to finish. |
| Walking Sailor | 11 Mar 2018 6:36 a.m. PST |
For older stuff like that (probably enamel), drop them into a jar, pour in some automobile brake fluid, screw on the lid (very important), and just give it the occasional swirl. It takes some time, but it's very low effort. |
| ROUWetPatchBehindTheSofa | 11 Mar 2018 6:55 a.m. PST |
@Walking Sailor, they've been pre-dipped in Detol to remove the worst and then finished with a chemical paint stripper that I normally swear by. I've yet to try the brake fluid trick. Personally I've always found enamel easier to remove than acrylic. Part of the problem is that many of the pieces were effectively plated in plastic card and coated in a glue that didn't shift easily – like paint stripper ERA. The other part is that they've sat around for ages in the stripper waiting to be fished out… |
| PVT641 | 12 Mar 2018 8:44 a.m. PST |
Welcome to Moderns Madness! |
| ROUWetPatchBehindTheSofa | 20 Mar 2018 3:49 p.m. PST |
When I said eclectic I meant it the collections were masquerading as various Cold War African forces. Except the German infantry who turned up in another auction lot pretending to be 10mm! Some of the contents are more plausible than others. Fairly happy with the Rattel's, came out a bit dark, probably a bit heavy with the ink. I was going to do the three colour SA camo scheme, but wimped out. The Israeli stuff is a bit lurid after I over did the ink again, but I think I got the base colour about right.
|
|