I playtested one of the scenarios from my upcoming Shiloh book and thought I'd share. The scenario is McDowell vs. Pond on the far Union right during the early morning attacks. The scenario is designed to reflect what would have happened if Colonel Pond and his brigade had been more aggressive in pushing Colonel McDowell's brigade of Sherman's division. It's a quick 1 brigade vs. 1 brigade battle. I tried it using Johnny Reb 2. With 20 minute turns, the battle lasts 5 turns. I didn't have any miniature tents or camps painted up, so I had to use 2"x2" cardboard cutouts for the Union camps. From start to finish, including set-up and clean-up by myself, took about 5 hours. My six year old son helped roll the dice, and he had fun!
Here is a link to a free version of the scenario. It hasn't gone through final editing, but is pretty much complete. I hope you enjoy it!
PDF link
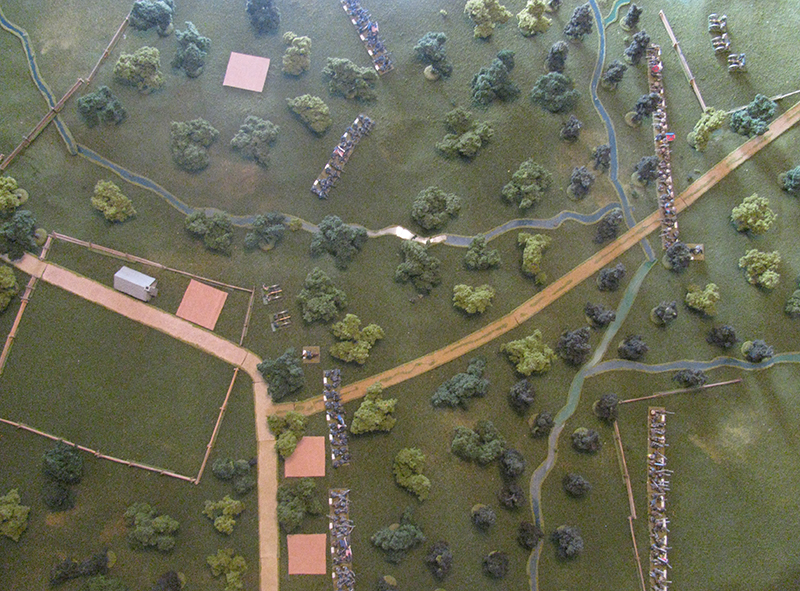
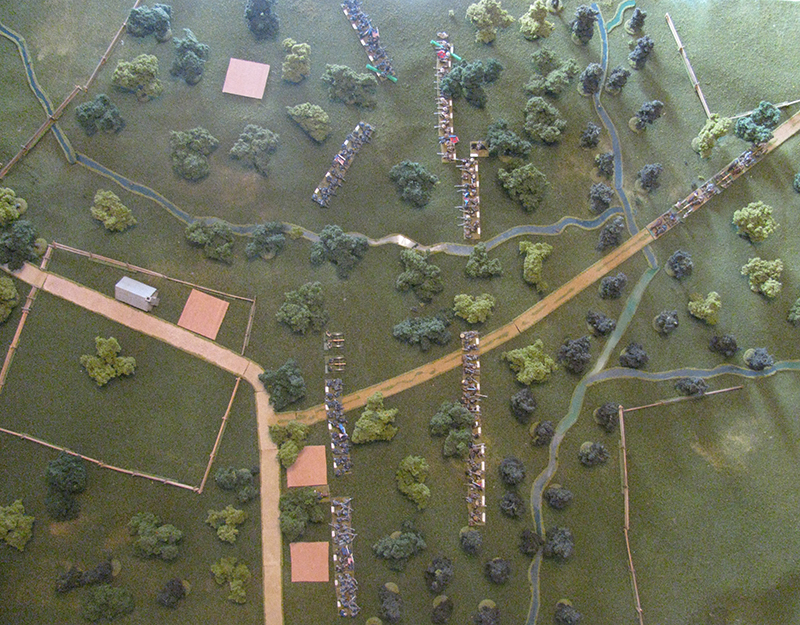
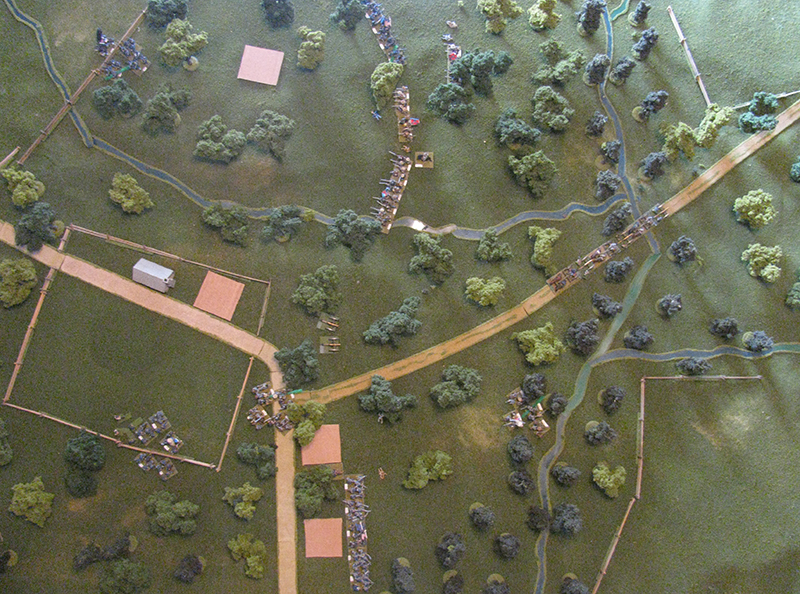
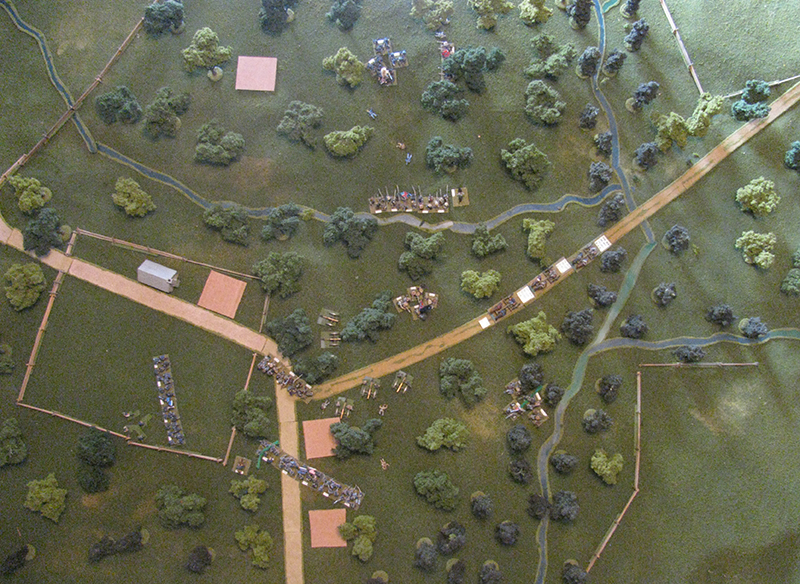
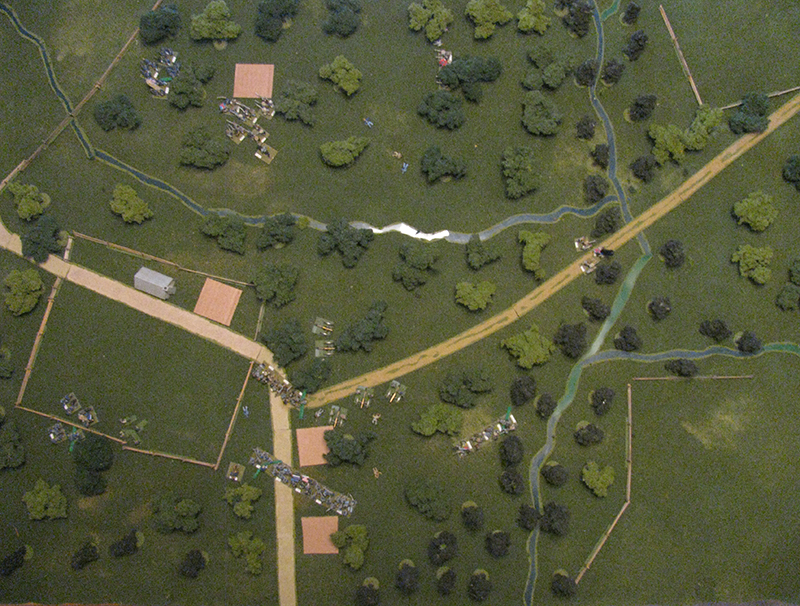
Initial Set Up
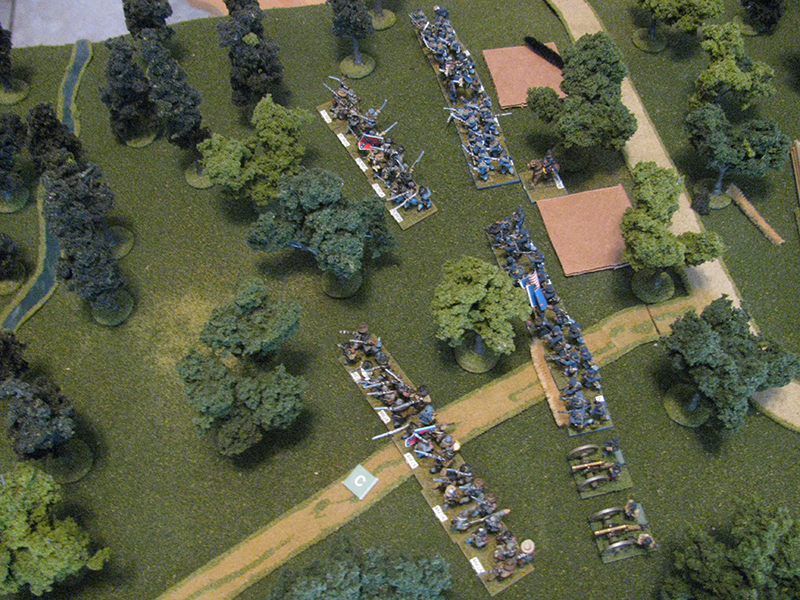
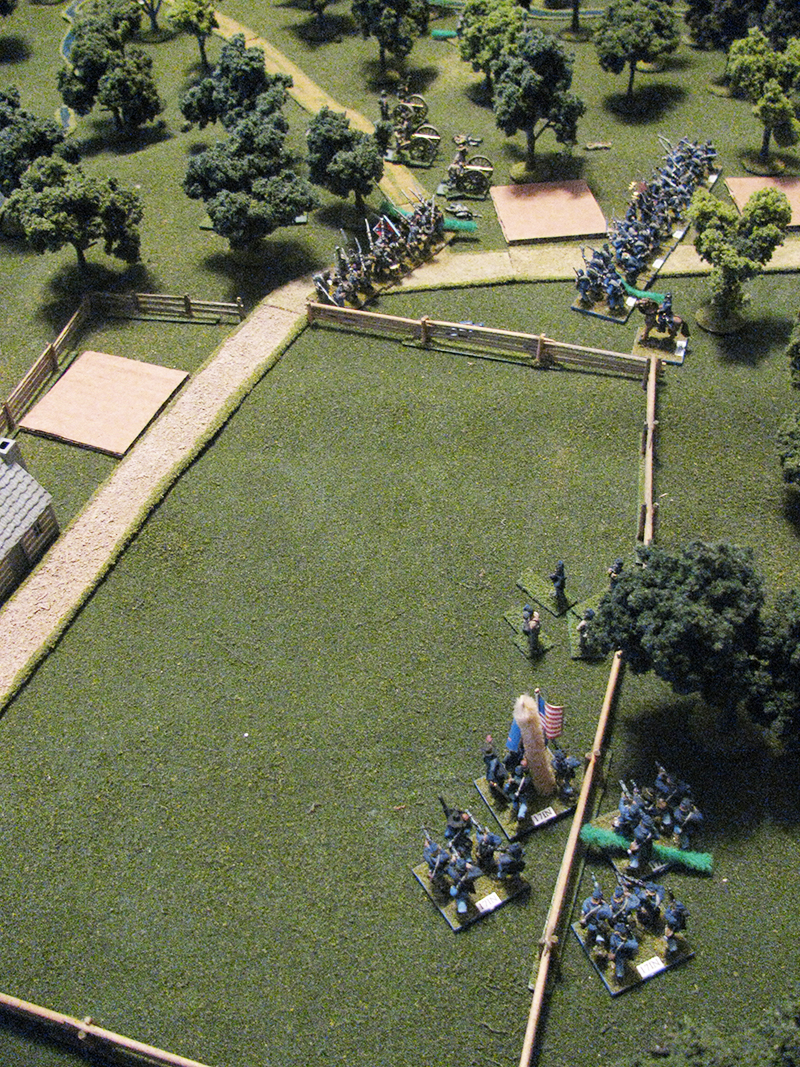
6th Iowa, 46th Ohio, and 6th Indiana Battery at their camps.
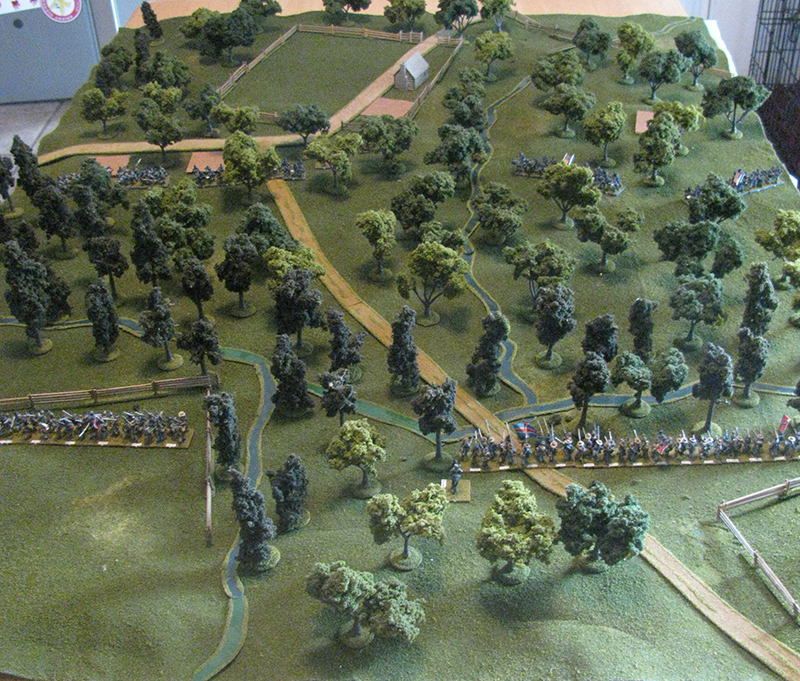
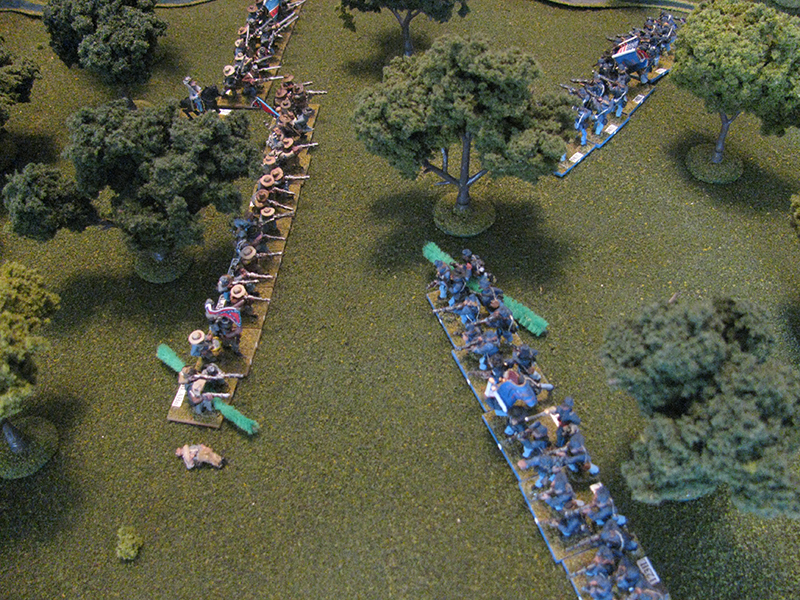
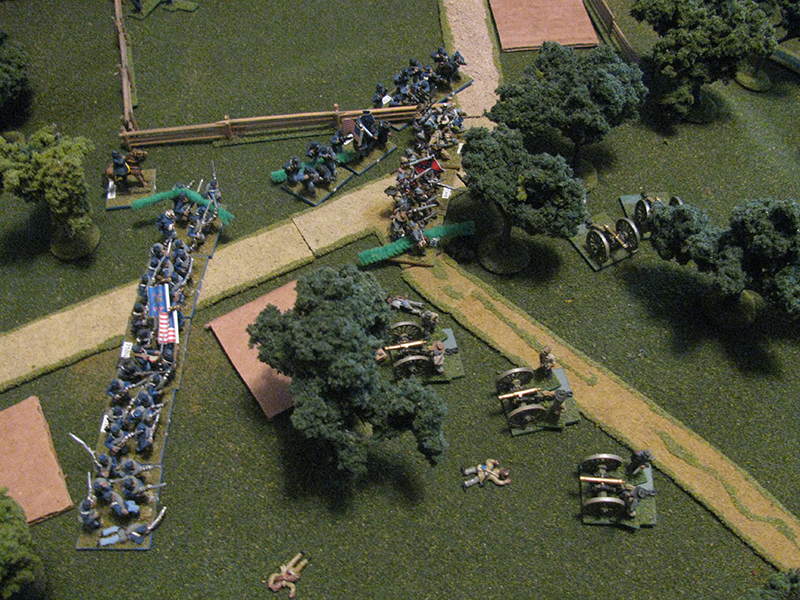
The right of Pond's Brigade
An overhead view
Turn 1
Most of Turn 1 was taken up with the Confederates moving through the denser wood running along Shiloh Branch. Ketchum's battery was moved to the fence to take the trail to get closer to the Union. Only after the battle did I realize I put the howitzer section in the wrong place to begin the battle. Oh well. Also, right at the beginning it became apparent that having Pond's brigade split was going to cause command problems. As an average brigade commander, Pond can only issue 3 orders, unless he is within 1 inch of more than one unit. Or in this case of the first turn, everybody is doing the same thing moving forward.
Overhead view after Turn 1
Turn 2
The 38th Tennessee and Crescent regiment make it through the lowlands. The 6th Indiana Battery moves up on line with the 46th Ohio. The other 3 Confederate regiments cleared the Branch on Turn 1, and move into normal rifle range of the 72nd Ohio and 40th Illinois. The Ohioans fire a volley at the 16th Louisiana, and remove a stand. The Louisianans fire back, but don't cause as many casualties. The Illinoisans decide not to fire since they are armed with muskets.
The 72nd Ohio trades fire with the 16th Louisiana
Confederates advancing on their left.
Overhead view after Turn 2
Turn 3
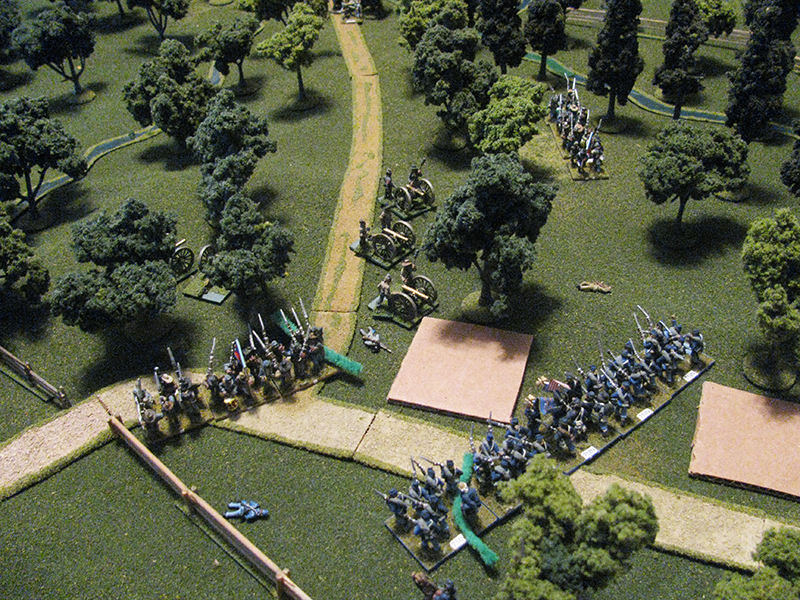
The 38th Tennessee and Crescent regiments opt for the offensive, and charge their respective opponents. The 6th Indiana fires double canister from their 6lb. guns, into the Crescent Regiment, but do little damage. The smoothbore armed 46th Ohio pours a volley into their ranks, but the Louisianans keep coming. The gunners abandon their pieces and retreat, giving the Confederates 2 Victory Points. The two regiments collide, and the Ohioans fall back. The Crescent follows up to the Hamburg-Purdy Road. To the west, the 38th Tennessee engages the 6th Iowa. The Iowans likewise fire a close range volley, and it does damage, but Tennesseans continue. However, they buckle under the continuing musketry, and fall back several hundred yards.
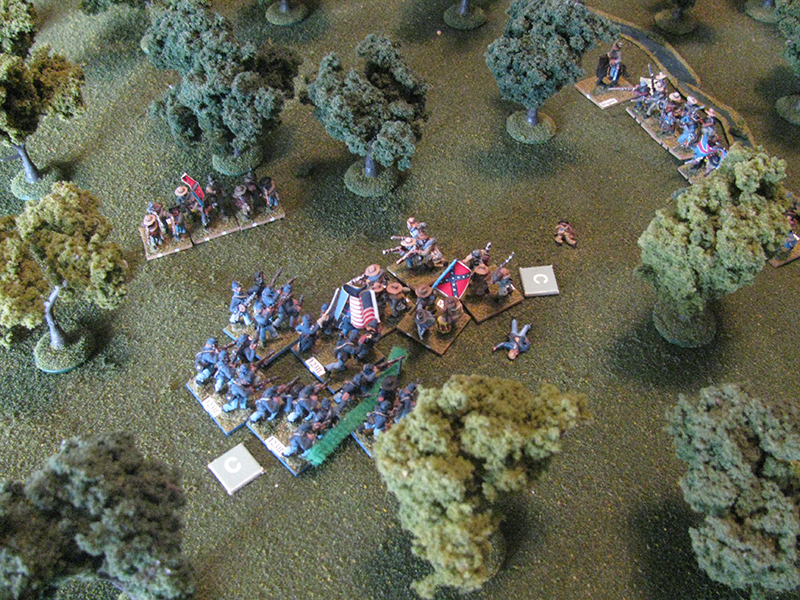
The 38th Tennessee and Crescent Regiment charge
Farther down the line, the 72nd Ohio and 16th Louisiana continue to trade fire. The 16th would have been ordered to First Fire, but Pond didn't have enough orders. The 18th Louisiana and Orleans Guard move close to the 40th Illinois. The 40th fires into the 18th and does damage, but two return volleys from the Louisianans break the 40th. They turn and run past the camp of the 72nd Ohio, leaving the Ohioans isolated.
The 40th Illinois routs
Overhead view after Turn 3
Turn 4
The 40th Ohio fails to rally, and they leave the board and give the Confederates 2 Victory Points. The Crescent Regiment forms to hold off any counterattack, and Ketchum's Battery moves up the trail and unlimbers next to them. Pond doesn't have enough orders to go around, so the 38th Tennessee has to cool its heels while they attempt to rally, which they do. Likewise, the 46th Ohio rallies and reforms. The 6th Iowa changes front to face the Crescent. Both sides fire volleys into each other, as well as the Ketchum's section of 12lb howitzer firing double canister, but both hold.
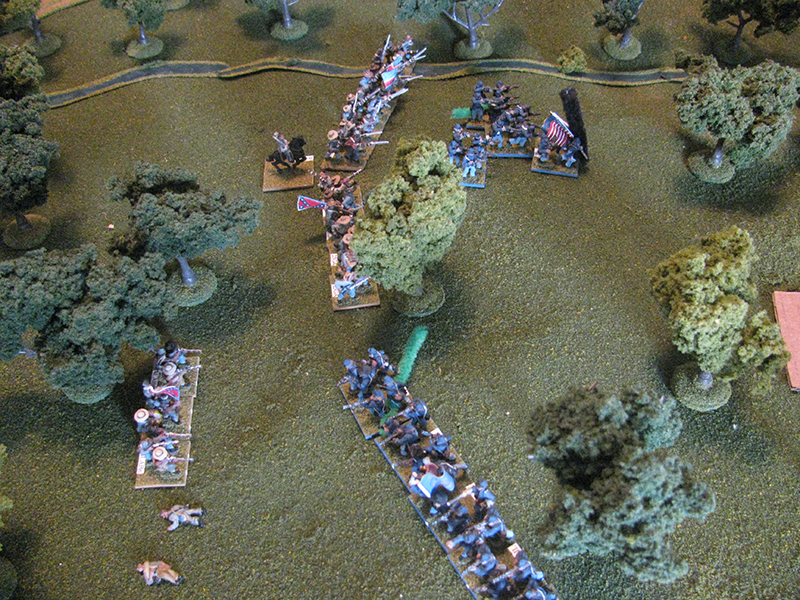
McDowell reforms his brigade
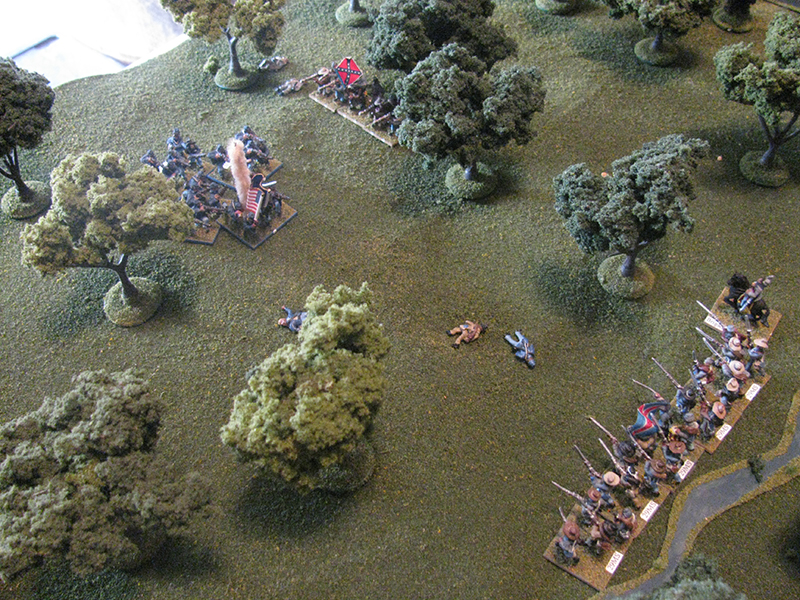
With the 72nd Ohio and 18th Louisiana so close to each other, but turn and charge. The 16th Louisiana has to fire early to avoid catching the 18th with friendly fire. It causes one casualty, which comes in handy later. The two charging regiments collide, and the Ohioans gain the upper hand. The 18th falls back. The Orleans Guards, however, had formed for just such an emergency. They keep their formation even after the 18th pass through them. They fire a volley into the 72nd, but since they are essential firing on the run, they do little damage. However, they do remove a stand. The Guard pass their fear-of-charge morale check but the 18th behind them does not, and the 18th routs. The 72nd Ohio comes within a few yards of the Orleans Guards (impact) but the Ohioans can't take the casualties and fall back.
The 72nd Ohio and 18th Louisiana collide
The 72nd after falling back
Overhead view after Turn 4
Turn 5
The 72nd being nearly surrounded, they disengage and fall back as far as they can. Pond leads the Orleans Guard in a charge following them, but they don't move far enough to catch them.
The 6th Iowa trades another series of volleys with the Crescent Regiment and Ketchum, while the 46th Ohio counterattacks and charges. However, the Louisianans hold, and the 46th Ohio is forced to fall back. The 38th Tennessee forms into column so they can march back into battle more quickly. Colonel McDowell is nicked by a bullet, but it's only a minor would that does not remove him from the battle or affect his ability.
The 46th Ohio charges the Crescent Regiment.
The 46th Ohio falls back
The 6th Iowa holds out while the Confederates reform to advance
The battle ends after Turn 5 is complete. The Confederates have broken the left of McDowell's brigade, and the right of Buckland's. The rest of McDowell's brigade is holding its own, but the 46th Ohio is proving shaky. It looks like Pond can turn Buckland's flank and cause Sherman to fall back from pressure on both ends of his line. A Confederate Victory on points. Union 0, Confederates 4.
Overhead view after Turn 5 and the end of the game.
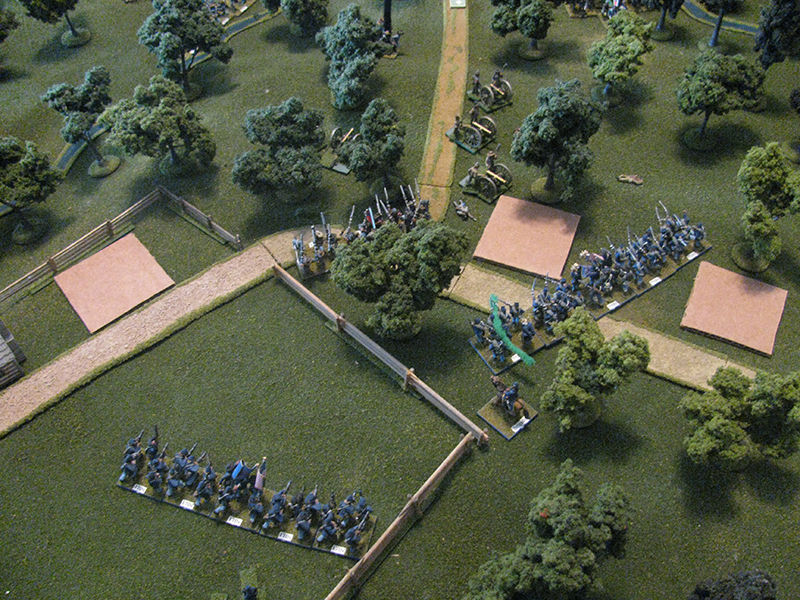
Ketchum's Battery deployed
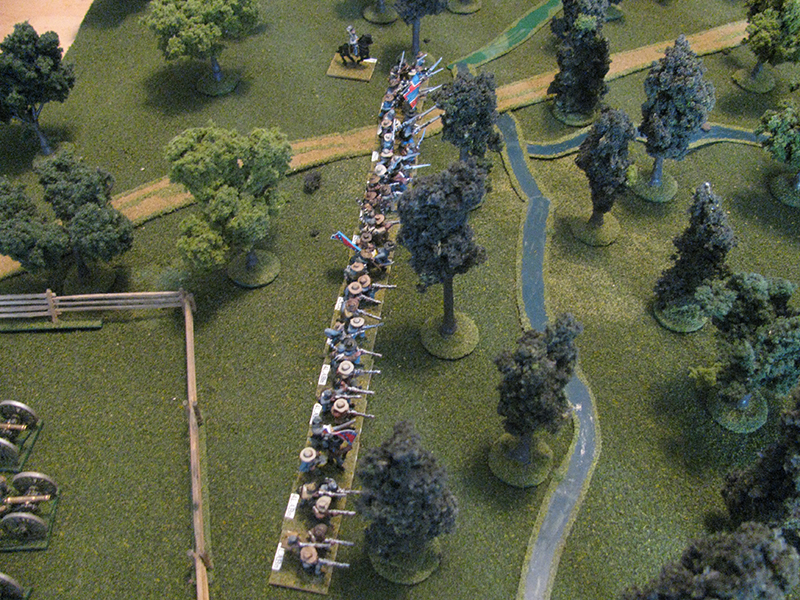
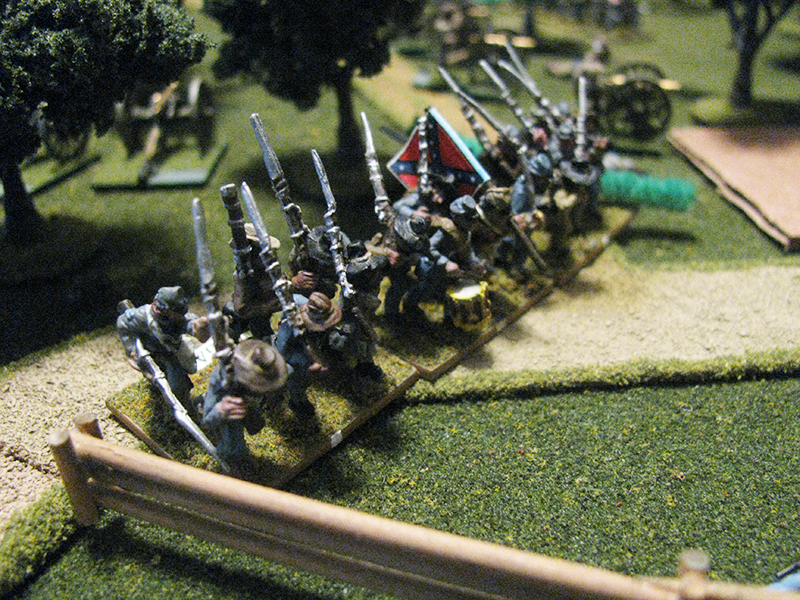
Crescent Regiment closeup