--- IMMEDIATE ---
Signal to Admiralty from V.Adm. David Beatty 21:06 hrs Be pleased to inform His Majesty that earlier today the First Battle Cruiser Sqn engaged German battle cruisers returning from bombardment of East Coast During engagement two enemy capital ships sunk identities to be confirmed two others badly damaged HMS Lion severely damaged but being escorted to Rosyth
--- SIGNAL ENDS ---
So to distract young Henry off computer games a bit of father-son bonding tonight with a battle cruiser engagement loosely set at the end of 1914. I cobbled together an ORBAT and printed off the SDS, only to realise the German ships I THOUGHT I had were not those that I actually possessed! Consequently the eagle-eyed amongst you will note that the Geoben is masquerading as Derfflinger. To really confuse things I haven't painted up any British destroyers yet so the Germans have very sportingly lent them some of theirs…
The scenario was simple: It is the winter of 1914/15 and the Germans are returning from a sortie to bombard the English East Coast. On the way back they are intercepted by Beatty's 1st Battle Cruiser Sqn.
BRITISH ORBAT
1st Battle Cruiser Sqn:
Lion, BC (flag)
Tiger, BC
Queen Mary, BC
Princess Royal, BC
Plus 4 destroyers of the 4th Flotilla
GERMAN ORBAT
1st Scouting Group:
Seydlitz, BC (flag)
Moltke, BC
Derfflinger, BC
Blucher, CA
2nd Scouting Group:
Kolberg, CL
Stralsund, CL
Rostock, CL
Graudenz, CL
Plus 4 destroyers of the 6th Flotilla.
ACTION:
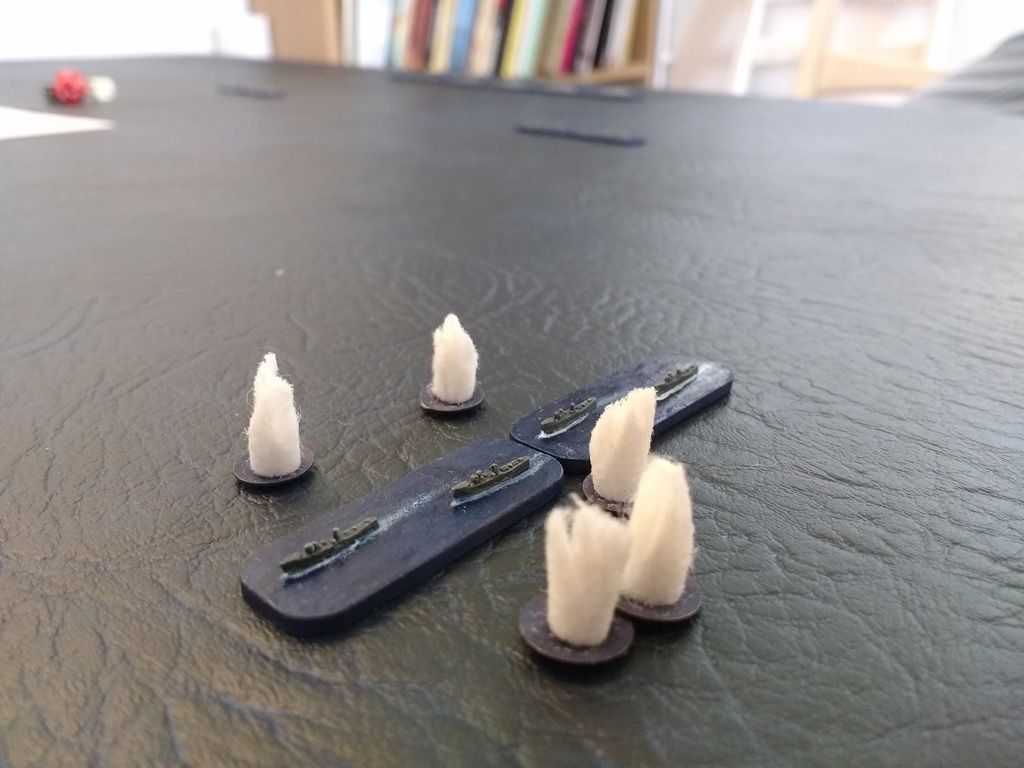
First contact came when the British destroyers, ahead of the battle cruisers as the light cruisers had been detached earlier on a wild goose chase (to explain why no British CLs are in the game) spot the Rostock and Graudenz steaming the opposite course off the port bow.
The Germans turn to head off this smaller force but soon realise their mistake as first Lion, then Tiger, loom out of the haze ten miles off. The German light cruisers quickly take a battering.
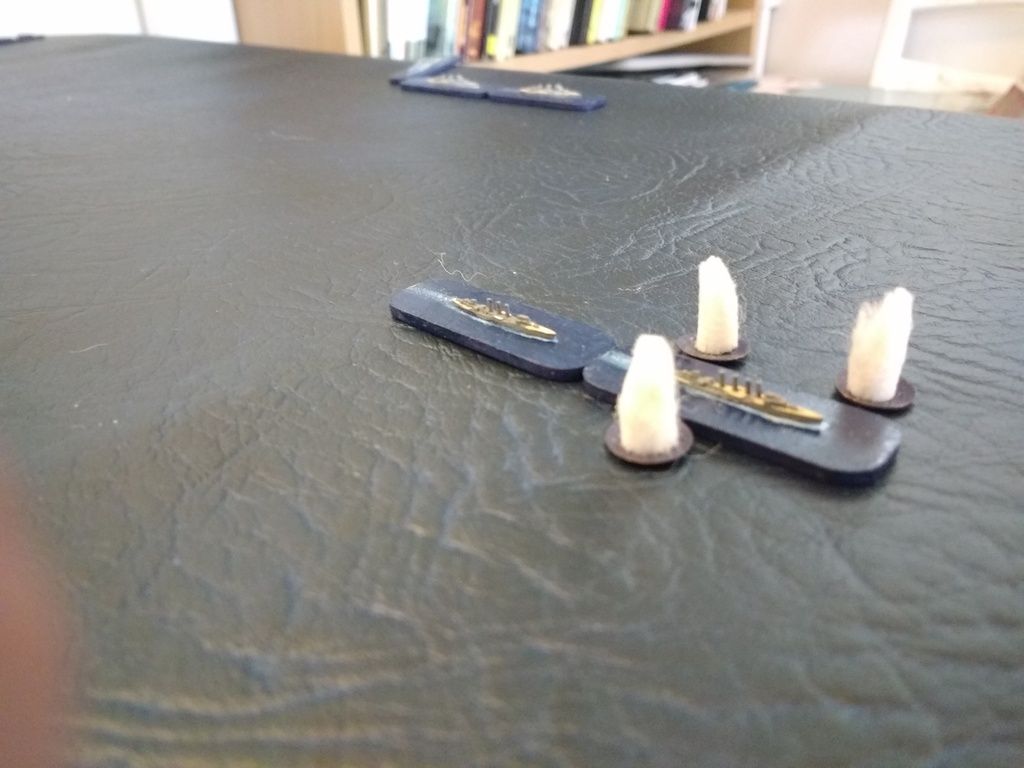
THE GERMAN LIGHT CRUISERS UNDER FIRE THE 1ST SCOUTING GROUP DEPLOYING IN THE BACKGROUND:
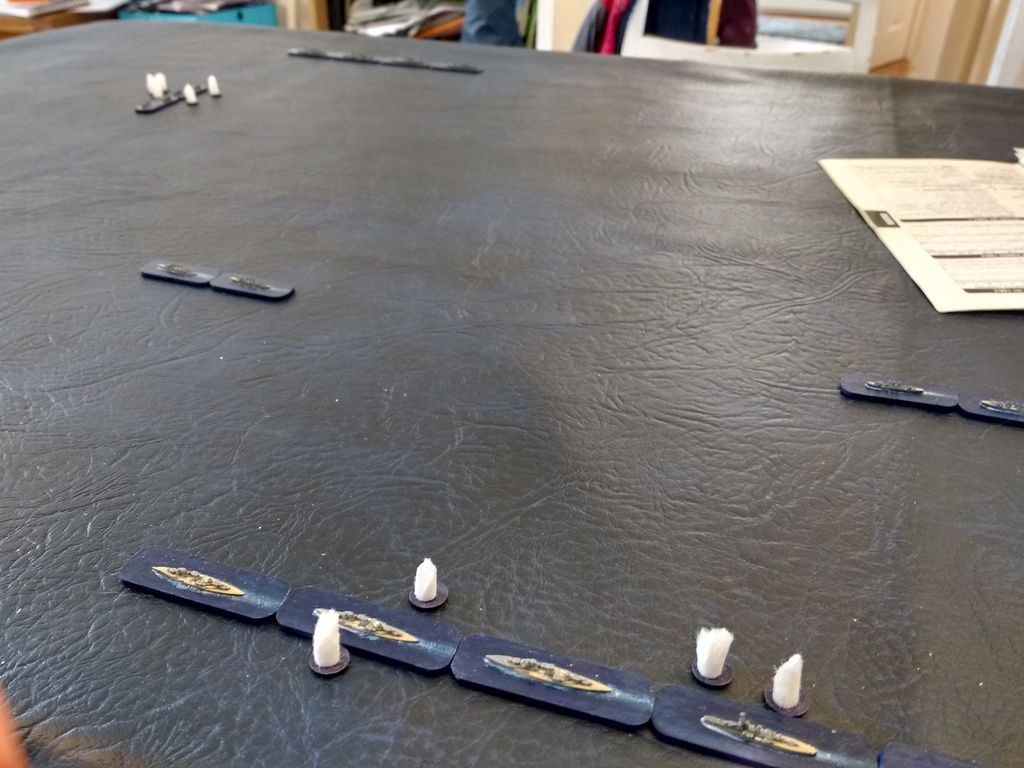
As the German line turns to port, the British also deploy to port, meaning the will pass at around 12,000 yards on opposite courses.
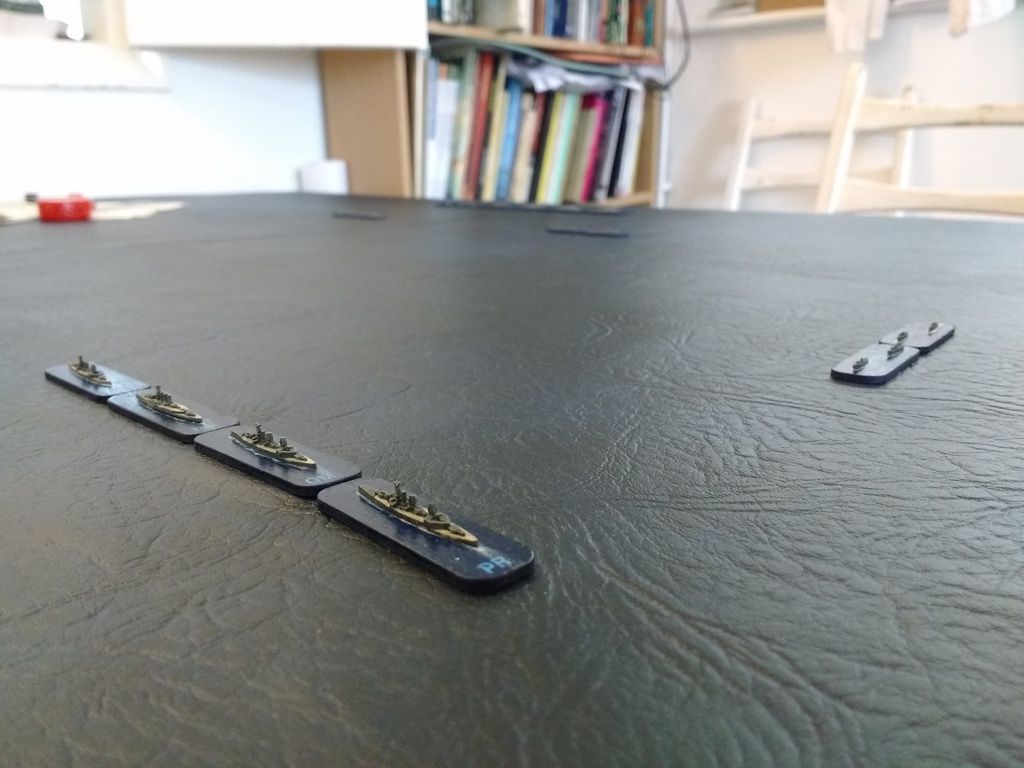
THE BRITISH LINE DEPLOYS THE DESTROYERS MAINTAIN COURSE TO HARRY THE GERMAN LINE:
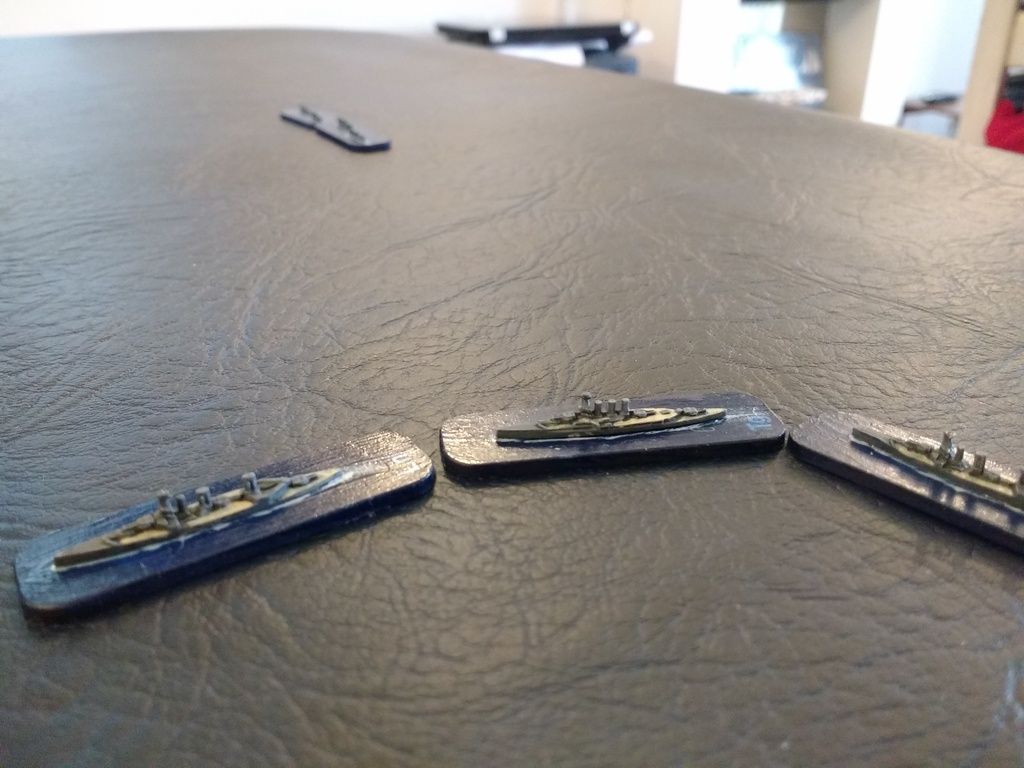
THE GERMAN LINE WITH THE TBDs FOLLOWING:
Hipper (Henry) concentrates fire on the impetuous destroyers and they are soon forced to turn back to safety.
THE BRITISH DESTROYERS RETREATING:
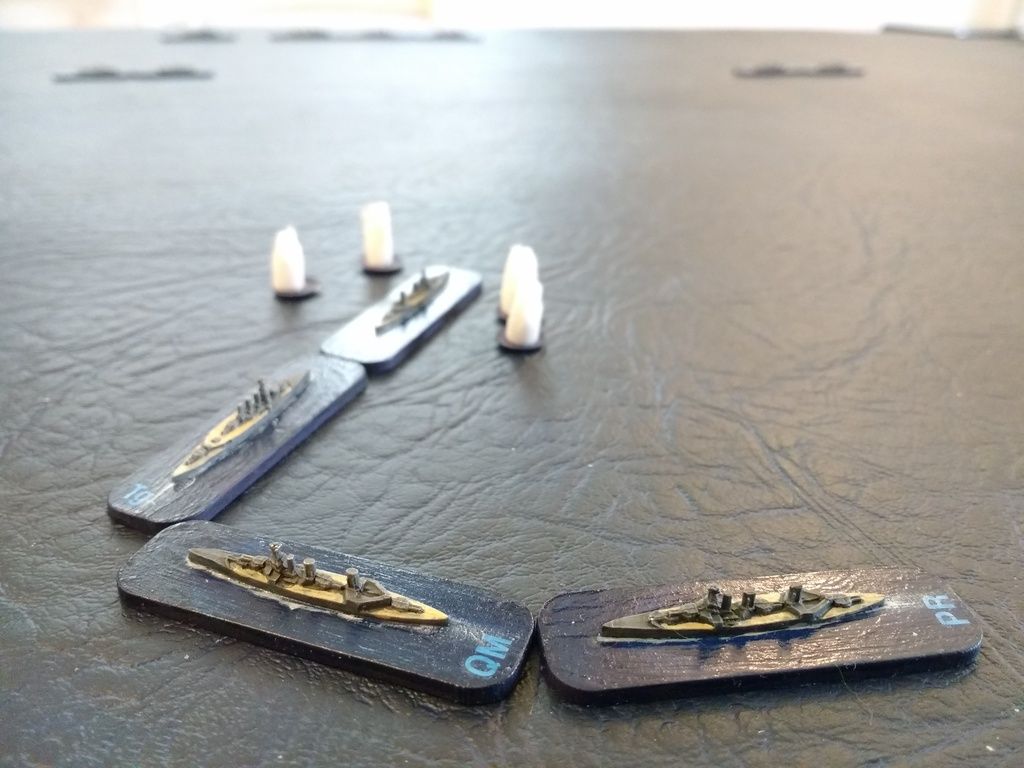
By now the whole British line has opened up and Moltke and Blucher in particular are finding things a bit uncomfortable.
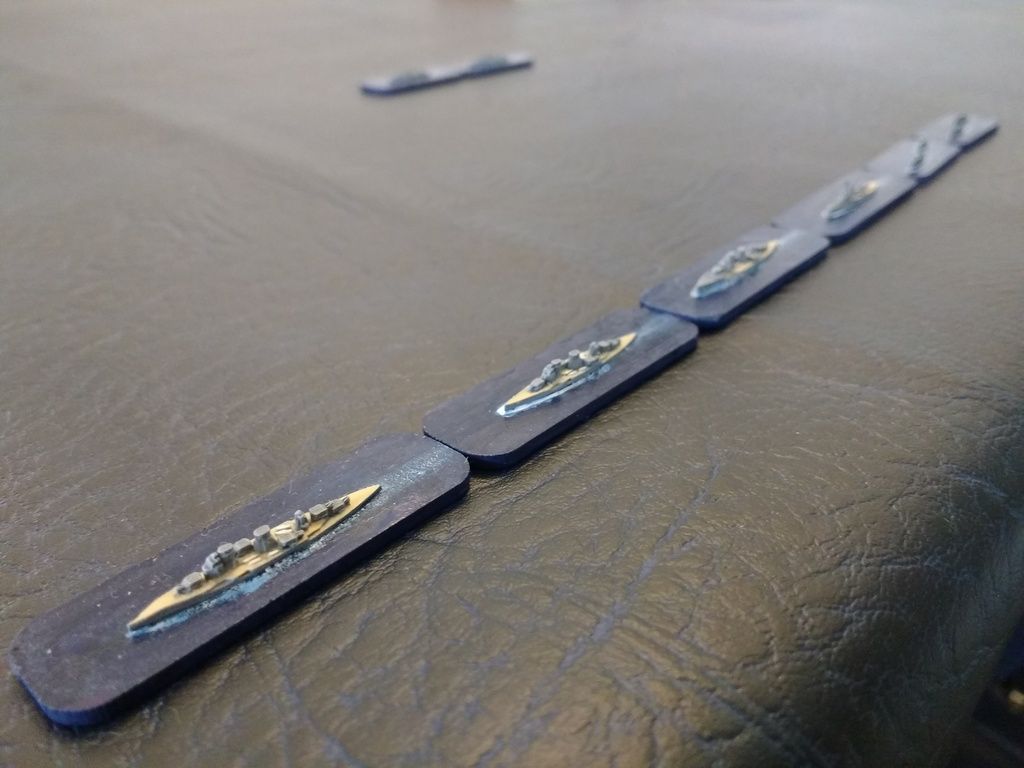
THE GERMAN PERSPECTIVE:
FROM THE BRITISH POINT OF VIEW:
By now Sedlitz is in real trouble and the only undamaged German capital ship is Derfflinger. Not wanting Hipper to get away Beatty (me) executes a rather messy turn which causes all sorts of problems with masking. It is also at this point that the Germans start concentrating their fire on Lion.
BEATTY MAKES HIS TURN:
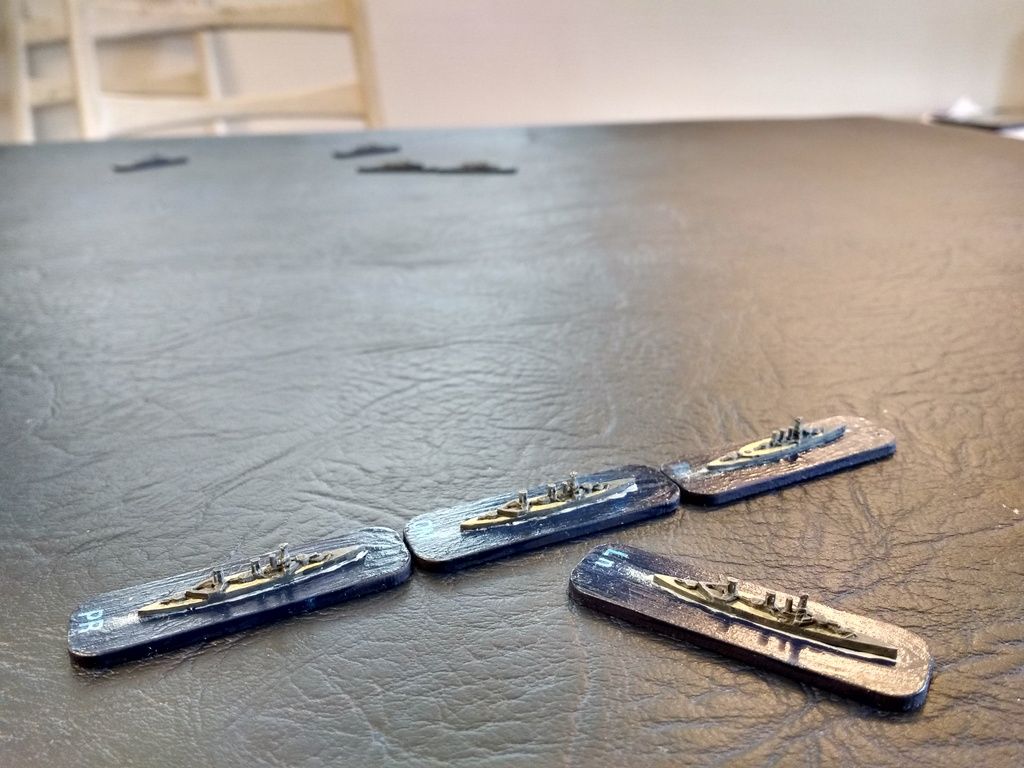
By now, though the German line is in disarray Seydlitz is forced out of line, Blucher is falling behind, and it is up to Moltke and Derfflinger to cover the retreat.
THE GERMANS IN DISARRAY:
Lion, the "splendid cat" has been badly mauled and pulls out of line, but the other three battle cruisers have barely been touched.
LION TURNS AWAY:
And that was pretty much it; Lion managed to limp away with only half a hull box remaining, as did Seydlitz and Blucher. Derfflinger and Moltke were sunk.
The final losses were:
Britain: 1 DD sunk, 1 BC badly damaged, 3 BC and 2 DD damaged
Germany: 2 BC sunk, 1 BC, 1 CA and 4 CL badly damaged
Rules: GQ2 with 'Fleet Action' optional rules, cms used instead of inches, Hallmark 1:6000 ships, 5'x3' playing area.
Hope you enjoyed the report,
Nick