All,
It's 0730 on 9 August 1986, and Team Whiskey is again playing the role of fire brigade. Having moved to counter the northern pincer enveloping Frankfurt (and successfully turning back the Red horde in their sector), Team Whiskey was pulled back to see where the next blow would land. They didn't have to wait long.
Rhein-Main Airbase has been key to NATO evacuation of civilians in the region, serving as both a collection point and evacuation point. But evacuation operations concluded this morning with the Soviets once again striking the flightline, and with Soviet armored formations on the horizon, the decision was made that Rhein-Main had to abandoned. All day NATO troops have been packing up personnel and gear, and destroying what couldn't be taken. But these were lightly-armed rear echelon troops, and so with Soviet troops on the airfield's perimeter, Team Whiskey was flung into a hasty defense. But due to travel issues (military and civilian traffic blocking the way, dealing with Soviet interdiction airstrikes, and getting lost due to no time available for route reconnaissance), only Captain Bronshtein's Kilo Company makes it into position in time, where they link up with two teams from 10th Special Forces Group (10 SFG). And here comes the Soviet armor…

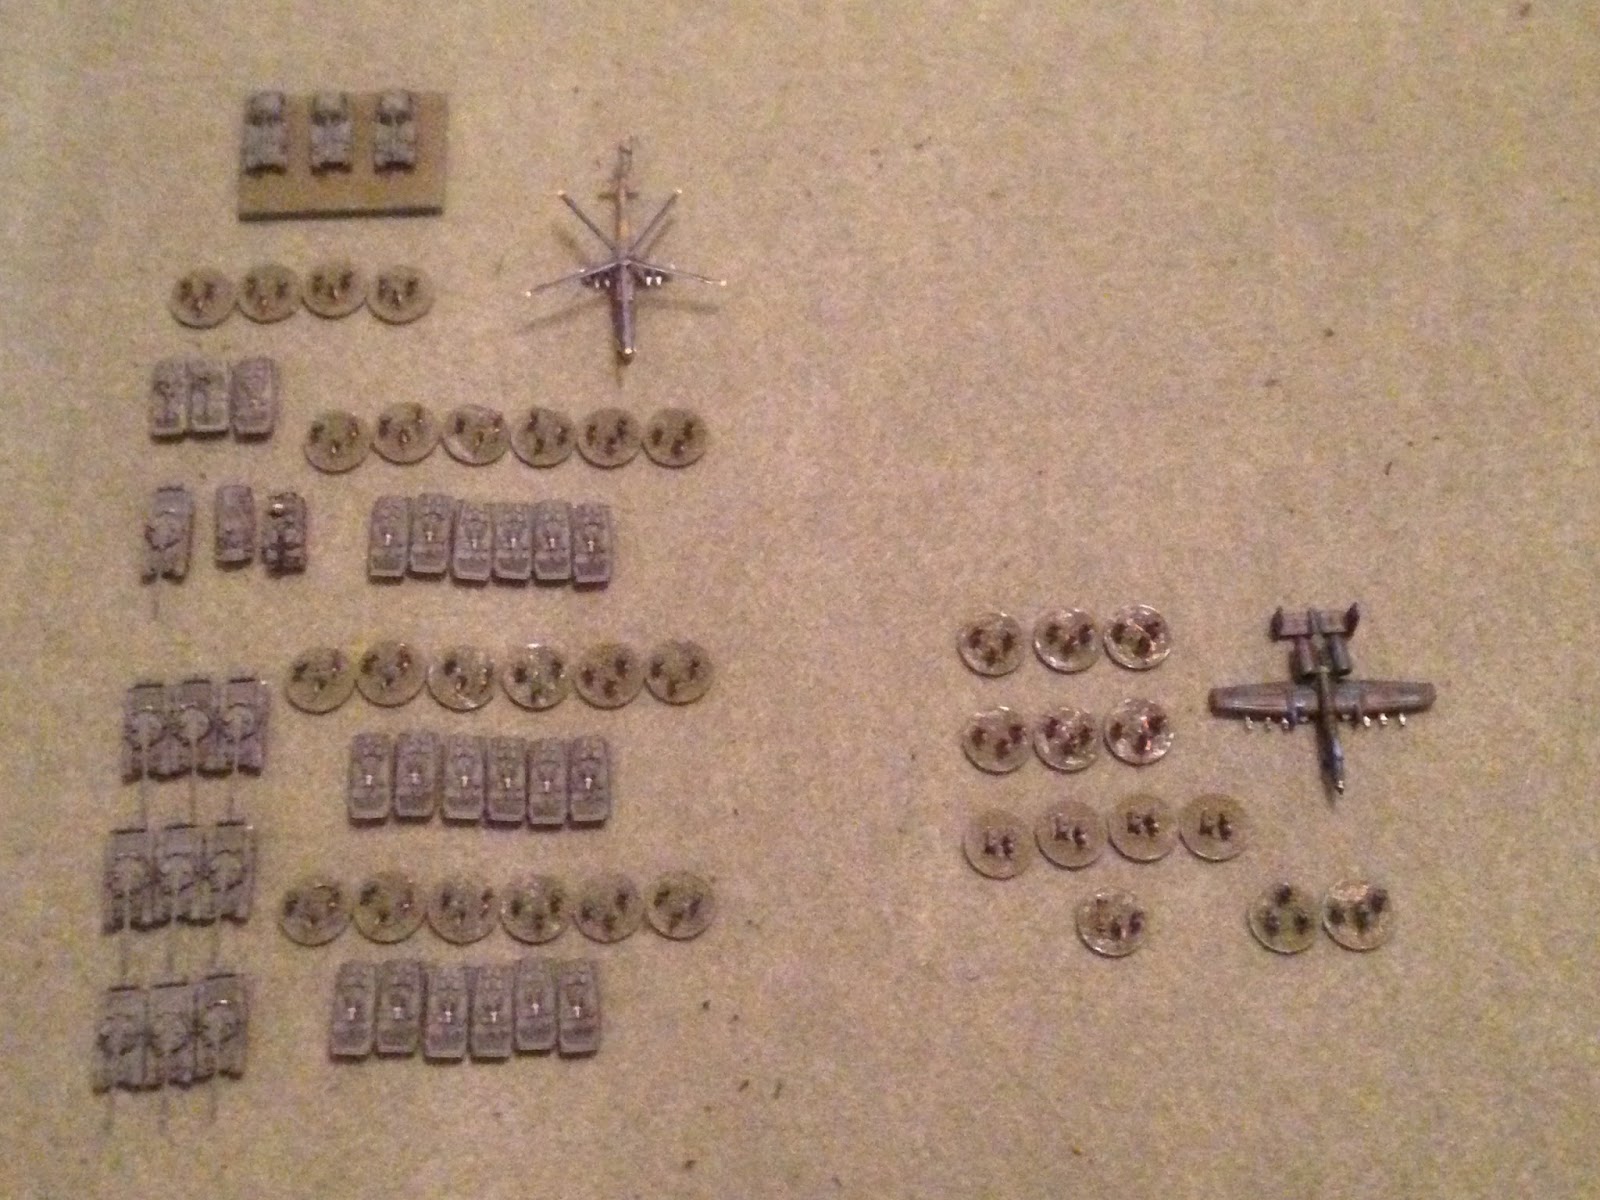
The opposing forces, with Soviets on the left and NATO on the right. If you're thinking there's quite a disparity between the two, you're correct ;)
Overview of the map showing part of the Rein-Main flightline, north is down, east is left. The US force is emplaced in a line roughly running north/south (bottom to top) from the end of the road at the bottom up to the end of the taxi-way at top. The US does not have a lot to work with in terms of forces or terrain.
I love this photo. Certainly my stuff isn't as pretty as most, but I do like the Hind hunting out in front of a wave of BMPs laying smoke to cover their tanks and dismounts, as TOWs fly out seeking steel.
The A-10 makes a run. To see how the fight's going, please check the blog at:
linkPart 2 is coming as quick as I can get it typed up, and the final fight of the campaign is happening this weekend.
V/R,
Jack

