Help support TMP


"6mm and 10mm desert buildings. EASY to make!" Topic


3 Posts

All members in good standing are free to post here. Opinions expressed here are solely those of the posters, and have not been cleared with nor are they endorsed by The Miniatures Page.

Please don't call someone a Nazi unless they really are a Nazi.

For more information, see the TMP FAQ.


Back to the WWII Discussion Message Board

Back to the Scratchbuilding Message Board

Back to the Terrain and Scenics Message Board

Back to the Ancients Discussion Message Board

Back to the 19th Century Discussion Message Board


Areas of Interest

General
Ancients
19th Century
World War Two on the Land

Featured Hobby News Article


Featured Link


Featured Ruleset


Featured Showcase Article

The 4' x 6' Assault Table Top

Personal logo Editor in Chief Bill The Editor of TMP Fezian begins to think about terrain for Team Yankee.


Featured Workbench Article


Featured Profile Article

Dung Gate

For the time being, the last in our series of articles on the gates of Old Jerusalem.


Featured Book Review


1,123 hits since 29 Apr 2015
©1994-2024 Bill Armintrout
Comments or corrections?

Smokey Roan29 Apr 2015 3:13 p.m. PST

LOL! Historifigs mentioned 6 and 10mm adobe desert style buildings.

Pain in the rear to scratchbuild using super thin foamboard in the traditional "General Tremoradon" building style (the style I use)

NEVER looks good, takes longer to make a 10mm than it does a 15mm or 28mm with interior.

Lots of great 6 and 10 resin makers out there.


BUT, while sitting back in my chair, watching Canes baseball, I thought of something. Just carve the damn buildings out of high end blue or pink foam?

OMG! EASY PEAZY! In 20 minutes, carved out three 10mm buildings, with windows, detailed doors, exposed brickwork and damage, and at that scale, no need for spackle adobe. Just paint the exposed bricks, then wash, drybrush, then paint the "plaster" with paint.

I added formica "roofs".

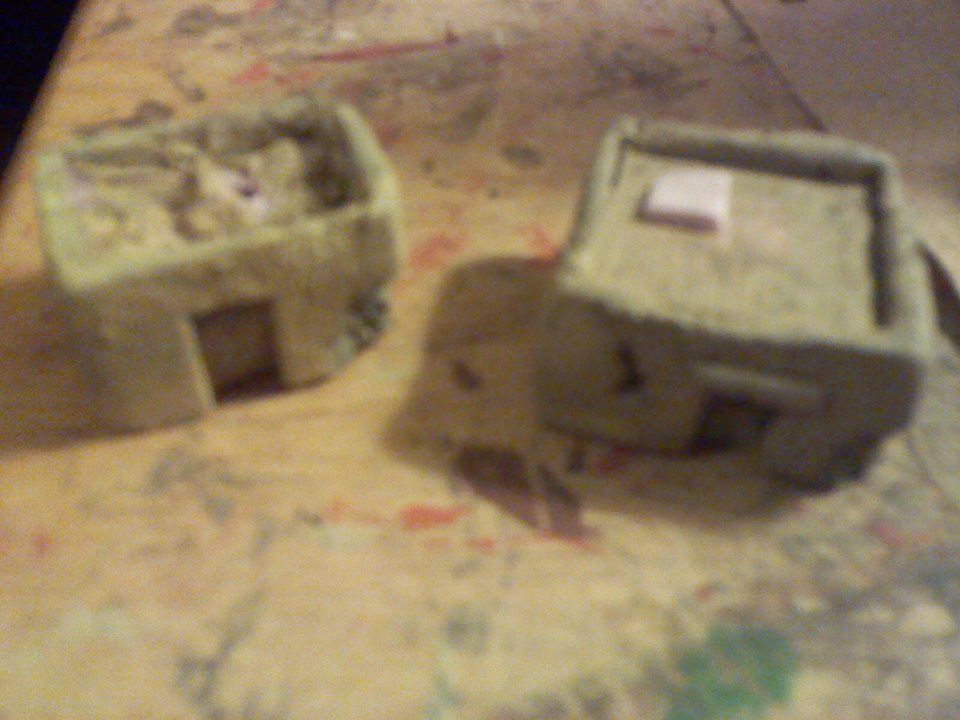
Keep in mind, these were built laying in a recliner holding up CRAPPY scraps of foam I was using as a pin cushion and exacto blade holder, done in 15 minutes for these two.

The one on the left is BEFORE adding the rood strip of formica.

Bad pic, but the detail is UNREAL! And this foam was full of holes and cuts! The stuff sands with fine sandpaper like magic! Scribing detail is chil;d's play!

You think we should have another Smokey tutorial where I get serious and kick some out step by step? (Will have to wait till I finish 15mm camaron and a huge 28mm hacienda, LOL!)

[URL=http://s213.photobucket.com/user/gocanesba/media/10mmSudanTEST1_1.jpg.html]

[/URL]

Personal logo javelin98 Supporting Member of TMP29 Apr 2015 4:23 p.m. PST

Cool! Another technique is to use Durham's water putty or hydrocal and ice cube trays (at least, for a slightly more sci-fi look).

Smokey Roan29 Apr 2015 5:06 p.m. PST

Ooh! Hydrocal! Nice!

Sorry - only verified members can post on the forums.