| Pulp Girl | 20 Jun 2014 3:30 p.m. PST |
What you'll need-
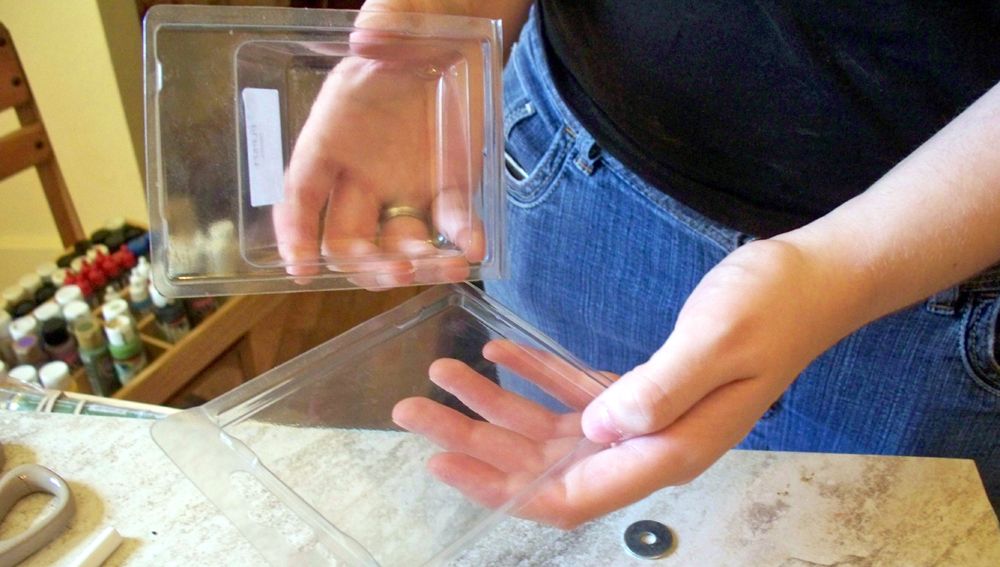
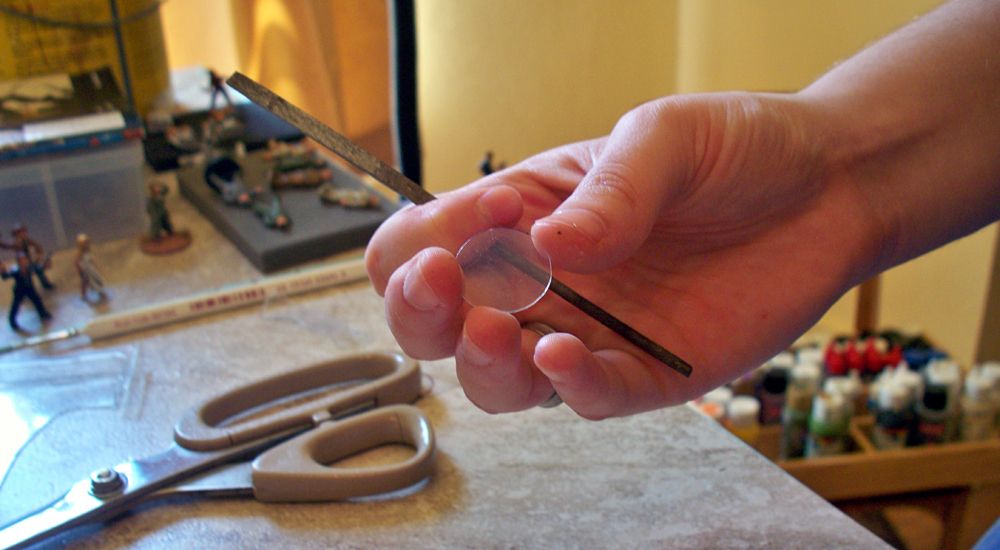
A sheet of plastic (backs of miniature cases work nicely)
A good pair of scissors
A fine tip Sharpie
A toe nail clipper
2 sizes of files (big and small)
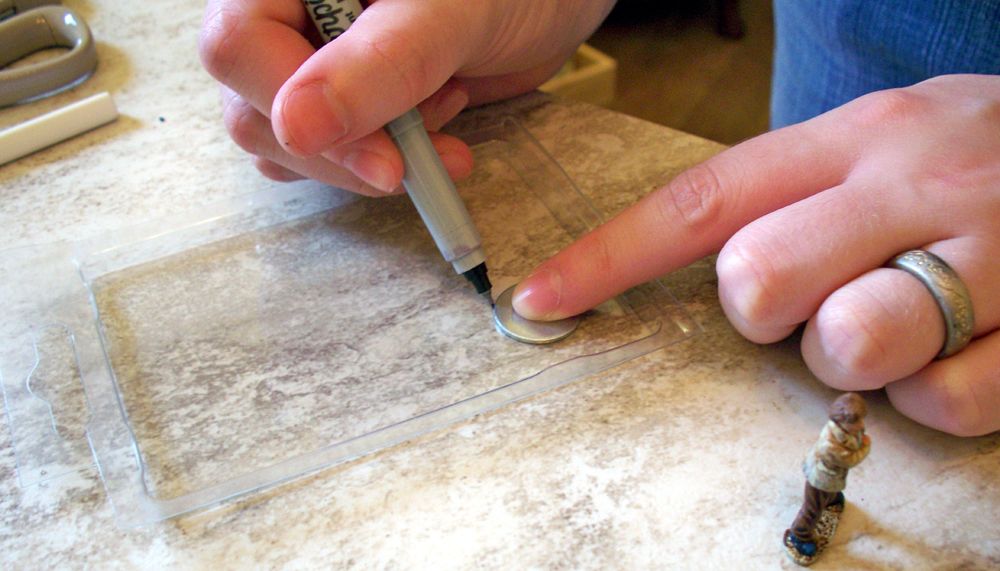
Something to trace the size base you want (we usually use pennies but for this were using a penny sized washer)
Super glue
At least one paint brush
A bottle of dull coat varnish
Whatever miniature you're wanting to base
Note: You want your miniature to be completely painted (and dull coated if you do that) before basing. First, you're going to want to pick out the plastic you're going to use.
Firmly press your washer against the plastic and trace in sharpie.
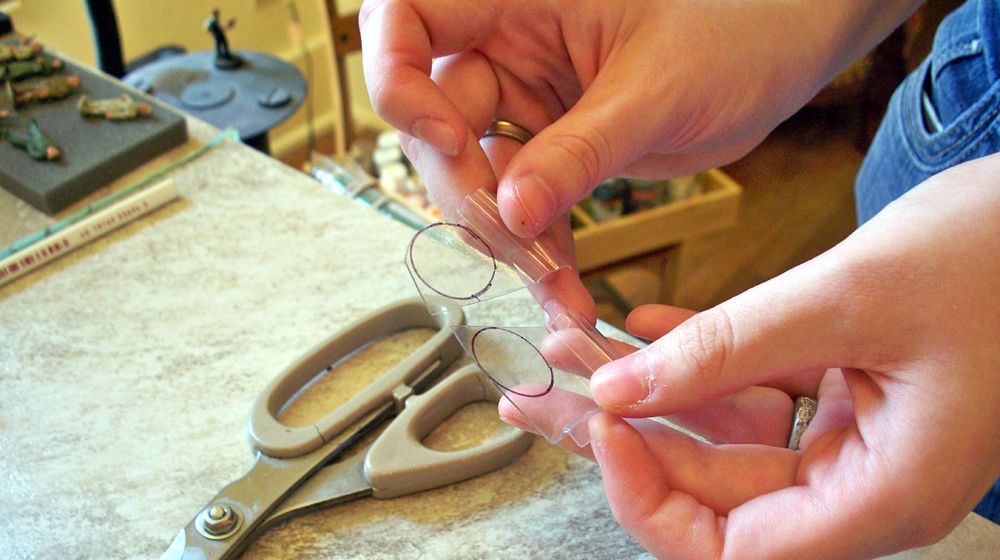
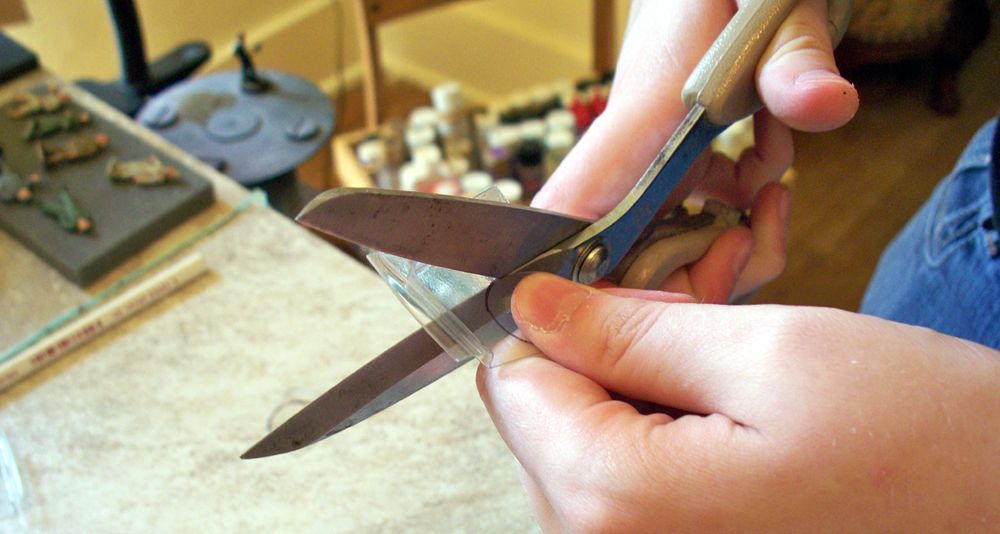
Carefully cut out the circles with your scissors. It's better to give yourself too much room than to cut inside the sharpie line.
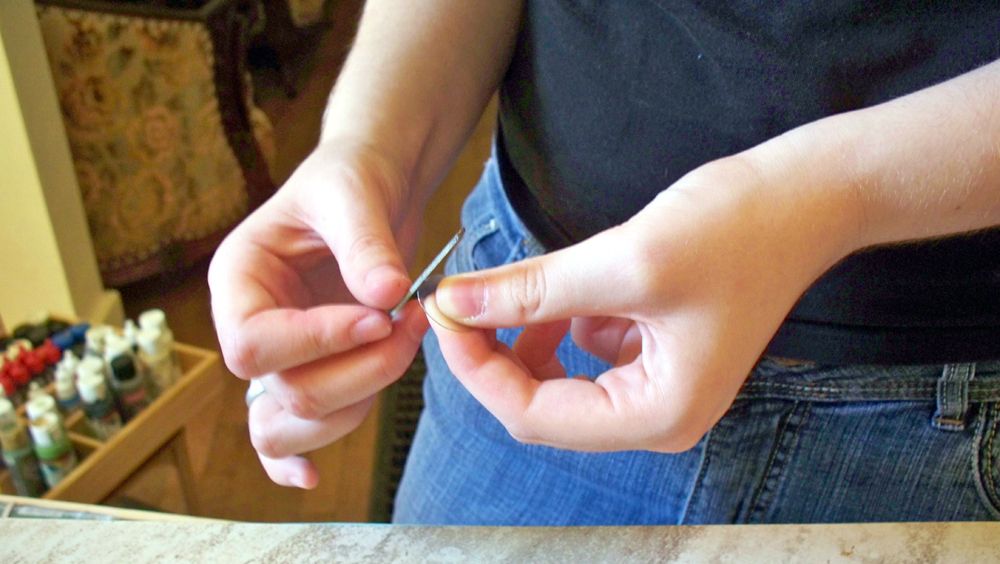
Next, you want to file down any weird bumps on the base or anywhere sharpie is still visible.
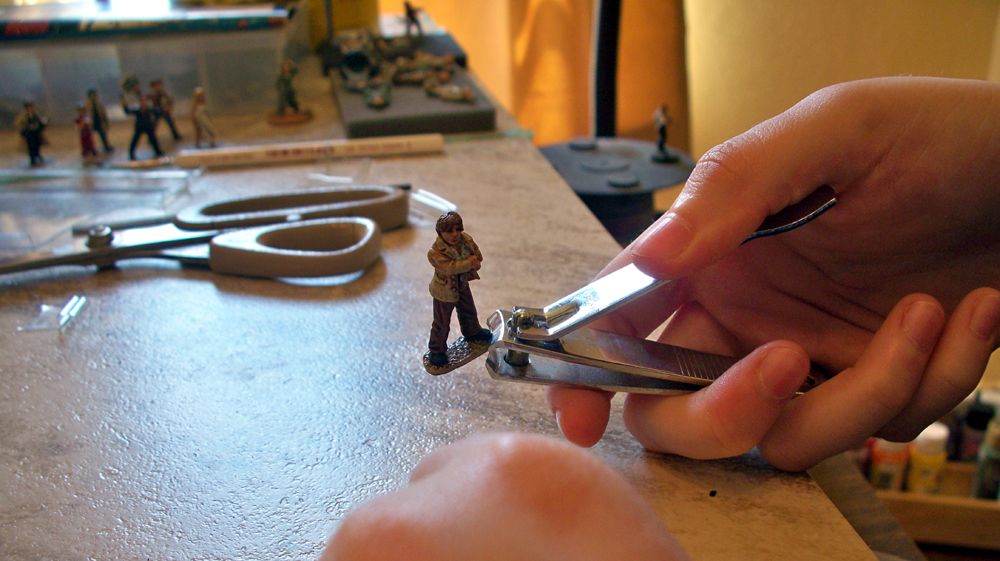
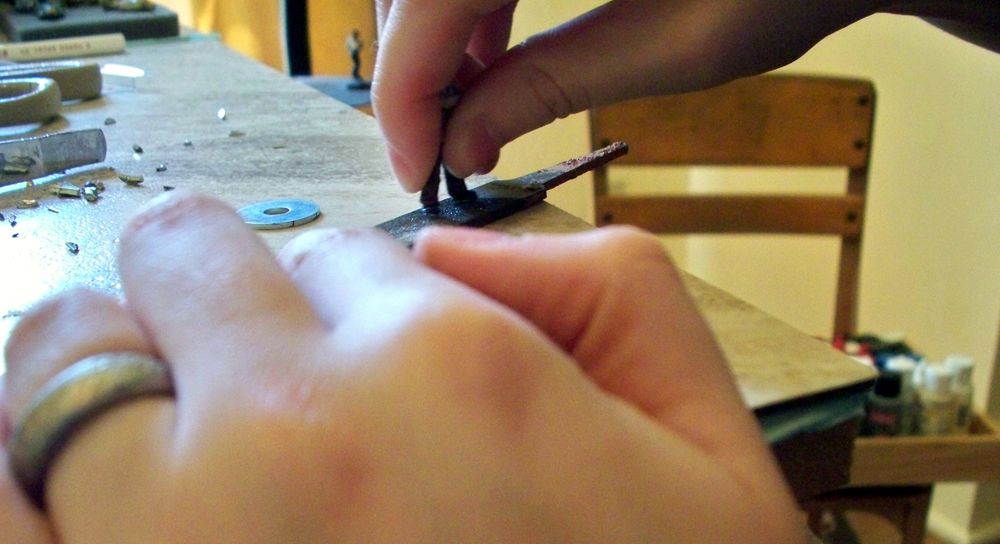
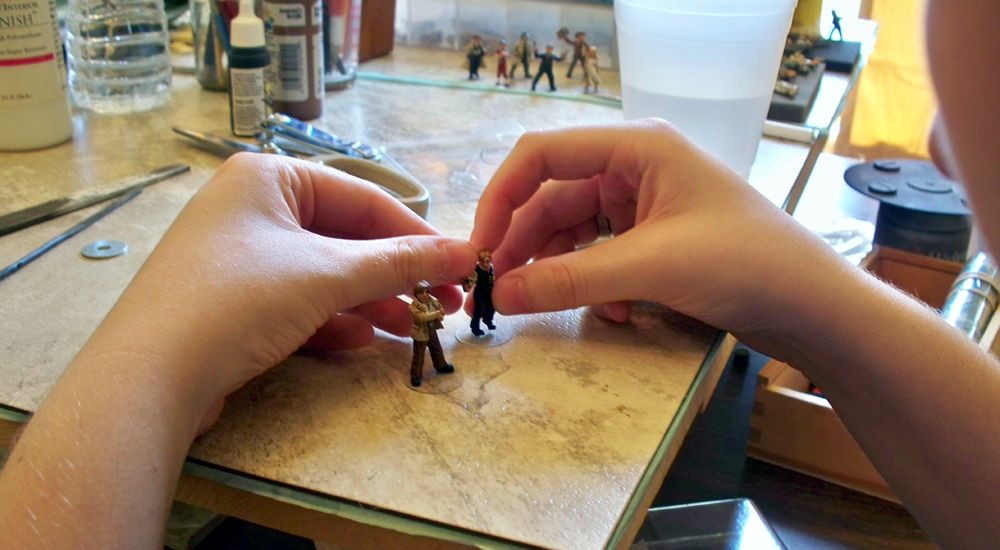
Now that the plastic is done, you want to use the toe nail clippers to clip off the miniatures base. (This is so much easier with slotted bases)
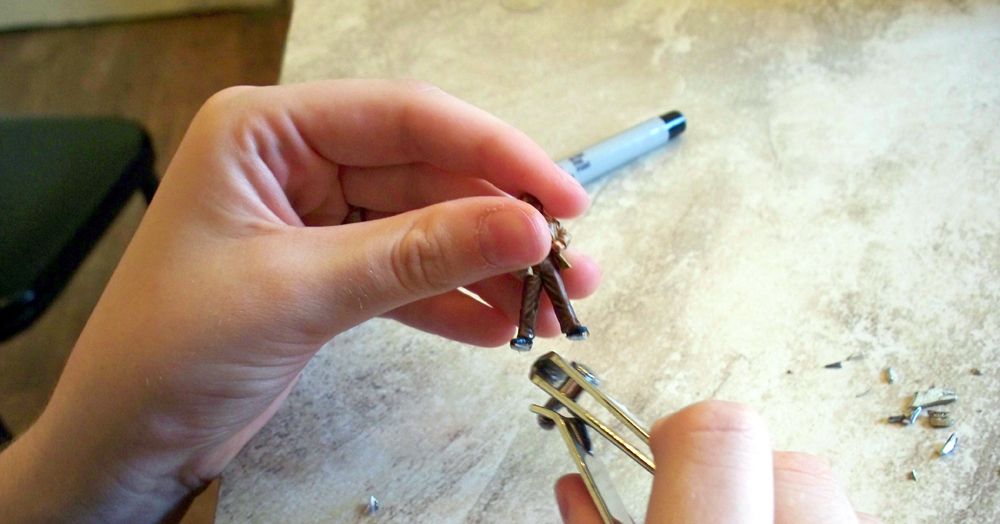
Next, file down the bottom of the miniature for a flat surface.
Now all the clipping and filing has probably chipped your miniature around the feet. Go ahead and touch that up before you glue.
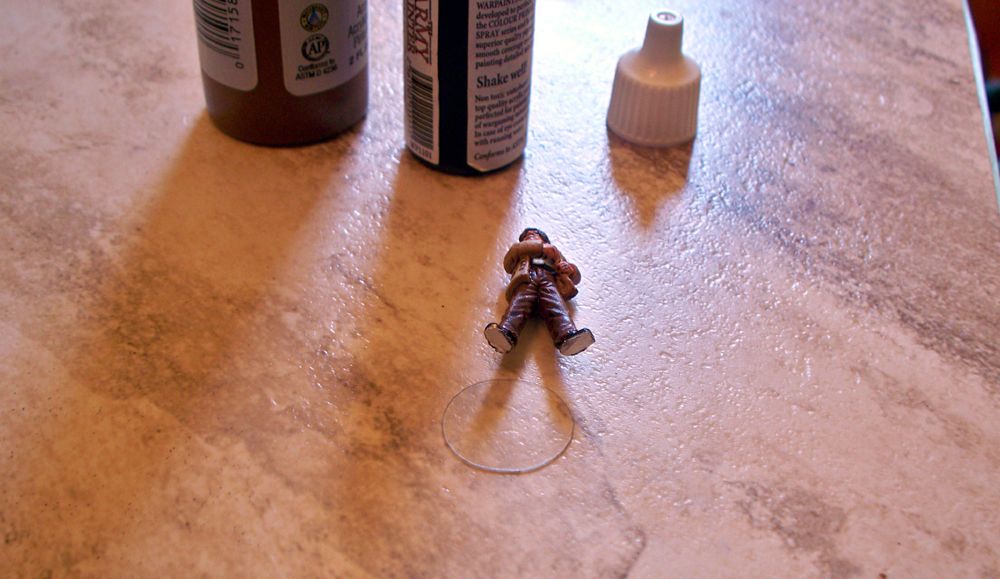
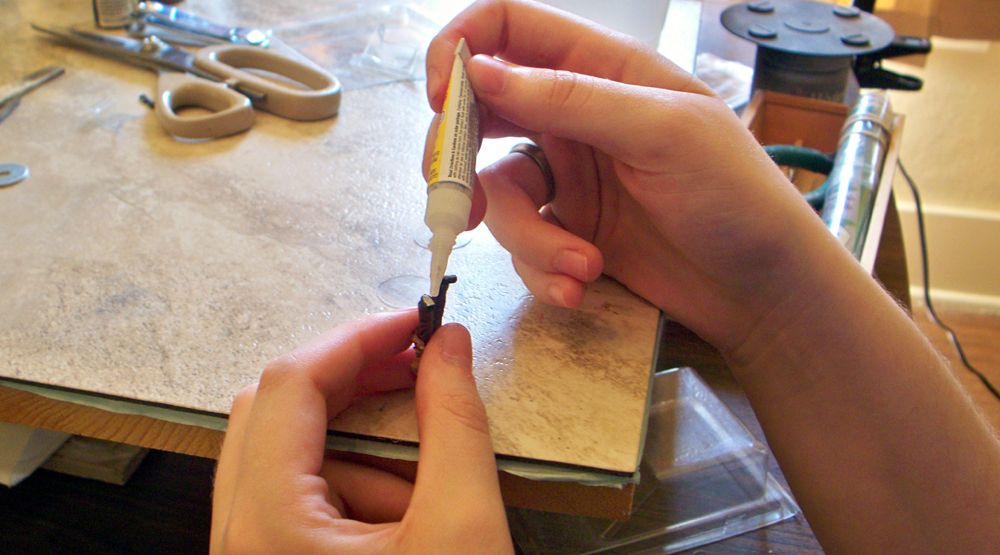
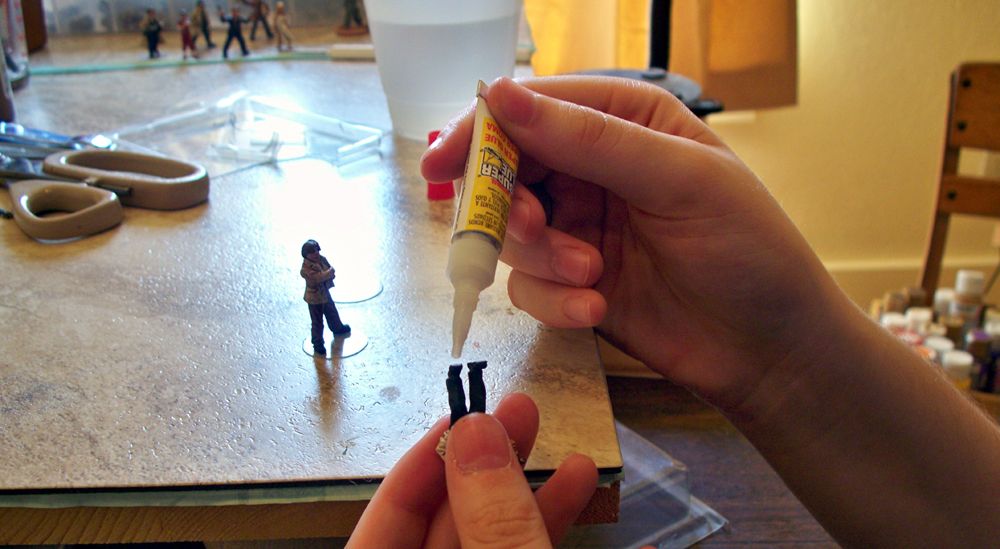
Now we can glue the mini to the base. Be sure not to use too much super glue or it'll fog up the base.
Position your miniature on the base and hold it there until it stands on its own.
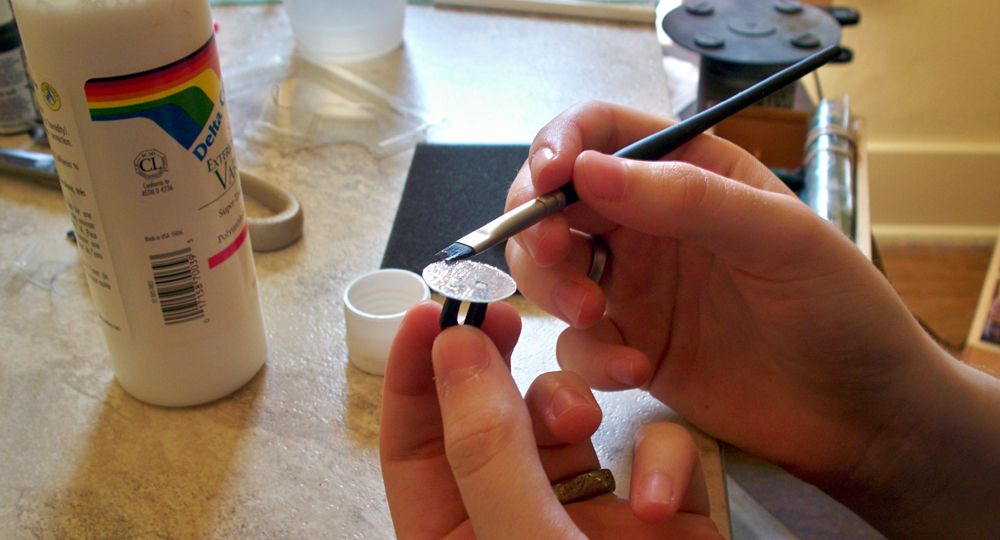
Optionally, you can put a layer of varnish on each side of the base. If you do this, make sure not to leave any brush strokes.
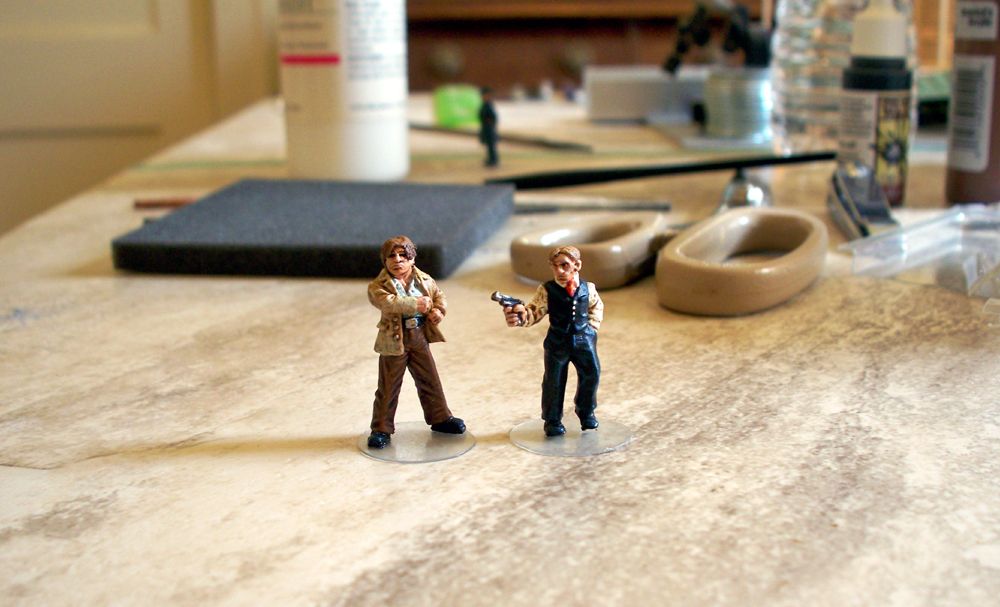
All done!
-Mila
|
| tberry7403 | 20 Jun 2014 3:38 p.m. PST |
Very nice! Clear, concise and helpful. |
| Redroom | 20 Jun 2014 3:44 p.m. PST |
|
| The Miniatures Vault | 20 Jun 2014 4:18 p.m. PST |
Very nice, but why don't you use a plastic template? They are available at many hobby stores and you can use a scribe to cut the circles. |
| The Shadow | 20 Jun 2014 4:57 p.m. PST |
Great tutorial Mila. Thanks! |
Dr Mathias  | 20 Jun 2014 5:50 p.m. PST |
Toenail clippers. Apparently it works, I can see how the rounded cutting edge might be better than regular nippers. Thanks for posting! |
Bill Rosser  | 20 Jun 2014 7:18 p.m. PST |
Absolutely do the varnish on the bases, otherwise in a few years you will have yellowed "clear" bases. Experience talking. |
| Dr Mathias | 20 Jun 2014 10:14 p.m. PST |
Won't they get brittle as well? The old blister packs I have crack pretty easily. Not that the figures will be hard to move to a new disk if need be. |
| Ivan DBA | 20 Jun 2014 11:46 p.m. PST |
The thin plastic works much better than other attempts at clear bases I've seen. |
| Randall | 21 Jun 2014 3:47 a.m. PST |
I wonder if there is a non-yellowing plastic that would still be thin like what is used in this tutorial? |
| Matsuru Sami Kaze | 21 Jun 2014 4:03 a.m. PST |
|
| Randall | 21 Jun 2014 4:50 a.m. PST |
Transparent aluminum? Might be more difficult to cut though…. |
| tberry7403 | 21 Jun 2014 7:28 a.m. PST |
Put your phaser on a medium setting. Too low and it just heats it up. Too high and you end up with a hole not a disk.  |
 etotheipi etotheipi  | 21 Jun 2014 8:32 a.m. PST |
A 1" (or whatever diameter) hole punch from a craft store works, too. |
| Intrepide | 21 Jun 2014 9:13 a.m. PST |
Thank you. A very generous tutorial. |
| boy wundyr x | 21 Jun 2014 11:54 a.m. PST |
Great to see the particulars after you showed these in your previous post. |
| legatushedlius | 21 Jun 2014 2:21 p.m. PST |
Excellent. I really like this effect! |
| Rdfraf | 22 Jun 2014 9:31 a.m. PST |
Clear bases! I love that idea! Doesn't anyone out there make these for me to buy! |
| Pulp Alley | 22 Jun 2014 10:17 p.m. PST |
@ Rdfraf -- I know that Litko makes some clear bases -- various diameters and thickness. THANKS for all the comments and suggestions. I think we'll look for a craft punch and see how that works. HAVE FUN
Dave
Pulp Alley |
 ochoin ochoin | 22 Jun 2014 11:21 p.m. PST |
Simple idea: one I'd never thought of! Thanks. |
| Liberators | 23 Jun 2014 8:35 a.m. PST |
Great post! Useful and inspiring. Cheers! |
| The Beast Rampant | 08 Jul 2014 3:34 p.m. PST |
I know that Litko makes some clear bases -- various diameters and thickness. While I admire the industriousness, Litko's custom-cut acrylic bases look ten times better than I could turn out (and I have made a few). And I need all the time I can get to clean, assemble, prime, and paint. |
| Twoball Cane | 08 Jul 2014 5:55 p.m. PST |
I'm sold on this for my pulps….. Added to the " to do list " |
| Pulp Girl | 09 Jul 2014 8:53 p.m. PST |
Update: After sharing this tutorial, we got some helpful tips from other people. First, we've switched to using a "craft punch" to make the circles. This is just a giant hole punch, or in this case .75" in diameter. I got pretty good at cutting out the circles but this is even faster and easier. Slip a sheet of plastic in, press down, and out pops a plastic circle. :)
Second, we're using semi-rigid plastic from the "Ultra-Pro Top-Loaders" now. It's better quality and I think it may age better. We had a friend that collects cards and he gave us 5 sleeves for free. And that was enough to make about 100 bases in just a couple minutes.
-Mila |