All,
Here's the table:
It's about a 4' x 4,' with French coming from the bottom (let's call it south), with the insurgents' baseline being the top (north).
The scenario is that, as so often happens, a former French colony finds itself in turmoil regarding some Islamist upstarts wishing to change the local government by force of arms. Not long afterward, the Legion is sent in, initially to protect French property and persons, and then to bolster the local government. In this particular case, the Legion has several sources reporting an arms cache in the/near the village of Kaplaxia.
The FFL objective is to eliminate the cache (blow in place), inflict maximum casualties on the enemy, hold their casualties to a minimum, and do not become drawn into a protracted fight. As collateral damage is a concern, there will be no supporting (off-table) arms available. The white chips are insurgent blinds (there are eight, some of which are dummies), the red chips are potential cache locations (there are three), and the black chips are insurgent 'hotspots' (there are three). The insurgents will constantly receive reinforcements throughout the fight, with casualties being recirculated back onto the table, location (hotspot) determined by die roll.
A view from west to east (insurgent baseline on left, FFL to right). Oh yeah; the big greenish-gray crap running across the table is supposed to represent a wadi, which can be crossed by vehicles and troops at a penalty, while the canals can be crossed by troops (at penalty) but not vehicles.

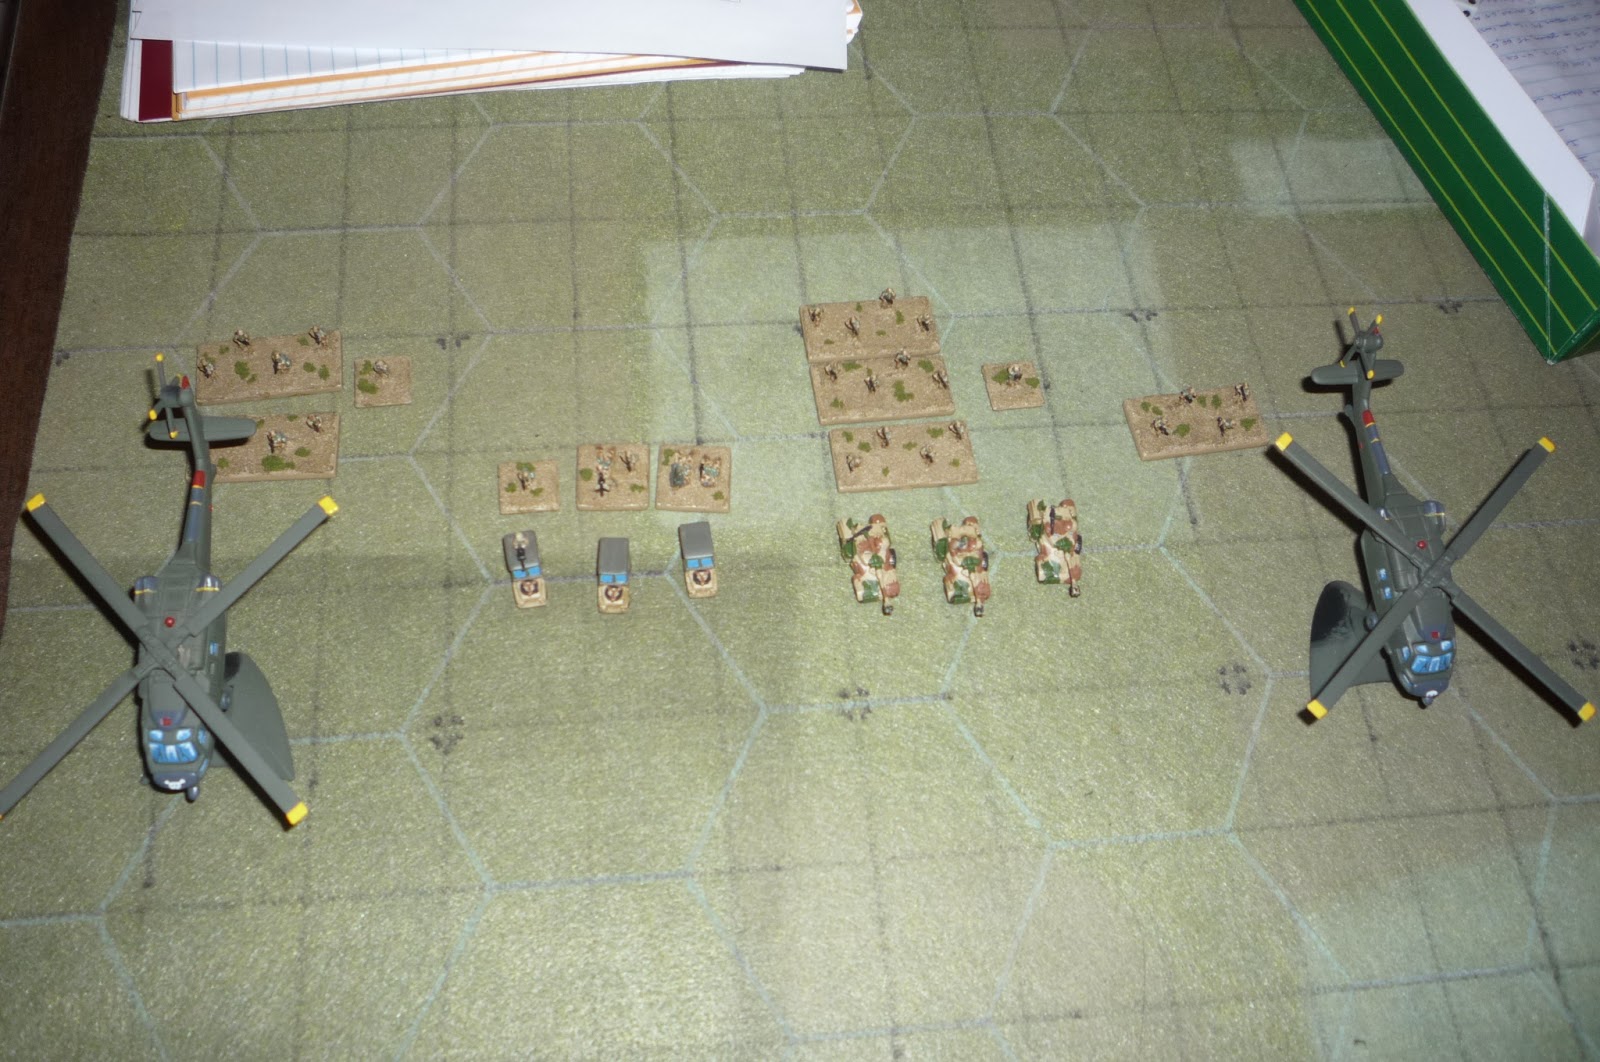
The FFL forces. They have a Blackhawk (yes, a Blackhawk) designated H1 (at left), carrying two rifle teams (Tm1 and Tm2) and a leader. To their right there are three Land Rovers; two soft back (S1 and S2), and one mounting a Mk-19 Grenade Launcher (S3). The first two carry weapons teams (a Milan and a MG), and the third carries a leader. To their right are three Panhards (V1, V2, and V3), carrying a rifle team each (Tm3, Tm4, and Tm5, and V2 also carrying a leader. The other Blackhawk, H2, carries the last rifle team (Tm6). Tm6 is carrying the explosives to blow the cache, so once it's located H2 will roar in and drop Tm6 as close to the cache as possible. The two helos will be available for extract, but ground extract is preferred as the FFL commander expects hordes of insurgents to close on the area, and the last thing he wants to deal with is a downed helo. The French, being Western, have the caveat that if a team is eliminated they must MEDEVAC the team (the insurgents don't have to bother with this, of course). The helos will be available for MEDEVAC, as well as any of the vehicles.
The FFL starts off-board, coming on in the first turn. The plan is for the three Land Rovers to dart up to the first hill (nearest the FFL baseline), deposit the leader, MG, and Milan, and have the Mk-19 take up a firing position while the two soft-backs (S1 and S2) scurry back down behind cover to await further orders. This position will provide a little cover for a base of fire and to spot a bunch of the blinds straight away. Following this, simultaneously H1 will dart to the top left corner (northeast) and deposit a leader and Tms 1 and 2, while the three Panhards (Vs 1, 2, and 3) charge straight up the road towards the village. The goal of each axis is to establish fire superiority as quickly as possible in order to set about searching for the cache as quickly as possible. There are several different plans for extract, depending upon the situation and the location of the cache.
Insurgents: There are four leaders, eight rifle teams (each with RPG capable of defeating any FFL vehicle/helo), and two Technicals, one with a 106mm recoiless rifle, one with a 12.7mm HMG. They will come on the table initially via the blinds, then at the end of each turn, any rifle team casualties will be diced for to come back on the table as reinforcements at one of their 'hotspots.'
An action shot, with insurgents streaming down the street towards V3, damaged and pinned, and Tm5, also pinned.
Tm4 playing cat and mouse with an insurgent team through the grove on the west canal, trying to keep them pinned down so they don't pop an RPG into one of our vehicles.
To see how it turned out, please visit my blog (sorry, but there were 39 pictures and it's past my bedtime):
blackhawkhet.blogspot.com
Hopefully more to come tomorrow.
V/R,
Jack

